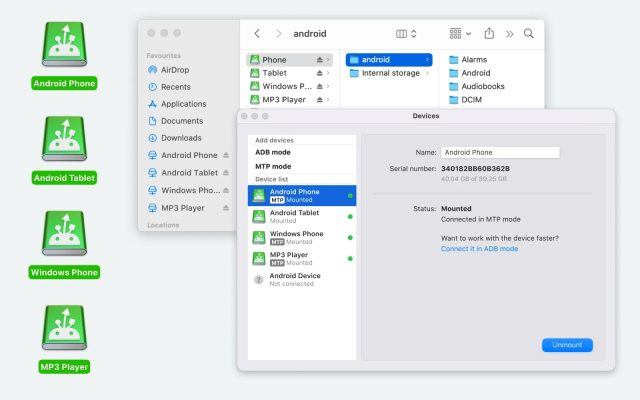
- Android file transfer
- How to back up Android phone to Mac: Complete Guide
How to back up Android phone to Mac: Complete Guide
We know that backups might seem unimportant at times, but do you remember that one time when you dropped your phone and had to buy another one only to find out that you can’t restore your photos and files? Well, this is why we’re determined to help you know how to back up Android phone to Mac. Of course, you’re going to need a suitable ally for this challenge in the form of an application. This is why we’ve gathered some of the most popular and functional solutions available.
As it happens, my phone is running out of space. I want to back it up to my mac. What's a simple (and free if possible) way of doing it?— Macrumors
How to Back up Android Phone Data with MacDroid
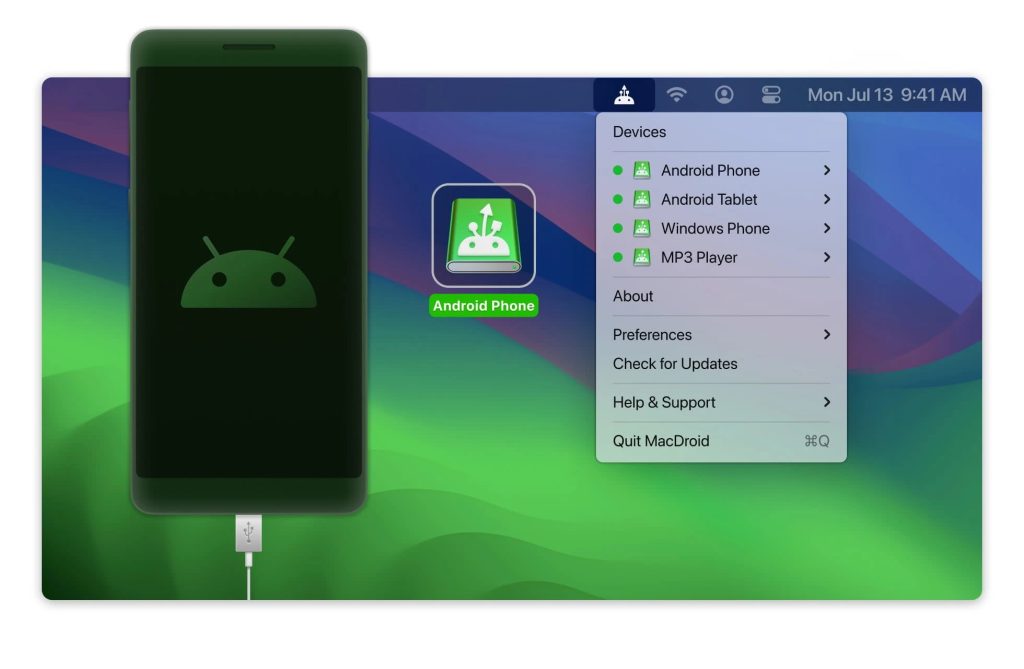
MacDroid is one of the best Android file transfer software you can use right now. This powerful application was designed with easiness of use and productivity in mind. You can manage all of your files within a few clicks and transfer videos, photos, audio files, or documents in a matter of seconds. The app supports connection in MTP, ADB, and Wi-Fi modes, so you can choose the most suitable option for you.
Pros
- Easy to install and use
- Support for USB and Wi-Fi connection
- Works with the most popular file formats
Cons
- Only 7 days of free trial.
Step-by-Step Backup Guide - Using MacDroid
1. Download MacDroid from the official website.
2. Make sure your Mac and Android are both connected through a USB cable.
3. Choose MTP connection mode in MacDroid.
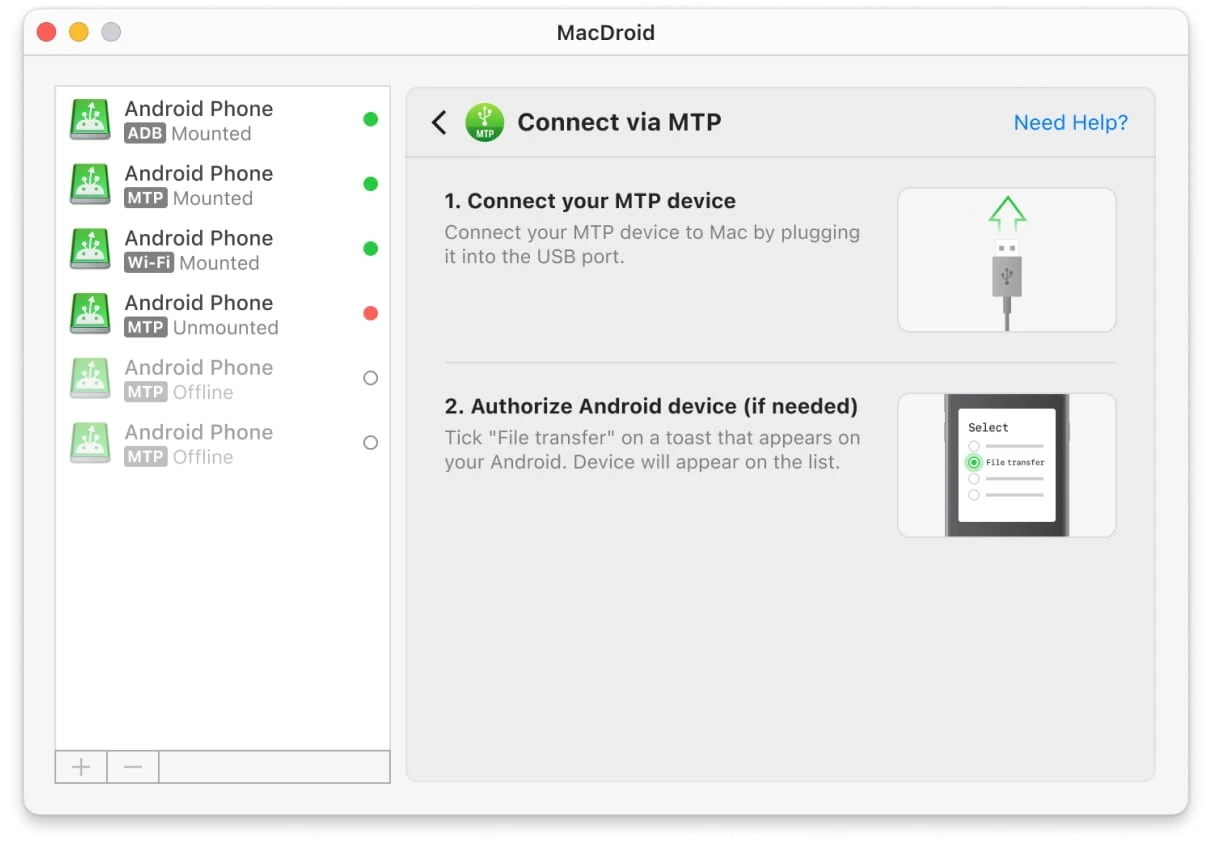
4. After clicking the ‘Next’ button, enable file transfer on your Android phone by tapping ‘Allow’.
5. Once your phone is showing on the sidebar menu, you can click on “Mount”.
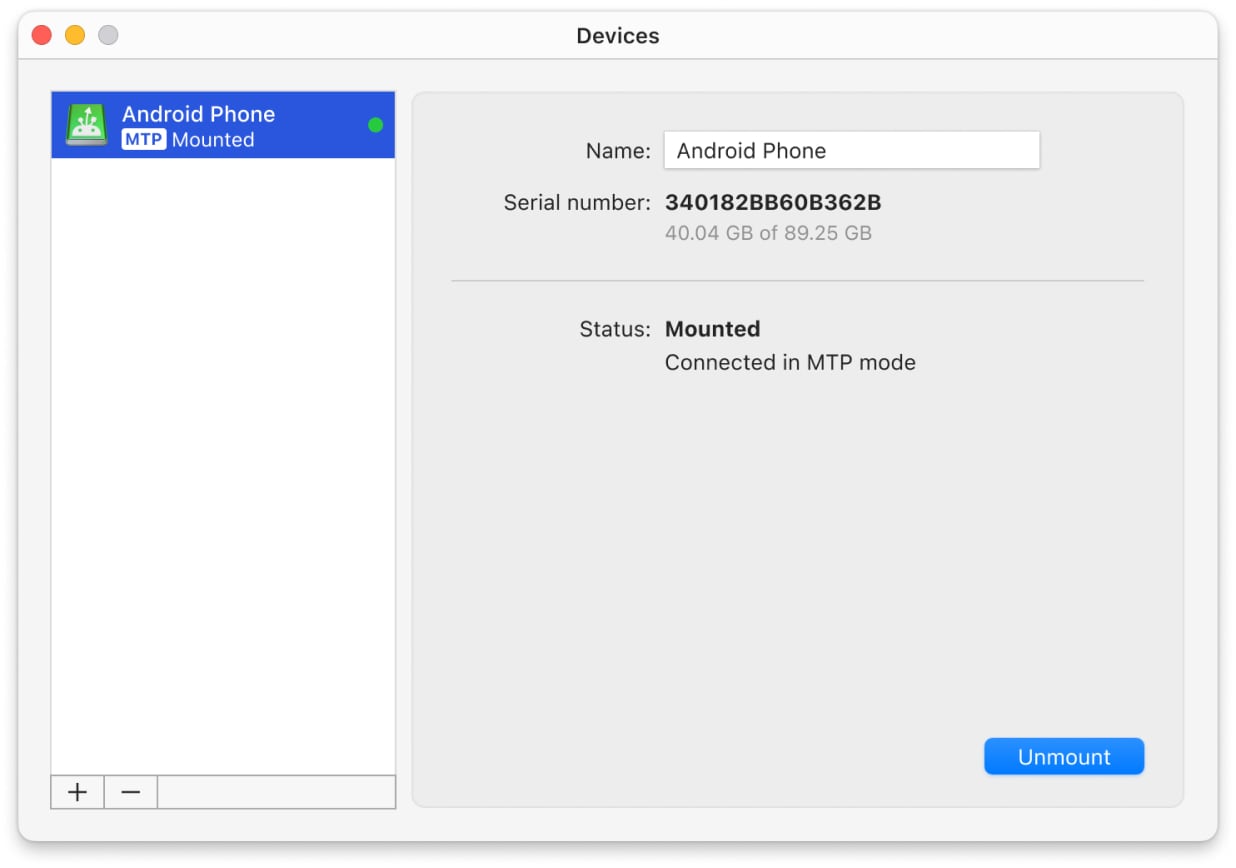
6. That’s it! You can now use Finder to back up Android on Mac.
Fully compatible with macOS and both Apple silicon and Intell.
Works not only with Android devices but also MTP-compatible ones, such as Oculus, Kindle Scribe eReader, GoPro, Garmin, etc. This application makes a great ally when looking to master how to back up Android phone to MacBook.
How to Back up Android Phone to Mac using SyncMate
Another great solution you can use to create Android backup Mac is SyncMate. As the name suggests, this application was made with synchronization in mind and can do everything from files, photos, messages, contacts, and calendar info. Even more than this, it can automatically upload all your data into cloud services such as DropBox or Google Drive. The interface makes it intuitive to use and a breeze to go through the whole process.
Pros
- Both wired and wireless connection
- Creates backups automatically in the background
- Copies messages, contacts, and other data
- Also supports most MTP devices, clouds
Cons
- Many options to learn that can be confusing
- Wi-Fi connection requires a companion app
How to Perform Android Backup with SyncMate
- Download and install SyncMate on your Mac.
- Launch SyncMate – > Add new – > Android Device and select the Wi-Fi connection.
- Download the SyncMate module to your phone by scanning the QR code.
- Open the module on your phone, grant all the required permissions, and ensure that you’ve ticked the box to allow wireless synchronization.
- Continue the connection in the Mac wizard. Android will automatically appear in the list of devices. Select your Android from the list and continue.
- On Android, a connection request will appear; click “Yes, add to list”.
- Customize your settings and ensure that your phone syncs with your Mac any time they are in range of each other.
Compatible with macOS. Can connect to Android and iOS systems, other Macs, MTP devices, and cloud services.
SyncMate will provide you with an advanced, automated toolkit that will work across many devices. The wireless capabilities are especially useful to keep your ports from wearing out.
AirDroid
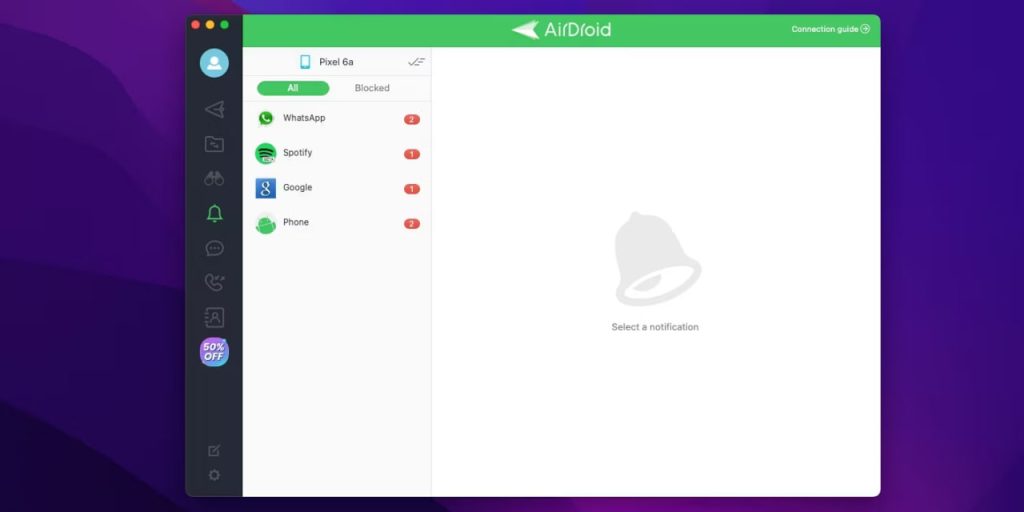
AirDroid is a wireless-only backup solution. It requires you to install the companion app on your Android device, and, furthermore, to create an account. But, once that’s done, you’ll have free access to your Android files over Wi-Fi. With this, a Mac Android backup will be easy – just select everything you need to store on the Mac. It has many other features, too, including mirroring and remote access.
Pros
- Wireless connection
- A ton of secondary features
- Cross-platform compatibility
- Remote control
Cons
- Transfer size limitations in free version
Pricing: free version, Premium from $2.50/month
OS: macOS, Windows, iOS, Android, web version
Rating: 4.4 out of 5 on Mac App Store
How to Back up with AirDroid
- On your Mac, visit the AirDroid official site and create an account there.
- Go to the web version of the app.
- Download AirDroid to your Android device.
- Open the app on your phone and sign into your account.
- Provide all permissions on the phone.
- Return to the web version. Choose what you want to back up and click the corresponding icons on the screen of your computer.
- The file manager will open. After that, select files and click the “Download” button.
Compatible with macOS and Windows. Connects to Android devices.
AirDroid is worth it if you’re willing to bother with the account. It only has limits on internet transmission, while LAN operations are free and unlimited.
Dr. Fone
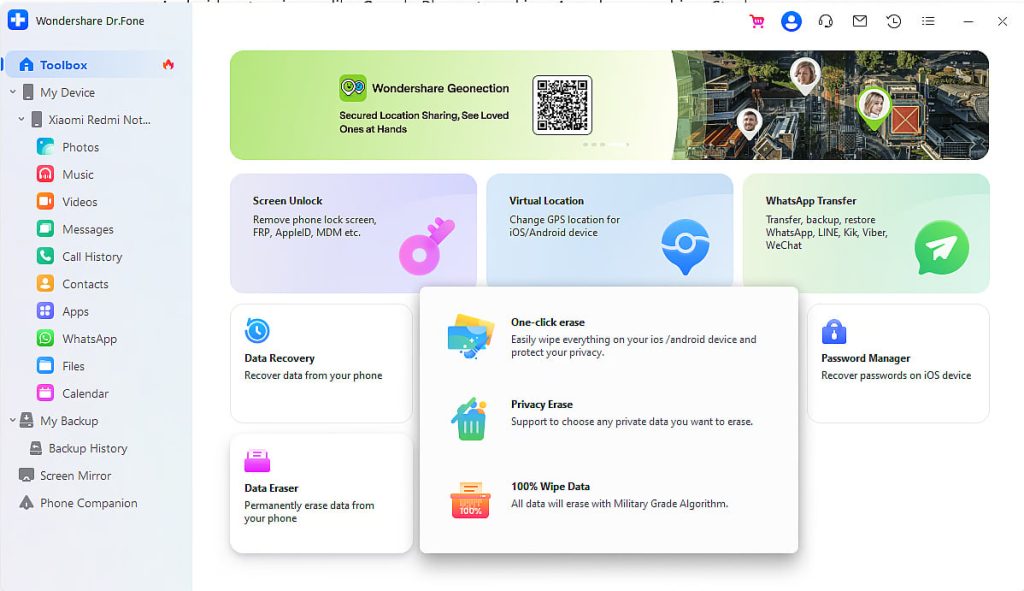
Dr. Fone is a backup application that works over USB and Wi-Fi, keeps a backup history, and lets you select which data types to load. This includes application data. Backups will also be done automatically when you connect your Android device up to your Mac. Since new backups won’t override old files, you’ll be able to restore your phone to older states, but it will take up more space in general. Most of Dr. Fone’s functionality is inaccessible in the free version.
Pros
- Can connect wirelessly
- Backup history and versions
- Can copy app data
Cons
- Extra features require an upgrade to the PRO version
Pricing: free trial, pricing starts from $39.95
OS: macOS, Windows
Rating: 2.7 out of 5 on Trustpilot
How to Back up Android on Mac via Dr. Fone
- Download and install Dr.Fone on your Mac.
- Launch the app and choose the connection method: USB or Wireless.
- Scan the QR code to download the Dr. Fone Link app on your Android phone. Open the app on your phone and grant all permissions to the app on your phone. After that, choose the Dr.Fone Desktop option.
- Use Dr.Fone Link to scan the QR code and wait for the device to connect.
- Choose the “My Backup” option in the Mac version of Dr.Fone and click the “Back up now” button.
- To back up SMS, set the Dr. Fone Link app as the default SMS app on your phone. Click the “OK” button on your Mac.
- Wait for the backup to finish.
Compatible with macOS and Windows. Can create backups of Android and iOS systems.
Use Dr. Fone if you have space and money to spare. If you’re looking for a quick, casual app, there are better alternatives.
How to Back up your Android Phone with Google
Although not a lot of people know how to back up Android phone to Mac free of charge, the whole process became a lot easier over the years. Based on your data type, you will need to use one of the main backup solutions. Google Photos which can be used for media content, Google Drive for files, documents, and everything else.
Pros
- Great infrastructure with amazing download speeds
- Built by Google
- Optimised for Android phones
Cons
- Limited free space
Step-by-Step Backup Guide - Using Google Photos
- Open the app, go to Settings > Backup & Sync, and turn it on.
- Choose any backup preferences, like quality (High Quality or Original).
Step-by-Step Backup Guide - Using Google Drive
- On your Android phone, go to Settings -> Accounts – > Google.
- Tap Manage backup. Ensure the synchronization options are checked for photos, videos, and other data. Tap the “Confirm” button.
- Next, turn on the toggle next to the “Upload to Google One” option.
- Tap “Back up now.” This will automatically save your data to Google Drive.
After that, use the same Google account on your Mac for both Google Drive and Google Photos to access your backups.
Conclusion
While it can be hard at first to decide which application suits your needs the most, all of them can create a Mac Android backup. However, it’s important to look at them side by side and see which one brings more to the table. Overall, MacDroid should be the perfect solution for most users. Moreover, it acts as a reliable backup tool: easy to use, and with amazing features, users should give it at least one chance.
Frequently Asked Questions
First of all, you should check if your phone has built-in backup capabilities. They may be found in the Settings menu, or as an app for Google Android backups (Google One or Drive). If you don’t find any, you may have to use one of the aforementioned solutions.
You can do it by copying all the files from the root directory. Some types of data may require you to use additional software, like SyncMate. If you want to backup pictures for Android, backup music Android, and other files, it’s not necessary.
If you are looking to connect Android to Mac, the first thing that needs to be done is to connect the USB cable between the two devices. After this, open up MacDroid and choose “ADB”. Allow the connection on your phone and mount the device from your Mac. Now, you should be able to backup Android to MacBook directly from Finder.
Try MacDroid or SyncMate. These apps will allow you to copy all kinds of files between Android and macOS devices.
When it comes to Samsung phones you can use the same steps as above, the only thing worth mentioning here is that you want to make sure that Samsung Kies and Smart Switch are not present on your computer as they can interfere with the other software. Other than this, it will be the same process.
When looking to backup and restore to a new phone, you will need to enable the Google One backup service from your phone’s settings. This way, you can restore it as soon as you boot up your new device, although it can take some time.

