- File manager for Mac
- FTP client for Mac
- Edit hosts file on Mac – The Easiest Way
Edit hosts file on Mac – The Easiest Way
The hosts file is a system file that is needed to configure the mapping between a domain and a specific IP address. As a rule, on macOS, the hosts file location is the /etc directory. Typically, the average user does not need to make changes to this file. For those who need to, we have this article, as in it, we will take a closer look at how to edit hosts file on Mac as well as introduce you to a file manager for the most convenient and efficient file management.
User problem:
After I upgraded my Mac, the command "sudo nano /etc/hosts" not working. When I save the file, it shows me "Cannot open file for writing: Operation not permitted". So how to edit the hosts file?— from Apple Support Community
How to edit hosts file on Mac via Terminal
The most common way to edit a Mac’s hosts file is to use the standard Terminal app, which can be found in the Applications – > Utilities folder.
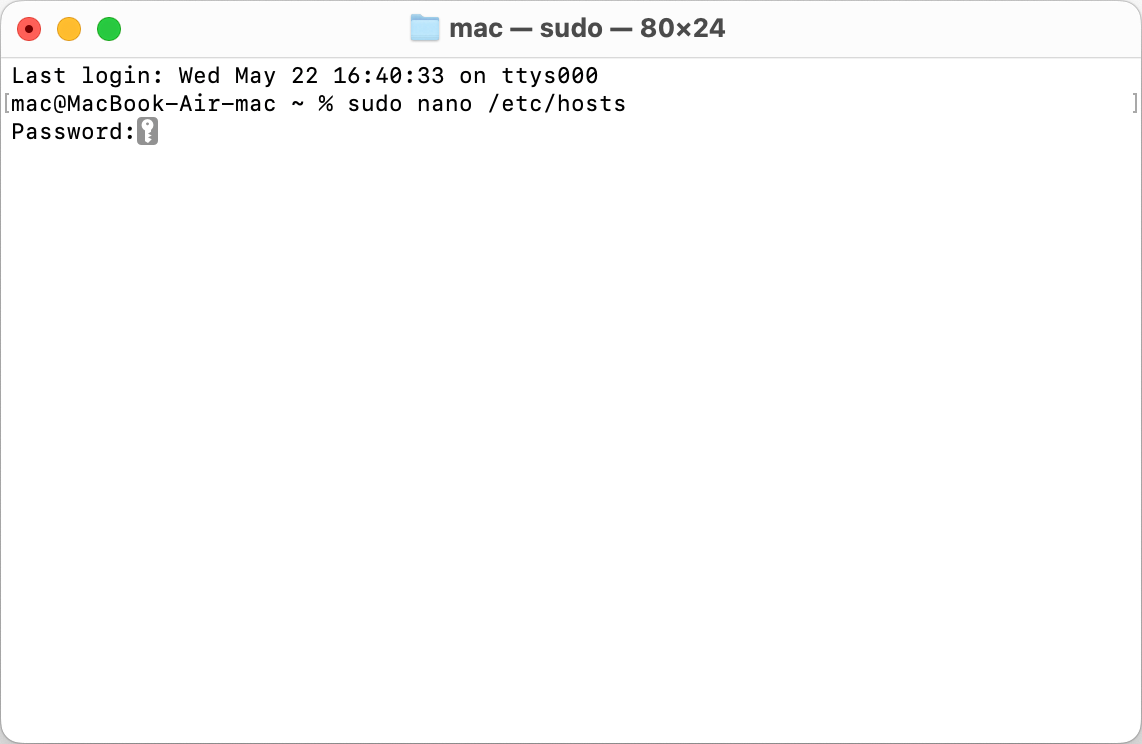
- To open hosts file, launch Terminal, and in the application window enter the command to open the Nano text editor and press the Return:
sudo nano /etc/hosts
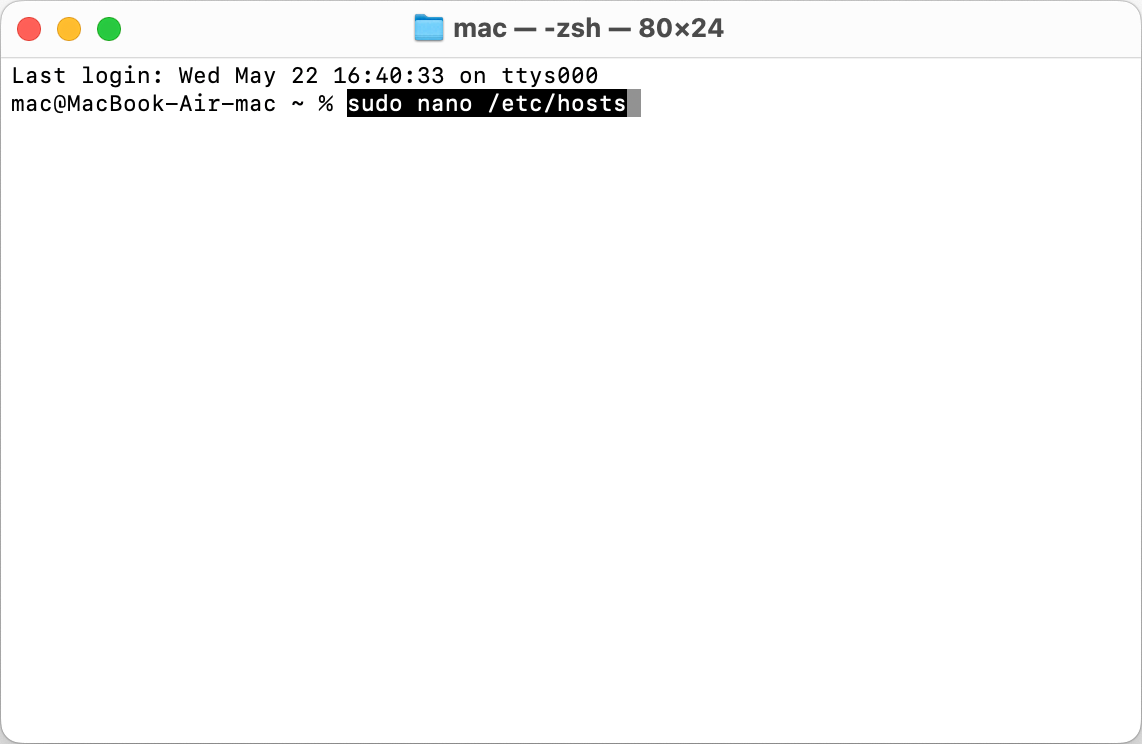
2. The administrator password will be required to enter. The process of entering it is not visually displayed for security reasons. After entering the password, the contents of the macOS hosts file will immediately appear, which can be edited.
3. Now you can input your own TCP/IP address. For this:
- Press Return to create some space below the existing records.
- Type in the new TCP/IP address and press the Tab.
- Enter the domain name.
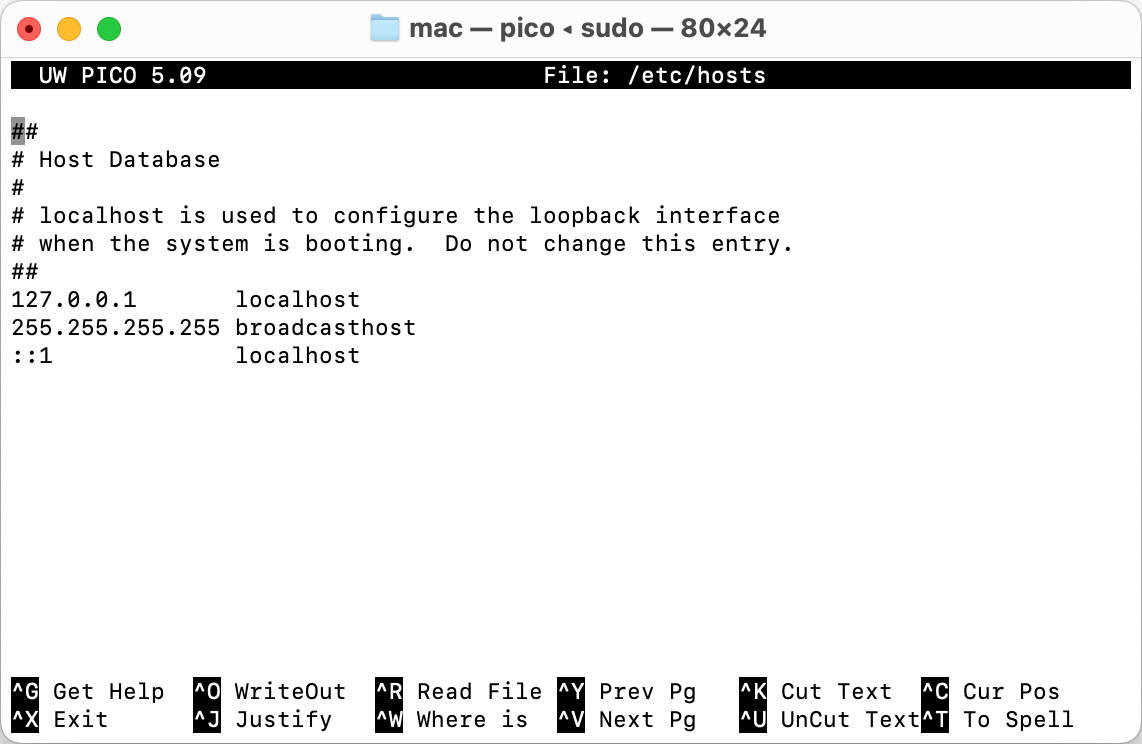
4. Once you’ve made your changes, press Control+O to apply them
5. After that, press Control+X and Enter to exit the text editor.
Usually, when you edit hosts file on Mac via Terminal all the changes are applied immediately. However, sometimes there may be issues with your DNS cache, so you won’t see any results. In this case, you need to flush DNS cache. For this:
- Open Terminal.
2. Enter the command:
sudo dscacheutil – flushcache; sudo killall -HUP mDNSResponder.
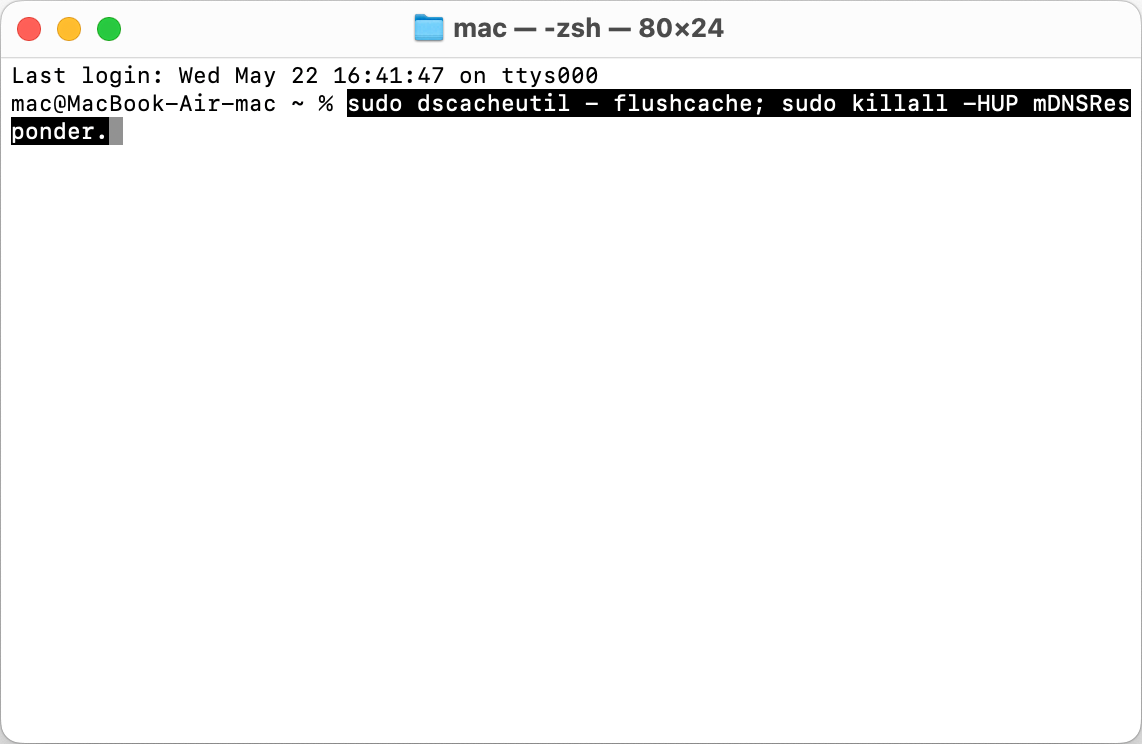
3. Confirm the action with a password.
Now the DNS cache is cleared on your Mac and the hosts changes will take effect.
Commander One: a dual-panel file manager with built-in Terminal and FTP support.
Commander One gives you all the tools you need to effectively manage files on Mac. This all-in-one file manager not only features a dual-panel interface for convenient management and access to your files but also provides a wide range of functions, including Terminal emulator, the ability to show hidden files, file operations queue, built-in file viewer, root access, advanced search, support for a great number of archive types, and way more.
By using the Terminal emulator, you can perform various file operations, including editing the hosts file ( the steps are the same as described above)or running other Mac Terminal commands without leaving the app.
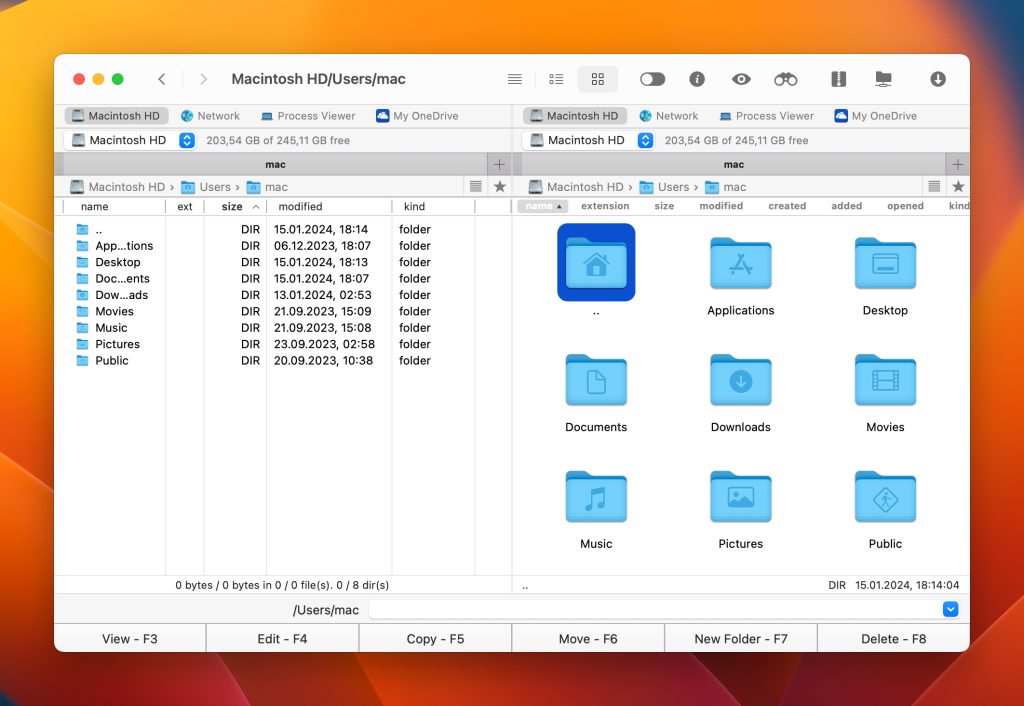
Besides that, the app acts like a macOS FTP client, making it a versatile tool for managing files both locally and remotely. You can connect to an FTP server through Commander One’s interface to create, open, edit, and delete files on the remote server just as if they were on your computer. And this is not all the possibilities as thanks to this app you can also connect to the most popular cloud storages including Amazon S3, Google Drive, OneDrive, Dropbox, etc.
Summing up, Commander One is a valuable tool for general file management on your Mac, providing easy file system access and many other features that can be useful in your daily routine.
What is the hosts file
A hosts file is a text document containing information about a domain and its corresponding IP address. The hosts file dates back to the early days of the Internet (ARPANET) and served as a kind of router until the DNS service replaced it. But to this day it has not lost its importance and is still used as a tool that takes precedence over access to DNS servers.
Why do we need to edit hosts file on Mac
There are some reasons to change hosts file on Mac instead of just letting DNS do its thing:
- To block unwanted sites. If you want to block your child’s access to any site or block any application’s access to the Internet.
- To view the site before updating the DNS system. In order for your website to be accessible on the Internet, you need to register DNS servers for the domain. Changes take effect within 24 hours. If you need to see the site faster, enter your domain and its corresponding IP in hosts. The browser will not access DNS and will go to the IP specified in the file.
Conclusion
Editing the hosts file on Mac can be a useful thing for various purposes, from website development to parental controls. While the Terminal is an effective way to update host files, it requires specific skills and command knowledge. For savvy users we recommend using Commander One, as the app offers a convenient way to manage files and provides a built-in Terminal for editing hosts file, all within a single application.
Frequently Asked Questions
You can delete the hosts file on your Mac, but doing so is not recommended as it can lead to various network related problems. The hosts file is an important system file that maps domain names to IP addresses.
Open Terminal and use the command sudo nano /etc/hosts to open the file. Add lines like 127.0.0.1 website_address (e.g., 127.0.0.1 www.example.com) to redirect the website to your local machine, blocking it. Save and exit.


