How to zip a file on Mac – the easiest way

thumbnail

Every Mac user is familiar with the problem of limited hard drive space. In this article, we’ll look at an important aspect of efficient file management, namely – file archiving. Find out how to make a ZIP file on Mac, reduce your storage space without deleting your important data, and keep it safe and easy to access with built-in and third-party archive utility for Mac.

What is a ZIP File?

ZIP files are compressed archives that can contain files or folders. It is used to compress data, making it easier to store and transfer. The standard was developed by Phil Katz in 1989 and implemented in PKZIP software from PKWARE.

The ZIP format supports lossless compression while preserving the original data. It is the most widely used archive format that you may come across and is an ideal choice for compressing data that needs to be decompressed without losing information.

Benefits of using ZIP files:

  1. Reduced file size: The ZIP format reduces the amount of data, making it easier to store and transfer.
  2. Combining Files: Multiple files can be combined into one ZIP archive, making it easier to manage and share data.
  3. Password protection: ZIP files can be password protected, keeping the content secure and limiting access to it.

How to zip a file on Mac computer

Creating a ZIP archive on Mac is easy, and with compression tools built right into macOS, there is no need to download additional ZIP utilities for Mac or plugins to quickly create ZIP archives and compress a single file, a group of files, or an entire folder.

If you are not familiar with this procedure, here’s a step-by-step guide on how to create a ZIP file on Mac:

1. Open Finder.

2. Select a file to be added to the archive.

Select a file

3. Activate the context menu for working with files.

4. Select the option Compress.

Compress files

After that, a new archive will appear in the same file folder. It can be used in any convenient way: send it over the Internet, transfer it to an external drive, etc.

Tip: 

If you want to compress multiple files, select them, right-click, and choose the “Compress” option from the context menu.

If you need to create a folder with the specific files and then compress this folder, press Shift + Cmd + N in Finder, drag-and-drop the desired files into the newly created files folder, then right-click it and choose the “Compress” option.

How to make a ZIP file on Mac and save them to another place

You can change the destination of your compressed files by opening an application that performs compression. It’s called the Archive Utility and can be found using Spotlight search.

1. Open the Archive Utility.

2. Click the Archive Utility context menu at the top of the screen and select “Settings”.

3. Find the option that says “Save archive”, and from the drop-down menu, select “Into”.

4. Choose a new destination.

Note:  By default, it saves the Mac ZIP files in the same location as the original file.

How to create a ZIP file on Mac from the command line

An unusual but efficient way to create ZIP files on a Mac is in the Terminal. Below, you will find a step-by-step guide on how to zip file on Mac via the Terminal:

command line

1. First, you need to open the Terminal (Applications – > Utilities – > Terminal). Alternatively, use the Command + Option + Spacebar shortcut.

2. Use the following Mac zip command: zip mydocument.zip mydocument.txt.

3. Terminal will create and place a ZIP archive in your current file folder.

Tip:  Another easy way to create an archive from the Terminal is to use the drag-and-drop feature supported in the app, enter the zip command as usual, and then drag the file(s) to compress into the Terminal window.

Useful Information: If you want to know how to extract ZIP file on Mac, we have prepared an informative article that covers different ways of opening archives on Mac.

Advantages of using third-party software for creating a ZIP file on a Mac

The simplest way to create a ZIP file on Mac is called Archive Utility, which is integrated into the operating system itself. Unfortunately, it does not allow setting parameters such as compression ratio and password protection and serves solely for combining files and compressing their size. The built-in archiver may find it too tough to deal with an encrypted archive or, say, a file that is split into several volumes for ease of transfer. That is why, for those who often deal with archives, it makes sense to install an additional macOS ZIP utility.

Programs from third-party developers have much more functionality. They are able to perform numerous tasks, work with a wide range of extensions, and have convenient integration into the context menu. For instance, Commander One. In fact, the program is a cool file manager with wide functionality. Besides that, it is a powerful tool for unpacking and creating archives in the following formats: ZIP, RAR, 7Zip, TBZ, TGZ, etc.

This zipping software for Mac supports an encryption feature for archives, offers hotkey combinations for both compressing files and compressing files with options, has a convenient archive toolbar button, allows setting internal compression ratio, as well as offers much more additional features for efficient and perfect file management.

The simplest way to create a ZIP file on Mac

How to create a ZIP file on Mac via Commander One

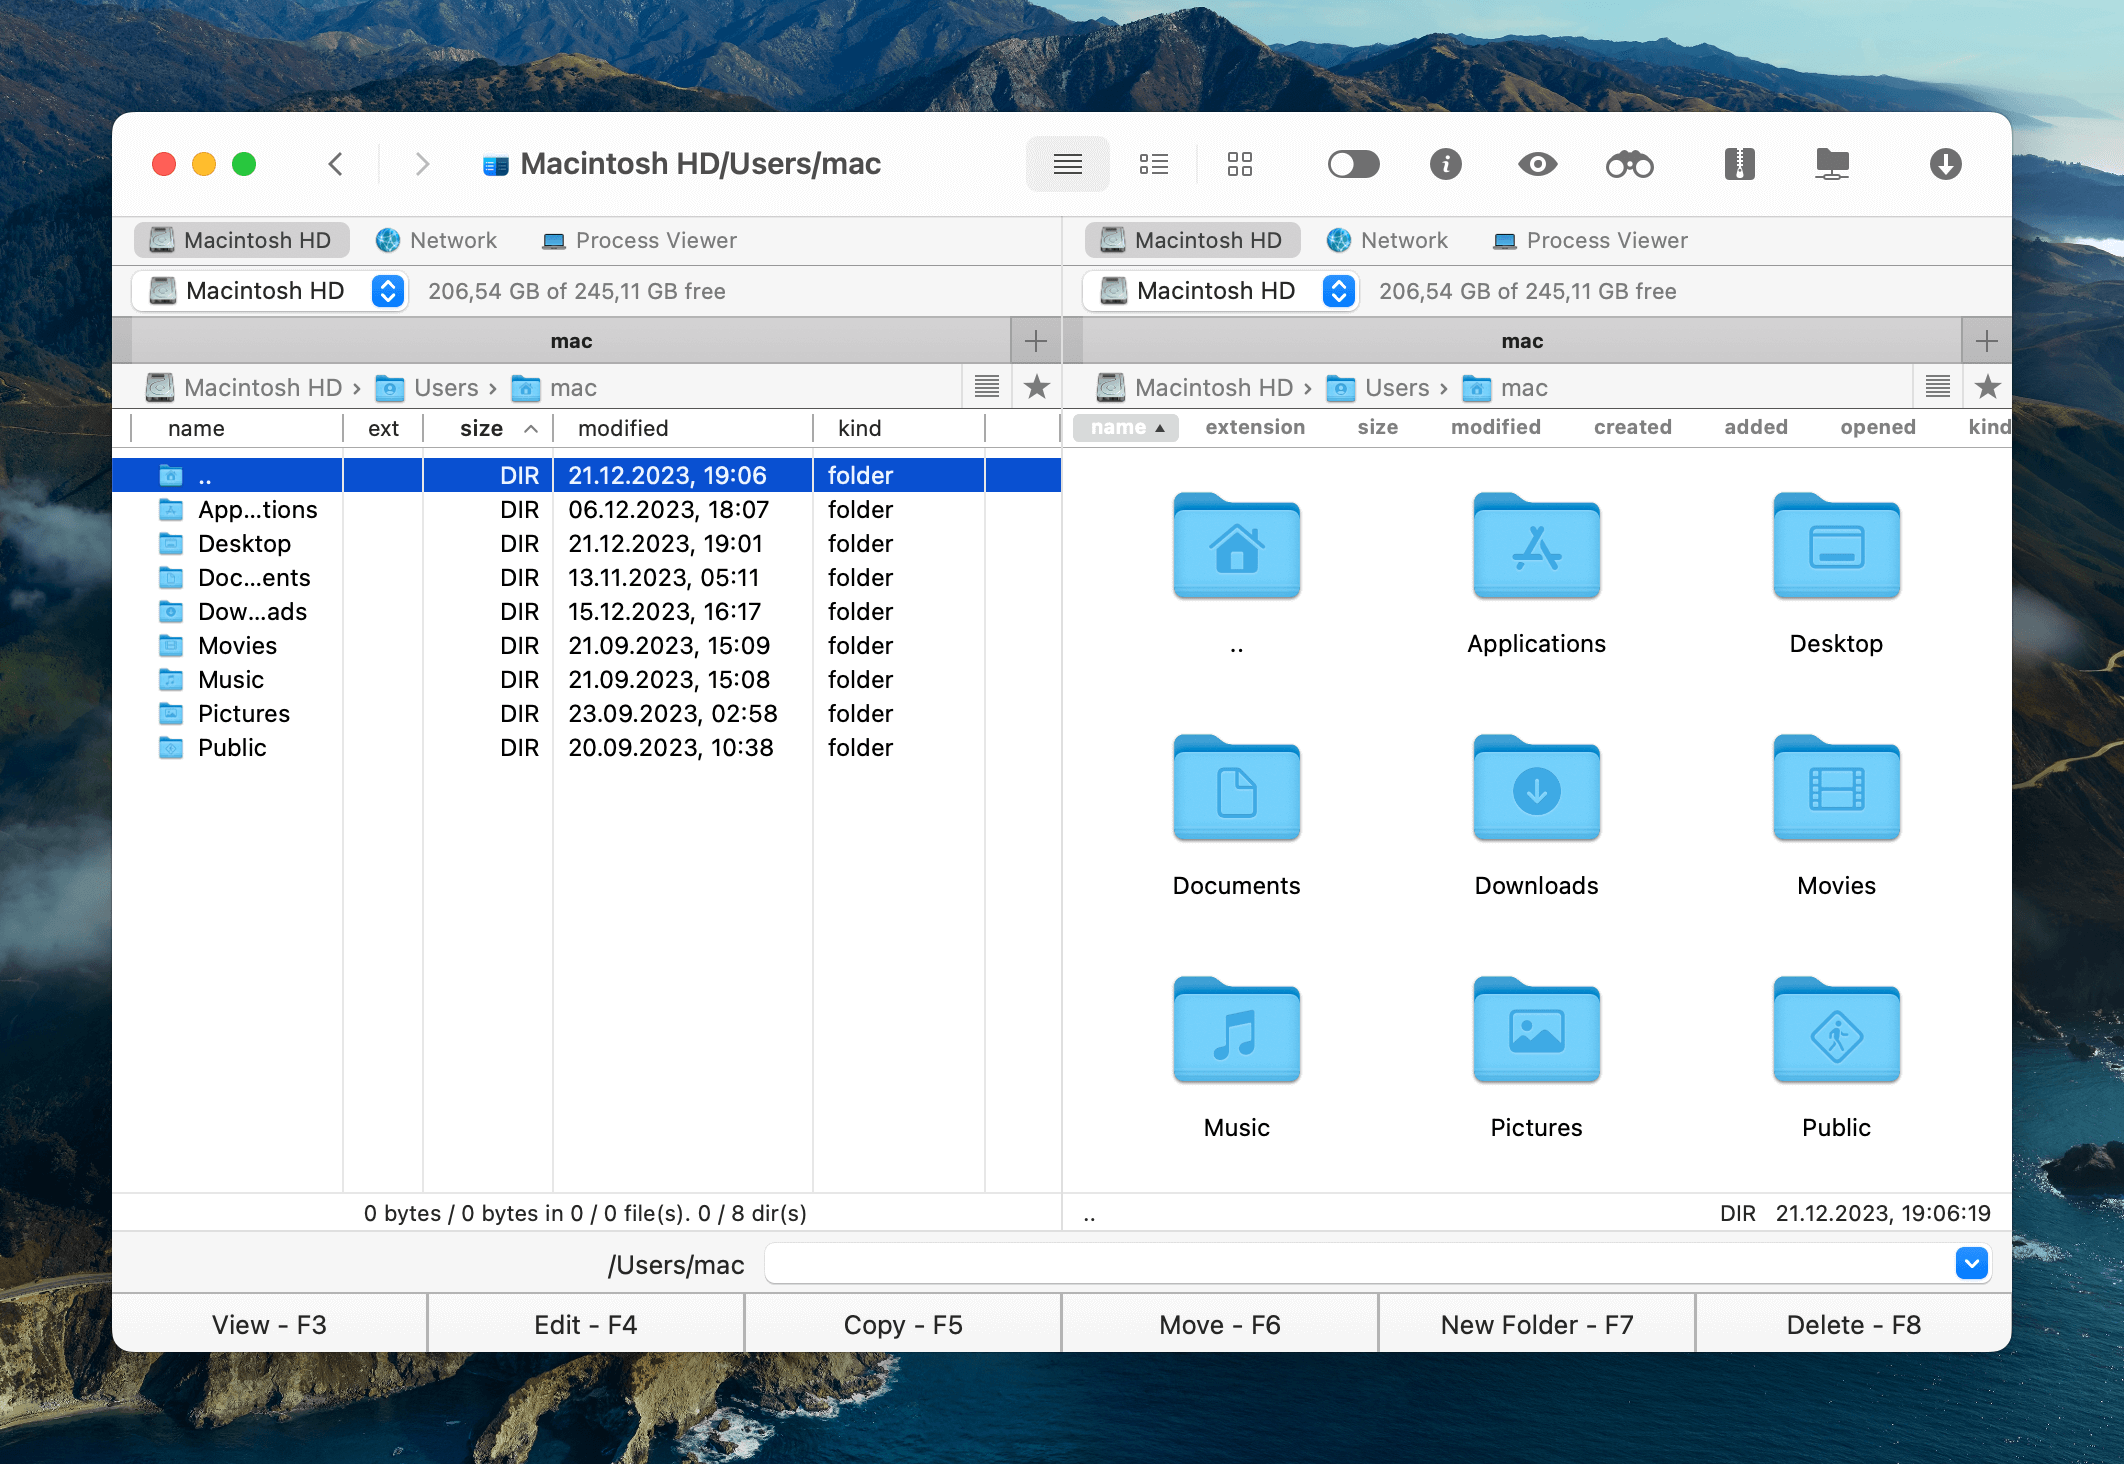
1. Download and install Commander One on your Mac.

2. Launch the app and select a file or files you want to archive.

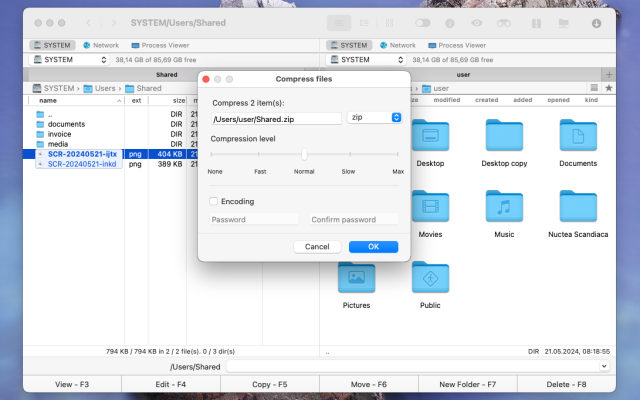
3. Right-click files and select the “Compress selected file(s)” option from the context menu.

Compress selected file(s)

4. Alternatively, after selecting files, you can click the archive toolbar button located in the upper-right corner to create an archive.

5. The archive will appear in the same pane.

For more information about creating archives via Commander One, follow this link.

Tips: You can use the following shortcuts:

Ctrl + F5 – to compress files

Ctrl + Alt + F5 – to compress files with advanced options

Note:  The free version of Commander One exclusively offers support for the .zip format, allowing users to extract, create, and modify .zip files. Access to the full range of supported formats is unlocked through the PRO Pack mode.

Conclusion

There are many reasons to zip file on Mac. In this article, we’ve covered several methods for creating ZIP archives that will allow you to easily compress your files. However, if you’re looking for a more powerful and flexible file management solution, including archiving, we recommend checking out Commander One. This file manager makes archiving and managing files more intuitive and convenient, making it a great macOS ZIP tool.

And what tools do you use to create ZIP file on Maс? Share your thoughts in a comment below.

Frequently Asked Questions

If you can’t zip a file on your Mac, it might be due to permission issues or a lack of available storage space. Ensure you have the necessary permissions to modify the file and that you have enough free space on your drive. If the issue persists, you can try restarting your Mac or using a third-party application like Commander One to both compress and open ZIP file.

The best free app for handling ZIP files on Mac can vary depending on individual preferences and needs. There are lots of options to choose from. However, if you’re looking for a comprehensive file manager that can also handle ZIP files and offers additional features, you might want to consider “Commander One.” Commander One is known for its versatility and file management capabilities, making it a great option for Mac users.