- Cloud storage manager
- Map Dropbox as a network drive
- Best ways how to Upload to Dropbox any files
Best ways how to Upload to Dropbox any files
There are many cloud storage services. Each has its own feature and its own audience. Some users choose only one cloud storage, whereas others use several. Today we will talk about Dropbox and Dropbox upload feature that facilitates file rotation among the accounts and users.
You can upload files to Dropbox in a different way, namely through the official site, the native Dropbox desktop client Dropbox mobile application for iOS or Android, or even by mounting Dropbox as network drive on your Mac computer. Below we will provide you with detailed instructions concerning each of the methods so you can choose the one that fully meets your requirements.
User scenario:
I am a photographer and have 10,000's of photos I want to back up to Dropbox. I have created files and folders and want to upload a large folder, with multiple sub folders, at once. If I start the upload it suddenly will just upload a 'few' of the subfolders and stop, yet say upload was complete. To try and upload each subfolder at once would be impossible-I have 1000's of them— from Dropbox Forum
What is Dropbox?
Dropbox is one of the oldest cloud storage services, founded in 2007. The service is considered to be the first one that started the “explosive” growth of cloud storage. With the help of special apps, you can synchronize the contents of the folders of any connected devices with the Dropbox server.
Dropbox users start with 2 GB of free space, but for simple tasks, you can get up to 18 GB of free space. This service is secure and ideal for working with documents and files. On March 15, 2019, a restriction was introduced for the free tariff – now you can synchronize data on no more than three devices. So how to upload to Dropbox all the important data? Continue reading to know more.

How to Create a Dropbox Account
Creating a Dropbox account is easy. Just follow these steps:
- Go to dropbox.com.
- Type in your email address. This will be your Dropbox username.
- Fill in your first name, last name, and choose a unique password.
- Pick a plan, then click “Sign up”.
- Check your email for a verification message and follow the instructions to verify your account.
If you already have the app installed on your phone or PC, you can also create an account there.
How to upload files to Dropbox from a computer
In order to start using the Dropbox cloud service, you only need to do a few steps: register on the Dropbox website, download and install the Dropbox application on your computer, and log in to the program using the login you specified during registration. Follow this step-by-step guide to upload files to Dropbox:
- To get started, visit www.dropbox.com and register an account (if you haven’t done it already). The process of registering a new user is as simple as possible and will not cause any difficulties.
- After filling in the registration form you will be asked to choose one of the tariff plans. Choose the one according to your needs.
- After choosing the tariff plan, the download of the Dropbox client’s app should start. After that install the client on your Mac as you do with the rest of the apps.
- Open the Dropbox desktop client by clicking the Dropbox icon in the top-right corner of the screen.
- Find the files you want to add to Dropbox.
- Drag a file or folder to the Dropbox folder to start the Dropbox upload. Once you add a new file to Dropbox, it will be possible to access it from any device.
- Another way to move a file to Dropbox is to right-click on the file and select the “Move to Dropbox” option.
Pros
- Easily upload files directly from your computer
- Drag-and-drop functionality
- Sync files across all your devices automatically
Cons
- Manually organizing and managing files
How to add a file to Dropbox using CloudMounter
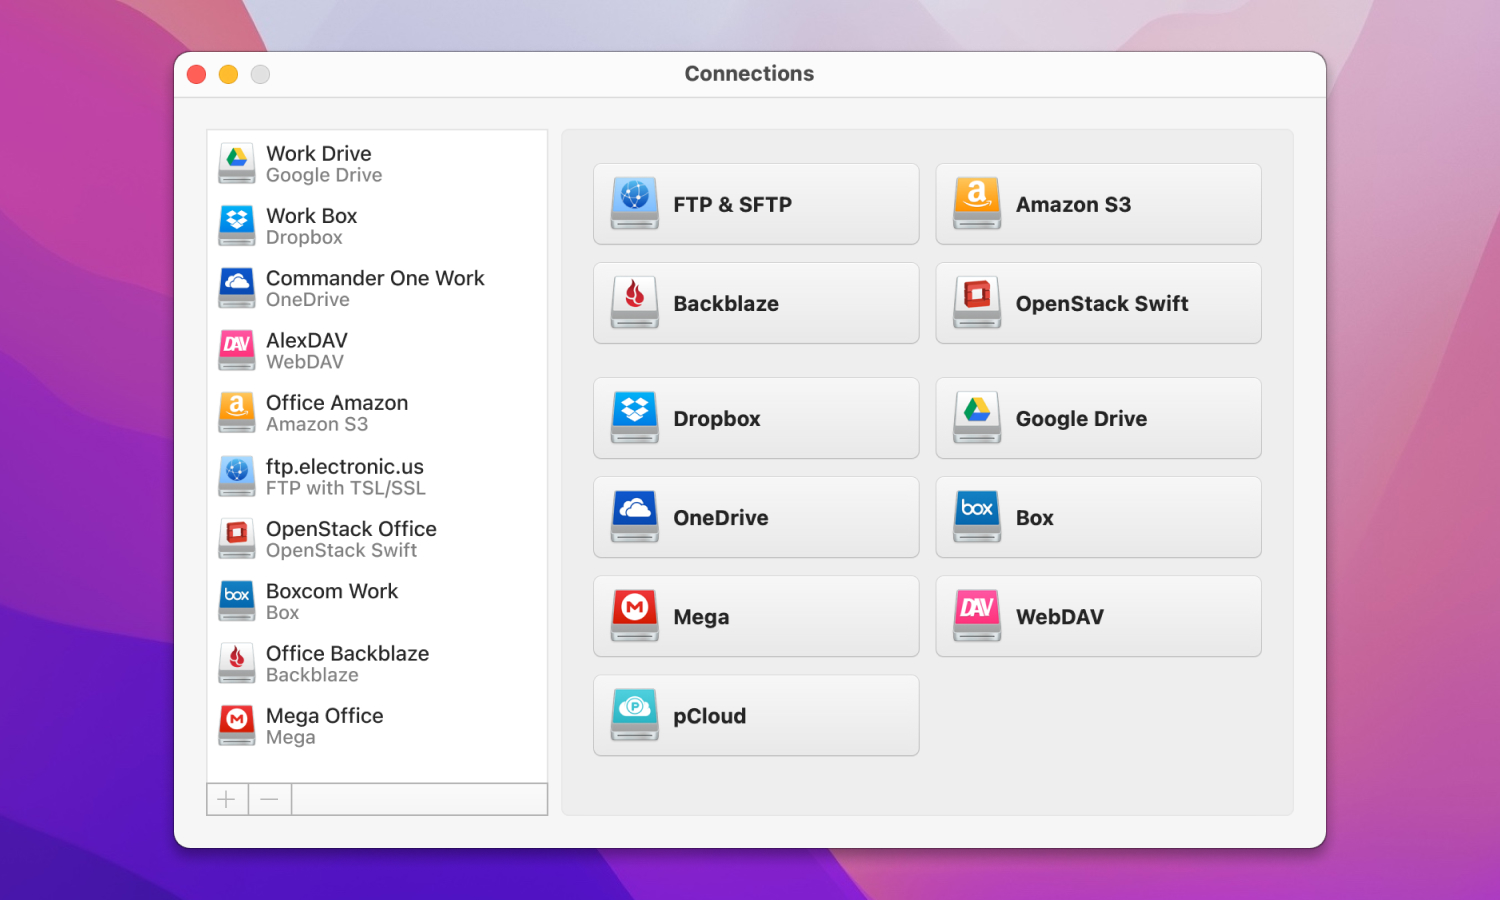
As you know there are lots of third-party apps that allow working with cloud storage services besides the native client and CloudMounter is one of them. It is not only a powerful Dropbox client but also the app works great with other major cloud computing services like Google Drive, Amazon S3 and S3-compatible storages, OneDrive, Mega, etc. CloudMounter has a seamless Finder integration that makes work with online storage even easier.
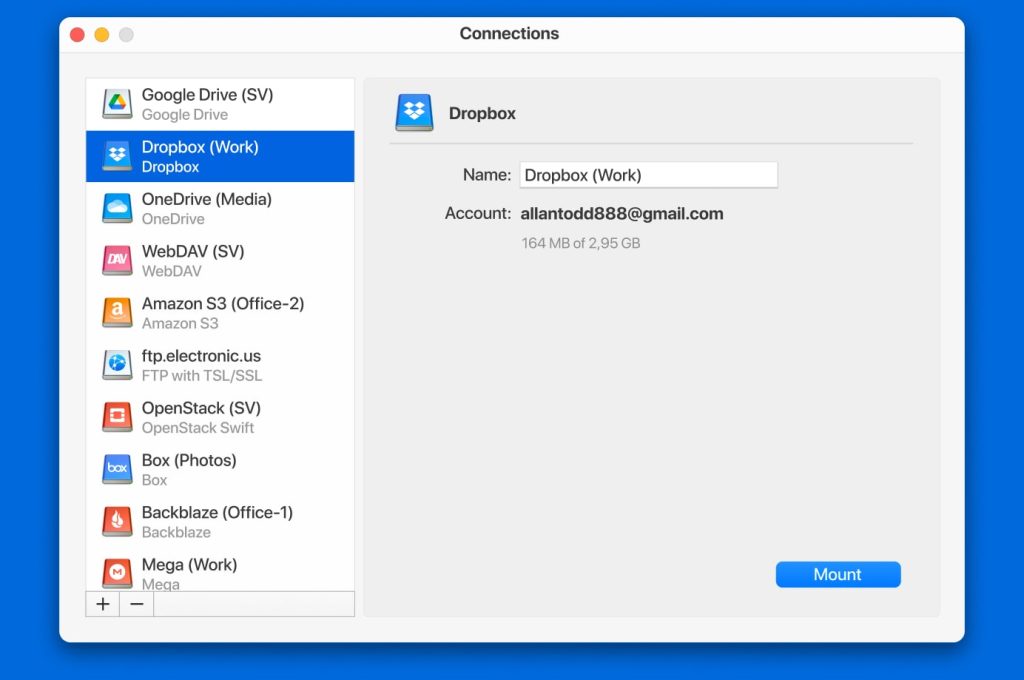
The great plus of this cloud manager is definitely the support for encryption. CloudMounter offers AES-256 bit encryption making sure no one will obtain access to your sensitive data. To start uploading files to Dropbox via this cloud manager you need to follow these simple steps:
1. Download and install the app.
2. Mount Dropbox account using your account’s credential.
3. Go to Finder and select all the files you want to upload to the cloud.
4. Choose one of the variants how you want to upload files to Dropbox:
- drag and drop
- cmd+С/cmd+V
That’s it. Everything is pretty simple and doesn’t require a lot of effort. In addition, CloudMounter doesn’t synchronize local files with cloud storage thus saving space on your hard drive.
Pros
- Allows you to manage multiple cloud storage services from a single interface
- Provides encryption for files
- Dropbox appears as a local drive on your computer
Cons
- Limited free version
How to upload files to Dropbox from the mobile app
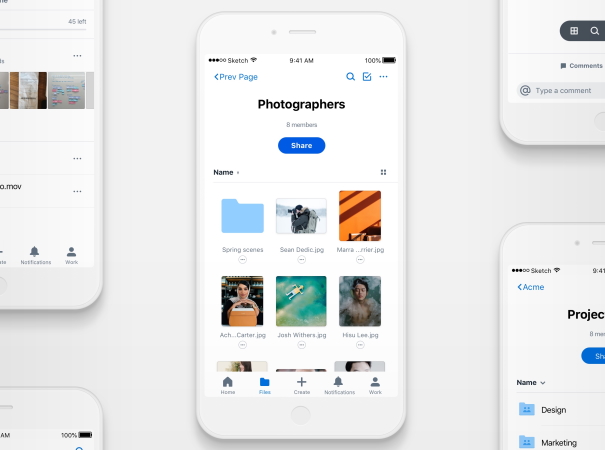
- First of all, you need to install the Dropbox application. A quick way to do this is to visit https://www.dropbox.com/mobile on your mobile device and click Download in the App Store.
- Open Dropbox – an open blue box icon.
- Login to your account with the credential used when installing Dropbox on your Mac. After logging into your account, you will see the contents of the Dropbox folder.
- To upload files to Dropbox from the phone. Follow these steps:
- Tap the + icon on Dropbox and choose the ”Create or upload file” option.
- Browse the files on your phone and select those you want to upload to Dropbox, by tapping on them.
- Tap the “Upload Files” option.
That’s it. You can choose whatever file you want to add to your Dropbox account right from your phone.
Pros
- Easily upload files from anywhere using only the mobile device
- Files uploaded via the mobile app sync with your Dropbox account
- Share files instantly from your phone via email, text, or other messaging apps
Cons
- File management is easier on a computer than a phone
- Mobile networks are often slower than home or office internet
How to Automatically Upload to Dropbox
Dropbox has a feature that automatically uploads all of your photos as you take them with your phone or whenever you connect your camera to your Mac. So follow these steps to perform an automatic Dropbox upload:
- Click the Dropbox icon in the top-right corner on the screen of your computer. In the window that appears click the gear icon ->Preferences.
- Go to the Import tab, and search for camera uploads and screenshots settings.
- Mark the “Enable camera uploads” option to allow Dropbox automatically catch files from any camera you connect to Mac.
If you are using a phone or a tablet, proceed with the following steps:
- First of all, make sure you have the Dropbox app installed on your device.
- After that, launch the app on your phone and go to the Dropbox Settings and choose the Camera uploads option.
- Once enabled, all the photos taken by the phone will automatically be downloaded to your Dropbox account.
Pros
- Files are uploaded automatically, without manual intervention
- Changes made to files are synchronized in real time
- Ability to free up local storage by automatically moving files to the cloud
Cons
- Automatic downloads may accidentally include confidential or private files
- Continuous syncing can consume significant bandwidth
How to upload files to Dropbox via the web-browser
- Visit the Dropbox website and log in to your account. If you haven’t got one, create it.
- To upload files to Dropbox, click the “Upload” button in the upper right corner. Here you can choose what you want to upload.
- Select the files you want to upload to Dropbox and click the “Upload Files” option. Or you can select a folder and click the “Upload Folder” option.
Also, keep in mind the so-called Dropbox upload limit. Each file or folder you choose to back up to Dropbox via the Dropbox website cannot exceed 20 GB. If you want to add large files or folders, you can make it via a desktop or mobile application.
Pros
- Upload files to Dropbox from any device
- No need to install the Dropbox app
- Easily share files with others by creating sharing links from the browser
Cons
- The web version of Dropbox offers fewer features than the desktop version
- Browser performance might affect the download process
Top 9 Solutions to Fix Dropbox Not Uploading Issue
Despite Dropbox being one of the most popular file sharing and storage tools, it has some issues when uploading files. You can refer to our comprehensive guide to resolve many Dropbox issues reported by users.
1. Restart Dropbox or Your Computer
One of the common reasons for Dropbox not uploading issue is the hang of the certain running app or your computer. That’d why it is recommended to restart both Dropbox and the computer.
2. Update Your Dropbox
Make sure you are using the latest version of the Dropbox app, otherwise you can face Dropbox not uploading issues.
3. Adjusting Bandwidth Settings on Dropbox
It is possible to set the speed limit both when uploading and when Downloading files. If you don’t want a slow connection or have Dropbox upload problems go to Preferences – > Select Bandwidth and choose “Don’t limit”.
4.Check If the Network Connection Is Stable
Usually, when the Internet connection is weak or constantly disconnected, Dropbox may show an error when uploading photos and files. In this case, if you are using Wi-Fi, try using Ethernet or reconnect to a different Wi-Fi.
5. Upload Compatible File to Dropbox
Keep in mind that not all files can be uploaded to Dropbox. Namely cloud storage faces difficulties when uploading web-based files added directly from other websites.
6. Rename the File
If Dropbox doesn’t allow you to upload files, make sure the file name doesn’t include certain characters, such as punctuation.
7. Close the File on Other Applications
Also, don’t forget to close the file in another application before uploading it to Dropbox. Unfortunately, files that are currently in use cannot be uploaded to Dropbox.
8. Clear Cache on Dropbox
Make sure to clear cache data on your Dropbox periodically. As you may face Dropbox not uploading issue if you have lots of cache stored on the cloud that prevents files from being uploaded.
9. Clear or Upgrade Dropbox Storage
Keep in mind that Dropbox is not unlimited storage for your files ( in case you do not pay each time for the upgrade). Delete unnecessary files to free up space to be able to upload files to Dropbox.
Conclusion
Cloud storage services provide you the possibility to store files on their servers and access them whenever you want and from any device making your digital life convenient. We have gathered several ways how to upload to Dropbox for your consideration. However, if you deal with different cloud accounts and upload files regularly, we recommend you benefit from all the features gathered in CloudMounter.
Frequently Asked Questions
Data sent to Dropbox is encrypted using AES 256-bit encryption. Besides that if you have lost your device you can easily unlink your account in order no one stole the data stored on the cloud.
There are several ways to upload files for free to Dropbox, starting from the native desktop or mobile client, web version, and ending with the third-party apps. To know the detailed steps on how to use Dropbox upload feature read the article above.
Dropbox upload speed depends on the size of the file you want to upload and on the bandwidth of the provider.
There are certain limits when you upload files to Dropbox. However, keep in mind that the file size you want to upload to Dropbox cannot exceed the amount of free Dropbox space. Depending on the method you choose:
- Through a browser, the Dropbox upload limit is 50GB
- Through the desktop or mobile app – 2 TB

