What Is Dropbox and How to Use Dropbox Efficiently

thumbnail

Dropbox offers many conveniences – for instance, we’ll teach you how to use the official app to map Dropbox as a network drive. This Dropbox folder is an easy way to sync on macOS. Better yet, no configuration is required. There’s also some info on how the service compares to others, like Google Drive and Amazon S3.

How to Download Dropbox on Mac

How to use Dropbox on Mac? The macOS Dropbox app is simple. It creates a Dropbox folder and regularly syncs it with the cloud drive. There’s no client – you can use Finder to work with the folder. Sadly, sorting and automation can only be done through the website.

You don’t have to do much to set it up:

Folder with your files.

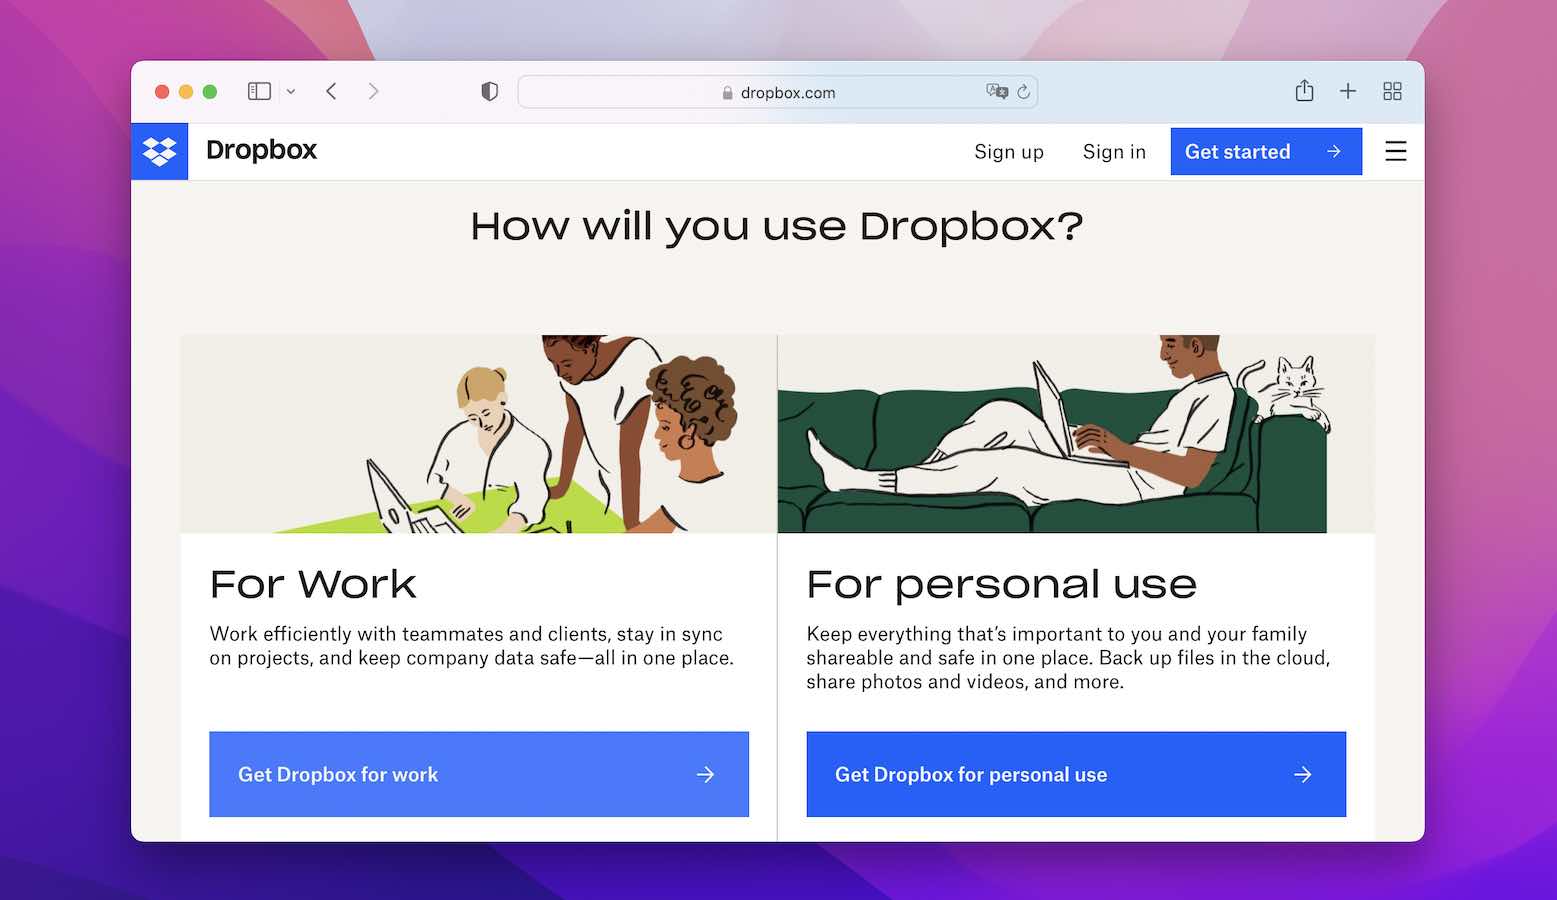
1. Go to the official Dropbox website.

You can choose the plan that suits you.

2. Sign in and proceed until you can go to your homepage.

Enter your Dropbox login details.

3. Click your account icon and choose “Install Dropbox App”.

4. Install the downloaded .dmg.

After launching, you may have to connect the app to your Dropbox account. It will either provide a link or directly open a browser tab for confirmation. Once set up, you’ll only have to interact with Dropbox through your file manager.

Dropbox CloudMounter Integration

If you’re interested in using the free storage space that Dropbox provides to basic accounts, the official app is not the only way to do it! CloudMounter does the same thing – and not just for Dropbox. It integrates Amazon S3 and Google Drive, in addition to many other cloud services, in the form of syncable folders. CloudMounter can replace multiple desktop clients at the same time!

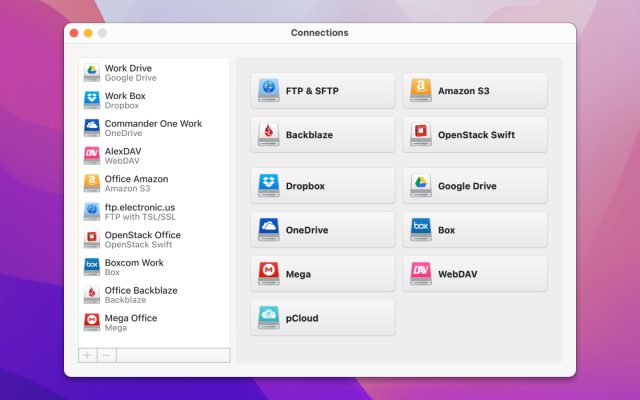
Follow these steps to add a Dropbox drive to CloudMounter:

1. Open CloudMounter and select Dropbox from the list of compatible drives.

You can select the storage you want to connect.

2. Provide your login info and press “Mount”.

At any time, you can disable the connection to the drive.

3. If necessary, rename the connection.

The Dropbox folder can be found in the same location as your hard drive. Stack up free services using CloudMounter to get more space on your Mac!

How to Sign Up for a Dropbox Account

How to use Dropbox on Mac? The macOS Dropbox app is simple. It creates a Dropbox folder and regularly syncs it with the cloud drive. There’s no client – you can use Finder to work with the folder. Sadly, sorting and automation can only be done through the website.

You don’t have to do much to set it up:

Window with your files on Dropbox.

1. Go to the homepage. Select “Create an account”.

2. Specify your name, surname, email address, and choose a password.

You can sign up with Google.

3. Don’t choose a trial plan when prompted. You can do it later. Instead, scroll down and select the Basic plan.

You’re done! For added security, confirm your email address and consider enabling two-factor authentication. Keep in mind, the sign-up procedure is even simpler if you use a Google account. You won’t even have to set a password or add an email account.

What Is Dropbox?

Dropbox is a file storage and sharing platform. Every Dropbox account is assigned a single cloud drive, which can be divided into folders. Simple automation features are available, such as sorting, name standardization, and auto-conversion.

A free Dropbox account starts out with 2GB of available space. It can receive minor upgrades by completing the tutorial (250 MB) or through referrals (500 MB each). All significant storage upgrades require a paid subscription. The cheapest plan – Plus – provides approx. 2 TB of storage space for $9.99 per month.

Very easy to organize your files.

Best Dropbox Features

What makes Dropbox great? It’s not designed for advanced use cases. It generally doesn’t open or edit files. It doesn’t require you to learn complex APIs to work with it. This service offers simplicity while being polished and integrated enough to be convenient.

  • Multi-device sync with quick setup.
  • Dropbox uploads can be done from Finder.
  • Easy GUI-based access and version management.
  • Designed for private and public sharing.
  • Rudimentary audio, video, and document conversion features.
  • Batch unzipping, sorting, renaming.
Right-click to see additional menu.

Conclusion

Now that you’ve learned how to use Dropbox to share files and store them, consider the ways you can use it. For example, creating backups in case some files get lost or a device fails. Or making a photo album that’s always available online to your family. The possibilities are endless. And don’t forget CloudMounter – it can make any service as easy to use as Dropbox.

Frequently Asked Questions

Outside of commercial use, there’s really not much to learn about using Dropbox. In the web interface, all the buttons are clearly identifiable – upload, download, rename, etc.

You need to upload the files, configure their access settings so that the receiver can download them, and finally, you should send them a download link.

Dropbox is a cloud platform that can store, sort, and share files. It’s user-oriented, with simple and accessible features.

You can do this from the web interface, by going to your drive and choosing “Upload”. Alternatively, if you already have the app installed on your device, just put them into the Dropbox folder.