Oculus, or as of now Meta Quest VR headset, allows you not only to immerse yourself in games but also to create your own content, like recording video, taking screenshots, and saving clips. Eventually, there arises a need to transfer files from Oculus to your Mac for editing, publishing, or simply to free up memory. It would seem that the task is simple, but you’ll face difficulties.

As macOS does not recognize the VR headset because it runs Android OS, the standard file copying, like on Windows, does not work. And while there’s no native Mac solution that allows you to access Oculus files, third-party software can save your day. In this article, we’ll show you how you can easily connect Android device to Mac to make the process of data transfer as convenient and fast as possible.
MacDroid - simplifies Oculus to Mac file transfer
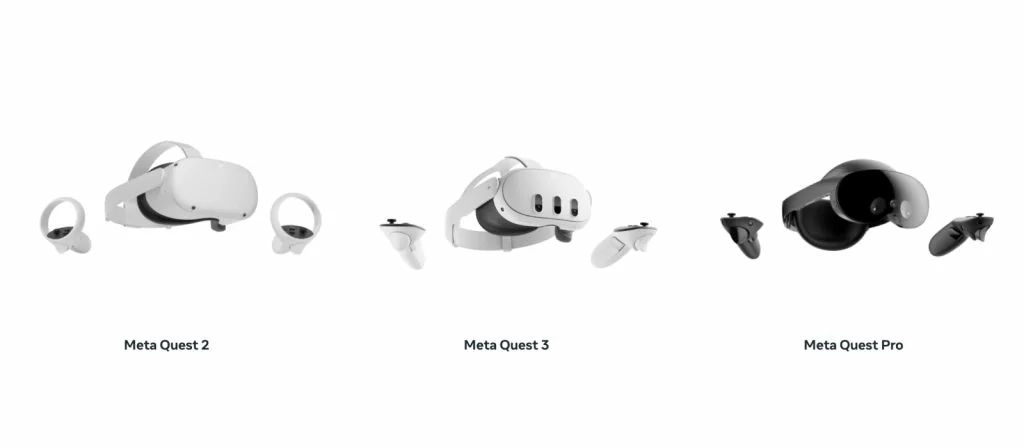
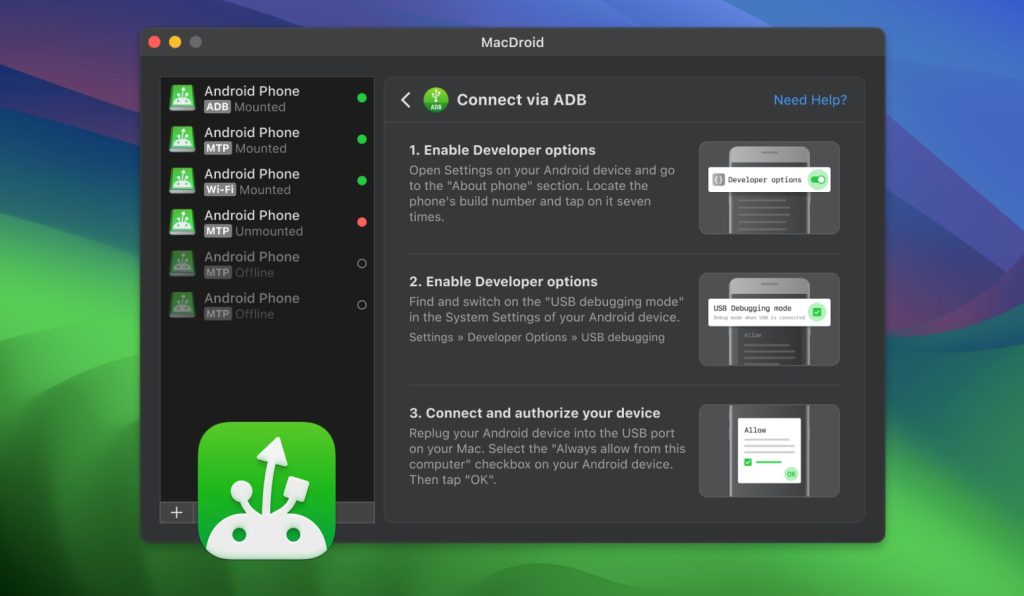
Transferring files from Oculus to macOS is no longer a problem if you use MacDroid. The app solves a key problem – the lack of MTP support on Mac, thanks to which you can connect the headset as if it were a regular drive. The connection can be made either via USB or via Wi-Fi. MacDroid is compatible with various versions of VR headsets, including Oculus Quest, Quest 2/Pro, along with other Android smartphones and tablets, as well as other MTP-compatible devices.

The app allows you to copy pictures/videos, music, and other files and edit them directly in Finder. This is a convenient solution for those who want to unite all their devices in one space and get rid of the difficulties of exchanging data between platforms.
Meta Quest 2 to Mac file transfer with MacDroid
1. Download and install MacDroid on your Mac.
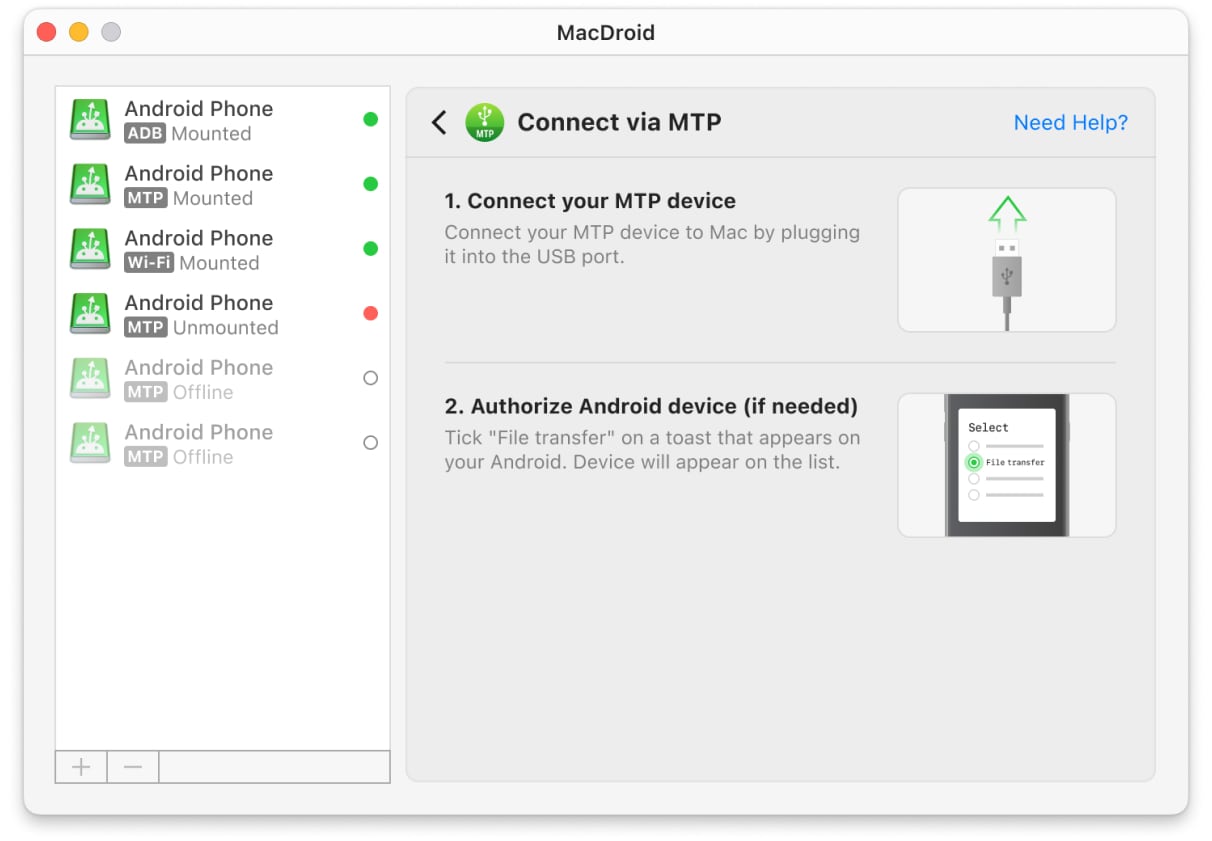
2. Launch the app and choose the “Connect via MTP” option.

3. Connect your device to your Mac with a USB cable.

4. Click the “Allow” button on your Mac if you have an ARM-based MacBook.
5. Put your VR headset on, go to the Notification Center, and click the notification about the USB connection.
6. Then take your VR headset off and click the “Allow” button again on your MacBook.
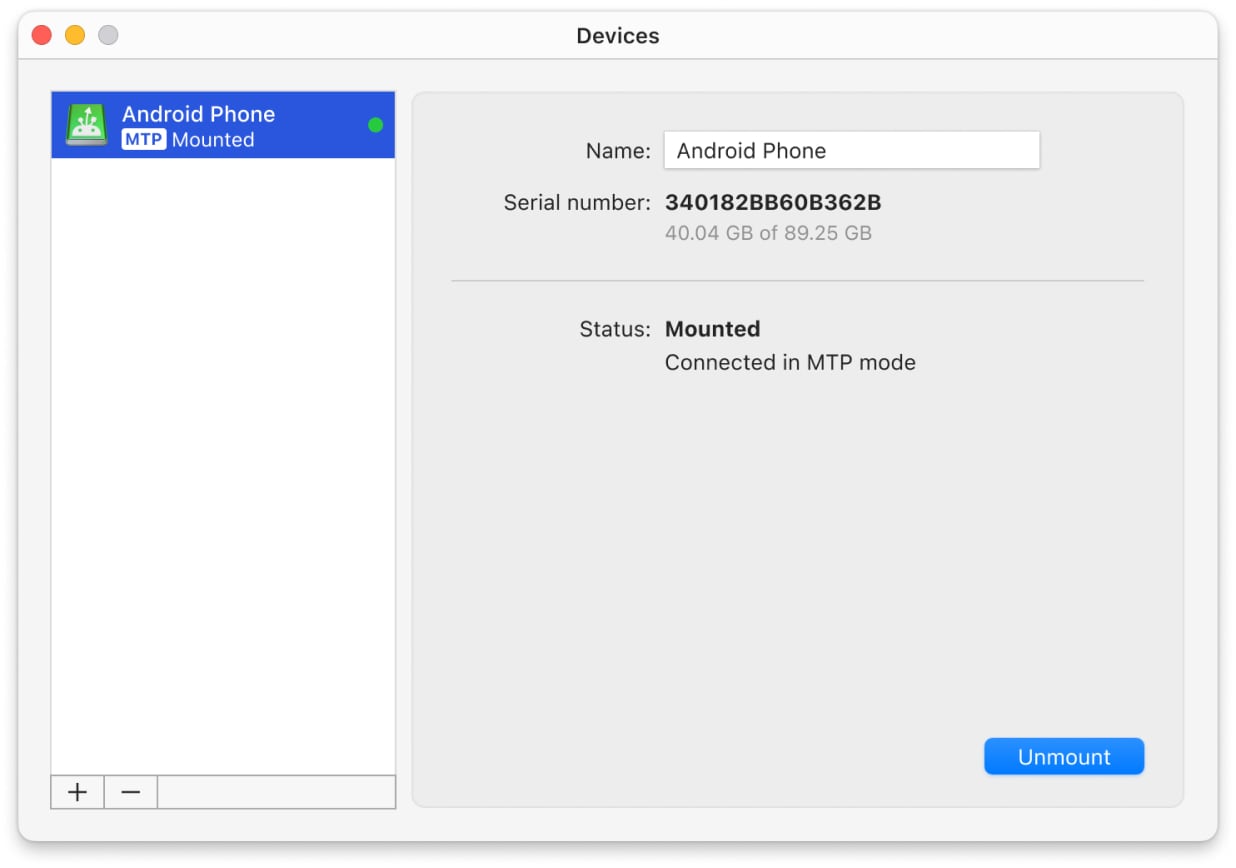
7. Now Oculus will appear in Finder as an external drive. You can move/copy files by simply dragging and dropping them.
Connecting your Meta Quest is not that hard, as you can see. Moreover, these steps apply not only to Meta Quest 2 but also if you want to connect Meta Quest 3 to Mac or any other model of Meta Quest VR headset.
Conclusion
Transferring files from Oculus to Mac may seem complicated at first glance due to the lack of native MTP support in macOS, but in reality, everything is much simpler. You just need a reliable Meta Quest app for Mac solution that will take care of all the nuances. One such tool is MacDroid – it offers a simple connection of the VR headset to macOS and allows you to work with its memory as easily as with a regular disk.