- Cloud storage manager
- Connect to OneDrive
- What is the best OneDrive for Business Mac App?
What is the best OneDrive for Business Mac App?
You are probably familiar with Microsoft OneDrive, the company’s cloud storage tool. But Microsoft also offers a product called OneDrive for Business. So what is the difference between these two and should you use specialized OneDrive for Business Mac clients? Continue reading.
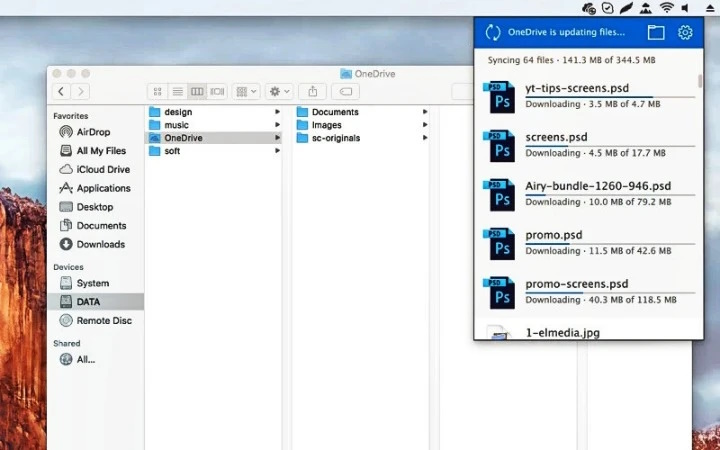
OneDrive is Microsoft’s personal cloud storage and sync service that lets you access your files from any device. Whereas OneDrive for Business is the same service but for company use only. After you sign in to OneDrive on your computer, you’ll see a dedicated OneDrive folder, everything you put there is synced with Microsoft servers. In addition, you can map OneDrive as network drive with the help of cloud managers like CloudMounter and have access to your online files right from Finder.
How is OneDrive different from OneDrive for Business?
In general, OneDrive for Business is almost the same service as OneDrive. Using a service with a personal Microsoft account provides access to the standard version of OneDrive, whereas OneDrive for Business Mac users can access by logging in using a work or training account. Of course, there are differences in what they offer.
One of the main differences between these two is that when using OneDrive for Business the system administrators decide where to host the service. They can store it in the Microsoft cloud, which is very similar to a personal OneDrive, and with this setting, each user receives at least 1 TB of space.
However, business users can also host their OneDrive for Business library on a SharePoint server. This allows them to host everything on their physical server instead of using the Microsoft cloud. In this case, administrators will decide how much storage space each user gets.

Benefits of OneDrive for Business
OneDrive for Business works similarly to Dropbox Business. When using OneDrive for Business Mac users get additional controls and features, namely for business use. For example, OneDrive for Business allows IT administrators to limit the capabilities of users. They can block certain sharing settings, configure synchronization, and easily deactivate user accounts when an employee leaves the company.
OneDrive for Business also includes advanced storage policies that allow businesses to recover documents even after deleting them. Thus, OneDrive for Business is more advanced than the consumer version.
The list of OneDrive for Business Mac benefits:
- Create and edit Microsoft Office documents using OneDrive’s built-in Office Online functionality.
- Collaborative editing of documents by several employees at the same time.
- Deep OneDrive integration with all Office365 and Microsoft Office components.
- Store personal and corporate documents of any type and synchronize them with desktop PCs and mobile devices.
- Providing access to documents to both employees of the company and users outside it.
- Maintain document version histories and notify users of changes.
- Corporate security level, access rights management incl. on mobile devices.
- The OneDrive mobile app allows you to save your photo stream immediately to the desired OneDrive folder.
Anybody using OneDrive integration on MacOS? First, it seems to have quite a bad reputation on the App store. Anybody feel like sharing their experience with the OneDrive app?— Reddit
How to install OneDrive for Business on Mac
You need two basic elements to make OneDrive work: a Microsoft account and a OneDrive app for Mac. Both are free. If you do not already have a Microsoft ID, go to the Microsoft ID registration screen, provide the requested information, create a password, and get your Microsoft ID.
1. Go to the OneDrive website.
2. Click “Log in” and enter your ID.
3. Your browser will display the default OneDrive folder configuration. Go to the bottom of the sidebar and click the Get OneDrive Apps link to the site.
4. Click the “Download” to download OneDrive for Mac.
5. Follow the on-screen instructions to install OneDrive for Business Mac client.
Alternatively, go to the App Store on your Mac to get OneDrive for Business Mac client. For this:
- Type OneDrive in the upper right corner of the application page.
- Find the OneDrive app in the list of search results.
- Your browser will display the default OneDrive folder configuration. Go to the bottom of the sidebar and click the Get OneDrive Apps link to the site.
- Click “Install” and wait for the application to load.
- Follow the on-screen instructions to install OneDrive for Business Mac client.
- In a while, a pop-up window with the message “Configure OneDrive” will appear. Log in with your email address.
- Next, you will be asked to select the location where you want to create the OneDrive folder. Once you have made your choice, click Next.
- You then get the ability to sync the files and folders you want to host on OneDrive. Choose – All files and folders on my OneDrive or click Select folders to sync.
- Once step 6 is finished, your OneDrive will be ready to use.
Please, keep in mind that there is no separate OneDrive For Business Mac sync client, you just need to use the simple OneDrive client, however, you log in with your business credentials.
Best App To Map OneDrive for Business As Network Drive
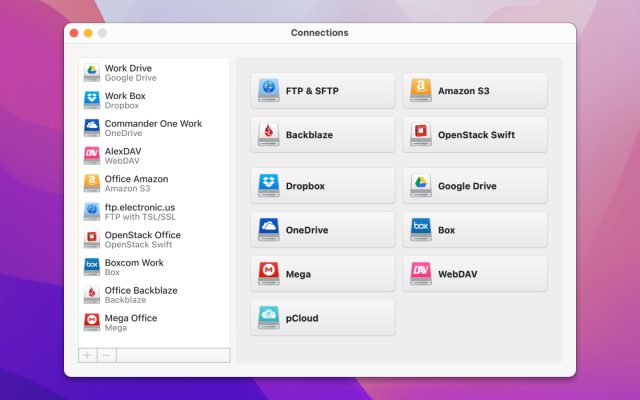
If you want to be able to mount OneDrive for Business as network drive and access your OneDrive files right from Finder, we present CloudMounter for your consideration. The app is aimed to get rid of different native clients and to make work with your multiple cloud accounts with just a snap of a finger.
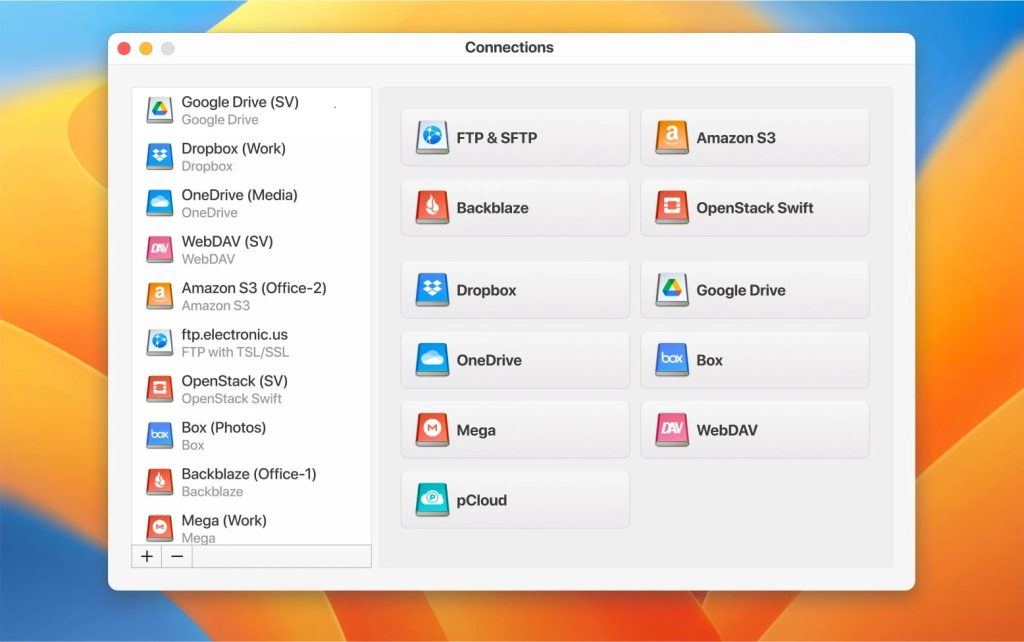
Besides being a great OneDrive for Business Mac client, CloudMounter supports work with Google Drive, Box, Dropbox, Amazon S3, OpenStack, etc. as well as remote servers.
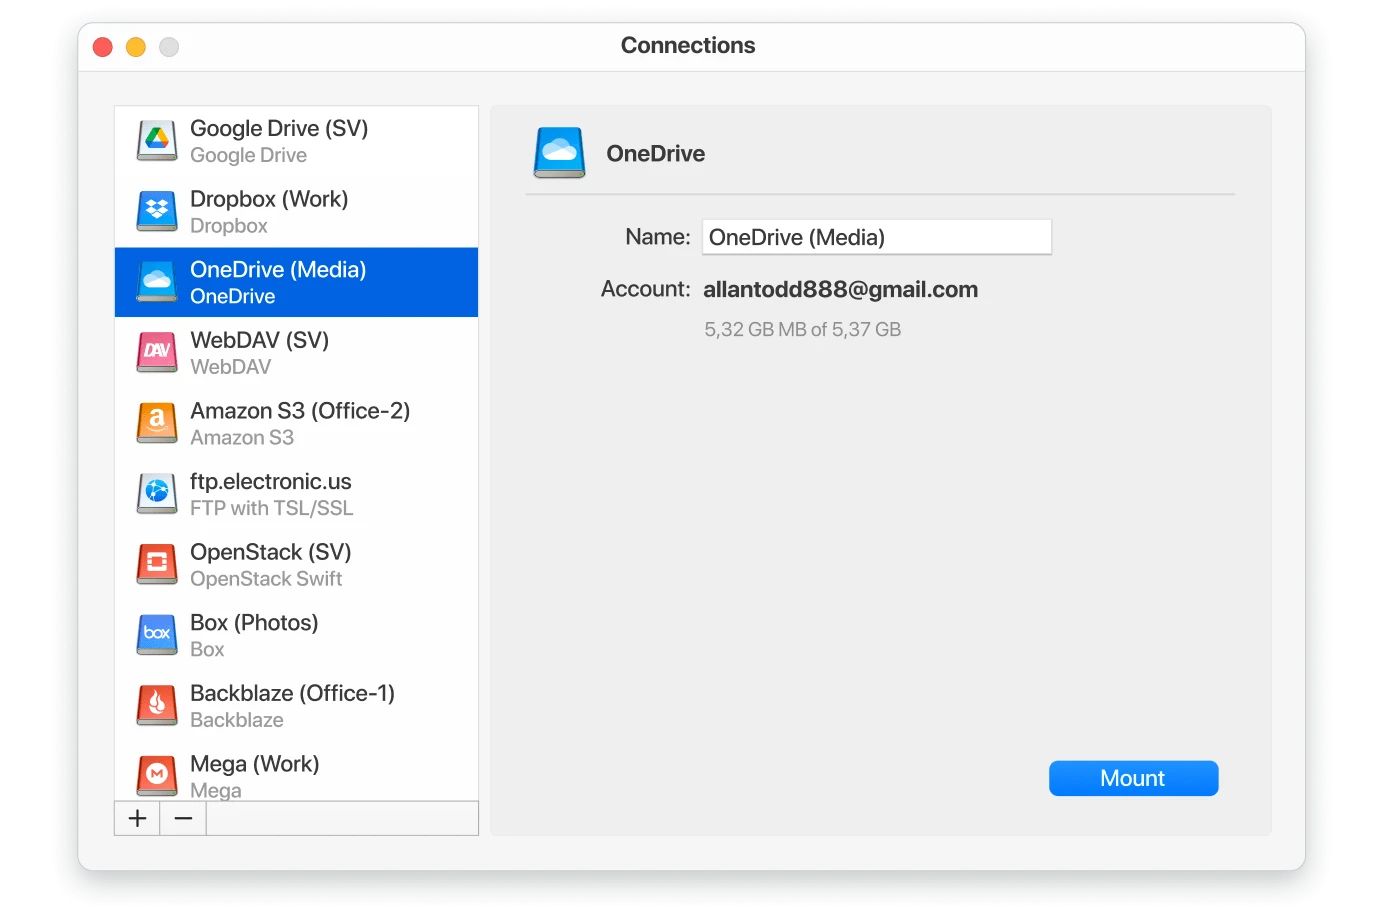
You can mount as many accounts as you wish, delete, copy, transfer files from one cloud to another, and way more. Besides that, the app uses AES – 256 to kame sure that your files are totally protected. Connecting OneDrive for Business via CloudMounter is easy and won’t require a lot of time. Also, keep in mind that connecting to OneDrive for Business is done via the OneDrive icon. Below you will find the step-by-step guide:
- Download the app from the official website or App Store.
- Install CloudMounter on your Mac.
- Launch the app and find the Microsoft OneDrive icon from the list.
- Left-click the icon to invoke the authorization window.
- Proceed with logging into your Microsoft OneDrive business account.
- Click “Mount” to map OneDrive on Mac via CloudMounter.
That’s it. Now you can access your OneDrive for Business directly from Finder with no fuss and work with your online files as if they are your local ones.
Basically, the account you use to sign in to OneDrive will determine which service you use. OneDrive is Microsoft’s cloud storage service that anyone can use to sync files across devices. OneDrive for Business is essentially the same service, but for a company that can optionally be used to sync corporate SharePoint libraries to your local computer.
Besides that, it includes advanced administration tools. If you want to have advanced control not only over your OneDrive account but also over any cloud storage services you are using we recommend taking a closer look at CloudMounter which works with not only major cloud storages but also remote servers.
Frequently Asked Questions
Yes, OneDrive for Business works on Mac computers the same way as the simple OneDrive.
To set up OneDrive for Business Mac users need to install the OneDrive client, follow the steps described in our article and enjoy working with files stored on the cloud.
First of all, you need to install the OneDrive client on your Mac. You can find it in App Store or on the official Microsoft site. After that proceed with the configuration and enjoy working with OneDrive. Alternatively, you can use CloudMounter – a specialized app that works with different cloud storage services and remote servers.
Yes, OneDrive for Business is still supported. More information about the price and terms of use can be found here.

