If the FUSE for Mac topic is something that still gives you shovers you have come to the right place. MacFuse allows users to extend the abilities of their Macs, show files from remote servers in Finder, mount cloud storage as local drive on Mac, perform operations that are not allowed on macOS, and way more. Continue reading to know more about FUSE for macOS and how can you benefit from using it.
What is macFUSE?
FUSE (Filesystem in Userspace) is a module for kernels of UNIX-like operating systems, open-source and related to free software. It allows unprivileged users to create their own filesystems without having to rewrite kernel code.
This mechanism appeared in Linux, and it can be roughly divided into two basic components: a kernel module (maintained by the kernel developers) and a user-space library (libfuse). This library provides methods for mounting, unmounting, sending requests to the kernel, and receiving responses from it. It also implements a convenient top-level API in which we can operate with the familiar concepts of filenames and paths, instead of working with inodes.
The FUSE for macOS project is a similar set of APIs (as well as an Objective-C framework) that allows you to implement a complete file system that will run in user space on macOS. Since its API is a superset of Linux’s FUSE API, it is theoretically possible to get many of the existing file systems on macOS. Currently, the Fuse for macOS GitHub project remains the only implementation of MacFuse that is developed and maintained by the community.

What are the features of FUSE for macOS?
FUSE for macOS allows you to extend your macOS file management capabilities through third-party file systems. It is the successor to macFUSE, which has been used as a software development unit by dozens of products but is no longer maintained.
As a user, you will be allowed to use any third-party Fuse file system whereas as a developer, you will be allowed to write different types of new file systems as regular user-space programs (while using FUSE SDK). Using FUSE for writing file systems is more simple and faster than using the regular way of writing in kernel file systems, as it offers more flexibility and variety in programming tools, debuggers, and libraries.
How does FUSE for macOS work?
From a technical point of view, FUSE allows implementing the fully-featured file system in the user-space program on Mac computers. FUSE offers numerous APIs, therefore, making many existing FUSE file systems ready to use in macOS.
FUSE for macOS consists of several components, namely a kernel extension and various user-space libraries and tools. MacFUSE is distributed with C-based and Objective-C-based SDKs. To use another programming language and create file systems using them, you need to install the relevant language bindings yourself.

Do I Need FUSE on My Mac?
Users situation:
Do I need Fuse? Please tell me if I would understand your answer - and if not, do I need it?— Apple Support Community
If you are an ordinary user who works only with native file systems, FUSE is not a necessity for you. But if you work with diverse file systems, and need constant access to data from other platforms, then installing FUSE can be very useful.
For instance, if you frequently use NTFS formatted external drives, installing FUSE will allow you to read and write data to those drives.
How to Install macFUSE?
The installation will require you to follow a few simple steps, and here they are:
Download the latest version of FUSE.
- In the mounted disk image, double-click the “Install macFUSE” file to start the installer.
- Follow the on-screen instructions and proceed with the installation.
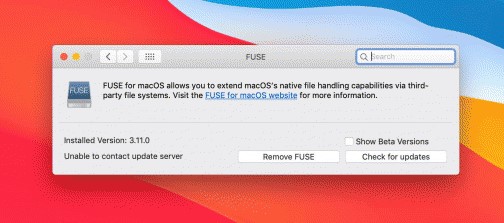
- After installation, you will be able to find the program preference pane in System Settings.
- You can now use the various FUSE file systems.
How to Uninstall macFUSE?
If you want to uninstall FUSE, keep in mind that if the program was installed using a virtualization program or other tool, removing it will cause it to no longer work properly.
- Go to the Apple menu → System Preferences.
- Open the macFUSE pane.
- Uncheck the “Show beta versions” box.
- Click “Remove FUSE” and enter the admin password.
- Right-click or Control-Click on the macFUSE System Settings Pane and select
- Remove “macFUSE” Settings Pane
Online storage mounting solution
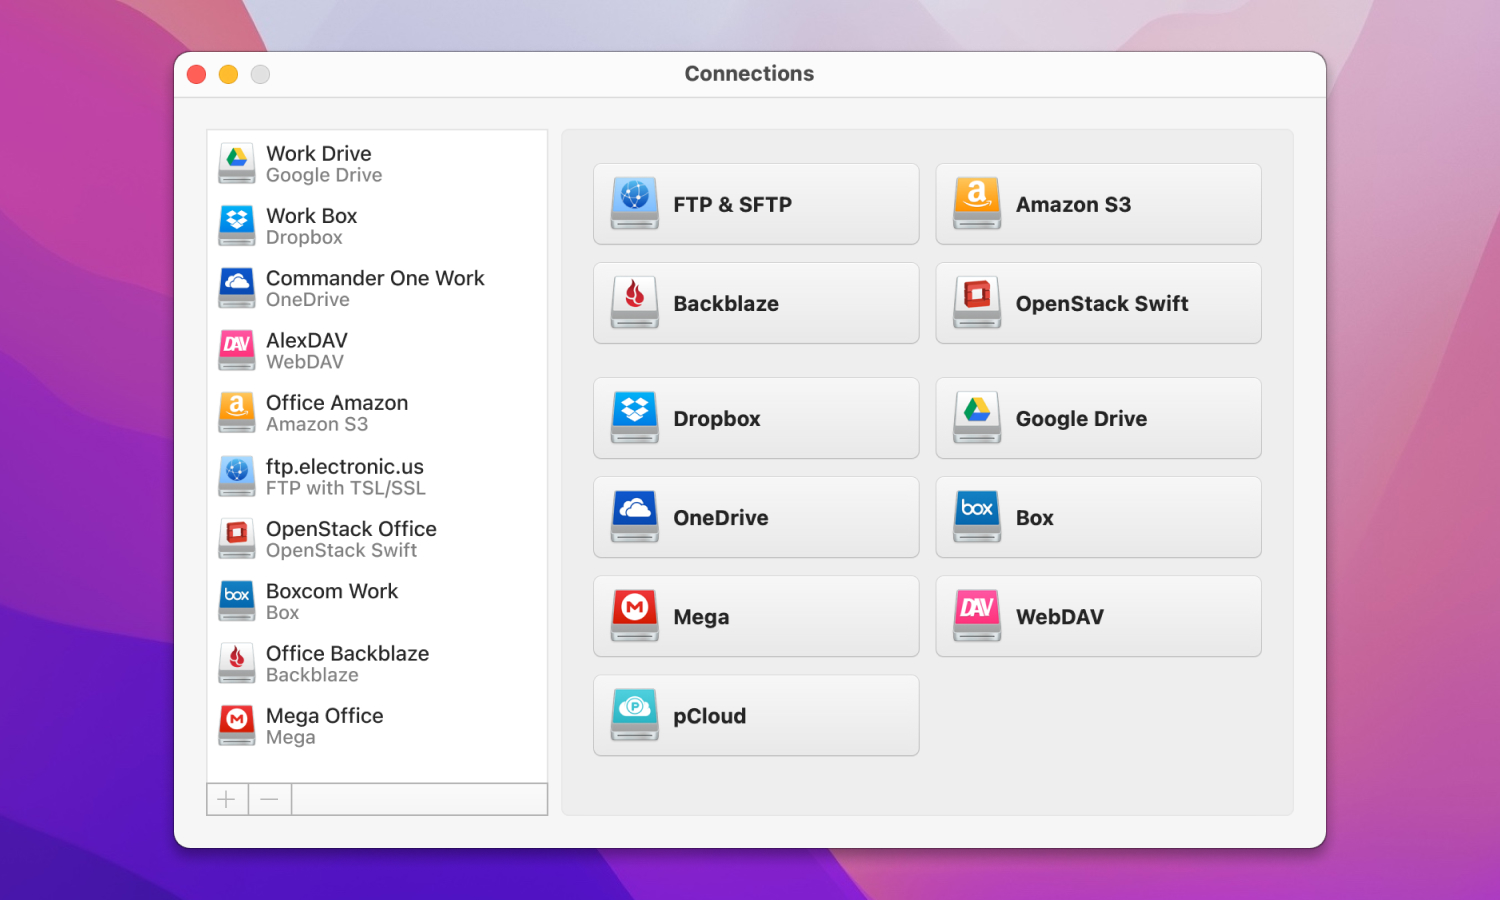
CloudMounter proudly takes the leading position among the best cloud managers due to its simplicity of use and seamless integration into macOS native file system Finder. Besides that, this is an example of a cloud manager that uses FUSE in its work. More detailed information about macFUSE versions can be found by following this link.
With CloudMounter browsing, online content is possible not only on the most popular cloud storage services such as Google Drive, Amazon S3, Microsoft OneDrive, Dropbox, Mega, and OpenStack but also on remote servers via FTP/SFTP/FTPS and WebDAV protocols.
If you have more than one account of the same cloud storage, you can seamlessly mount them all and simultaneously work with as many accounts as you need right from Finder. To ensure better protection, the app implements the AES-256 encrypting feature. In general, CloudMounter is a minimalistic yet powerful cloud manager that offers all the necessary features to have enhanced online data management.
Rating in App Store: 4,7
Installing CloudMounter On Mac: Guide
1. Download from the official site CloudMounter .dmg file.
2. Locate the .dmg file.
3. Double click on the .dmg file name. Usually, this will open another window with the content itself asking you to move the CloudMounter icon to the Application Folder.
4. Drag the application (usually has an .app extension) to the Applications folder. Be sure to wait for the copy process to complete.
5. Go to The Application folder and launch the app. A pop-up window with the following message: “CloudMounter is an application downloaded from the Internet. Are you sure you want to open it?” will appear on your screen.
6. Click the Open button.
That’s it. You have successfully installed CloudMounter on your computer. Now you can benefit from seamless online file management right from Finder.
Conclusion
FUSE provides not only options for accessing system files that are not available for macOS but also simplifies data access. Most developers use it in their software and CloudMounter is no exception. The app uses FUSE for macOS to benefit from its advantages and allows you to seamlessly manage multiple cloud storage accounts right from Finder.
However, keep n mind, that before using FUSE, you should check the compatibility with your macOS and the processor used on your computer. And as usual, you are very welcome to share your thought concerning the topic “What is FUSE for Mac” in the comments below.
Frequently Asked Questions
FUSE is mistakenly considered as a Finder extension, however, it is far from reality. It is a kernel extension that helps you to extend the native file system of macOS via 3rd-party file systems. Mostly, cloud management, SMB utilities as well as virtualization tools used FUSE in their development.
No, it is highly optional and needed if you want to extend the possibilities of a file management system.
Yes, it does. However, make sure that the version of FUSE matches the version of macOS.
If it is no longer necessary and you do not need it in your daily routine, you can easily remove it from your computer.
Using MacFUSE is conditionally safe. However, keep in mind that it has an open-source code and it is a kernel extension. And we all know that if there are bugs in kernel space, it can cause the whole system to crash. So be wise using it.


