Compressing videos can solve various issues. Many people and organizations do it to save storage space, as videos can be very large, especially long ones with high resolution. Making video files smaller also helps with transmission. It requires less bandwidth to send them over the internet or transfer them between devices. This greatly facilitates video conferences, streaming, and sharing. Last but not least, it improves compatibility. Users can convert files to more commonly used file formats, making them accessible on a wider range of devices.
We tested different solutions to determine the best ones you can use. Below, you will find recommendations for video editors and converters, or if the large volume is the only issue, cloud services and file managers that can be of help.
What is video compression?
Video compression entails decreasing the file size without a noticeable reduction in quality. The idea is to store as little as possible. This involves different techniques:
For example, encoding uses an algorithm to remove non-essential data, e.g. repetitive scenes or backgrounds that stay the same as scenes change.
Codecs (such as H.264, H.265 (HEVC), VP9, and AV1) perform the actual compression.
Then, there is temporal compression where the video doesn’t fully store successive frames that are similar. Instead, it stores a single full frame, only marking the differences in the subsequent frames.
Spatial compression, on the other hand, removes the unnecessary data within a single frame. It doesn’t record each individual pixel but identifies and records patterns like repetitive colors.
Bit rate reduction significantly shrinks video size by reducing the amount of data transmitted per second. This, however, can affect video quality.
Resolution and frame rate adjustments lower the resolution (number of pixels) and number of frames per second.
Is it possible to compress videos without visible quality loss?
Yes, you can compress a video without losing quality if you use lossless compression. Lossless compression preserves every bit of data, therefore it can be restored during decompression. Conversely, lossy compression permanently removes some of the original video, which irreversibly changes the file.
6 Best Ways to Compress Video Files on Mac
User question:
I have a 4GB movie file in quicktime, which I need to compress to at least 1020MB or under. Simply, what would be the best way to do this whilst not losing too much quality on the video file?— Apple Support Community
Let’s dive deeper into the best video compression methods we’ve tested. We will consider both built-in macOS solutions and external video converter apps, archivers, and cloud storage services.
Precautions
- Before compression, keep a copy of your video in its original size as a safety measure.
- When reducing video file size, choose the highest compression rate with the smallest loss of quality. Perform several tests to find what combination you’re pleased with.
- When selecting your compression settings, think about the purpose of your video. If it’s meant for web use, it can be of lower quality than videos intended for presentations, for instance.
Making video files smaller using in-built Mac video editors
The video editors that come with macOS can help with large video files. However, users should note that these methods alter the video and its parameters, leading to a loss of quality.
iMovie
iMovie is a well-known inbuilt video editor for Mac that can also resize videos, offering lossy compression presets geared towards general users instead of professional ones.
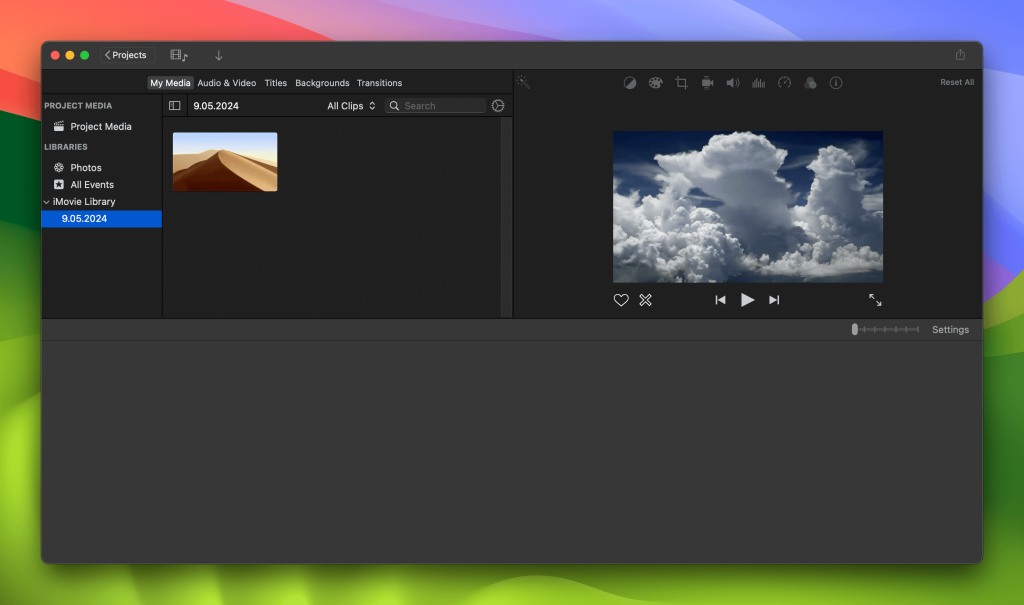
Here is how it works:
1. Open iMovie and import your video into iMovie by dragging and dropping it.
2. Click “Share”.
3. Select Resolution and Quality. You’ll see an estimated file size.
4. Click “Export” to save the video at your desired location.
If you’re having issues running iMovie on your machine, there is troubleshooting advice on Apple’s official website.
QuickTime
You may be surprised that QuickTime Player is not only used for playback but can also compress your video files. While it’s not a full-blown editor, it can resize videos without complex settings. QuickTime primarily offers lossy compression, with export presets intended to create a balance between video quality and file size.
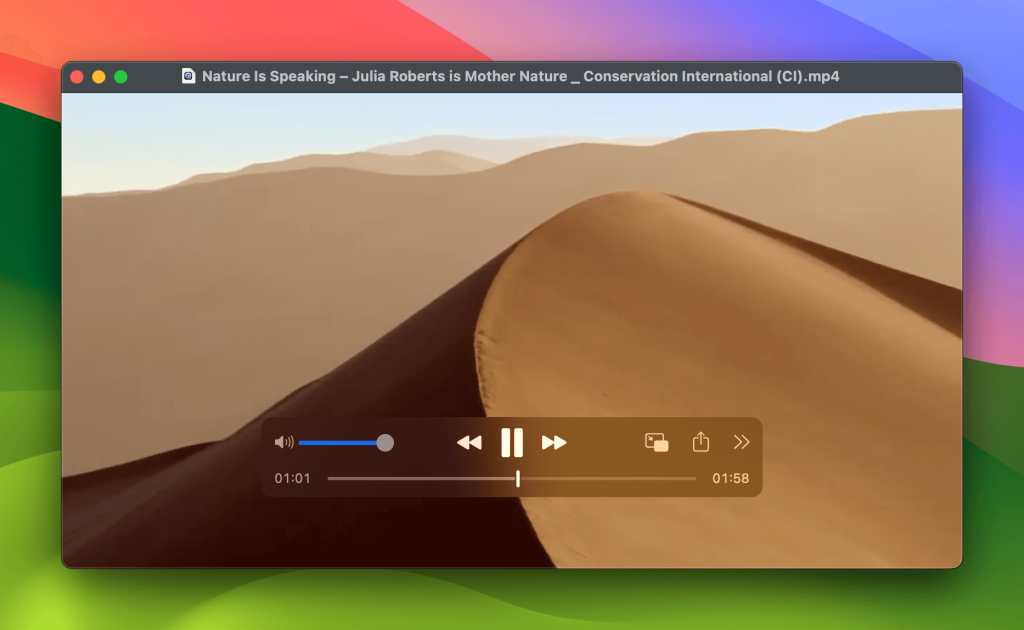
Here is how to reduce video file size on Mac using this method:
1. Launch QuickTime and import your video from File > Open File.
2. Click “Export As” and select your preferred settings:
- Choose a video resolution of 480p, 720p, 1080p, or 4K.
- Pick a name and target location for the file.
- Select “Greater Compatibility” from the dropdown menu to use the common H.264 codec.
3. Click “Save” to save your compressed file.
Reducing the size of a video using converters
Using a video converter allows you to make the video size smaller while also changing the video’s format. Usually, you can pick from a selection of file extensions, encoding techniques, etc.
Movavi Video Converter
Movavi is a converter app that works with over 180 different file types. It can reduce video file size, allowing users to choose between lossless and lossy compression. The former is suitable for professional or archival purposes, while the latter is best used for sharing or storage.
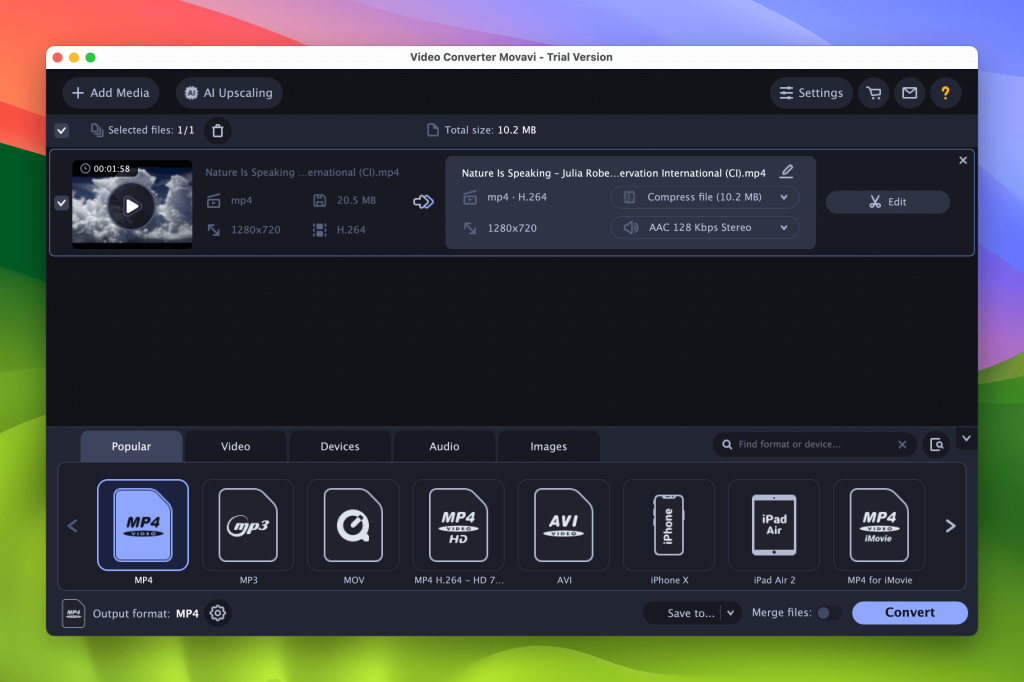
Here is how the app works:
1. Upload your video to Movavi by using drag-and-drop or choosing “Add media”.
2. Select presets. This will show you the estimated file size.
3. Click “Convert” to start the conversion. The compressed file will be saved to the folder you’ve set as default.
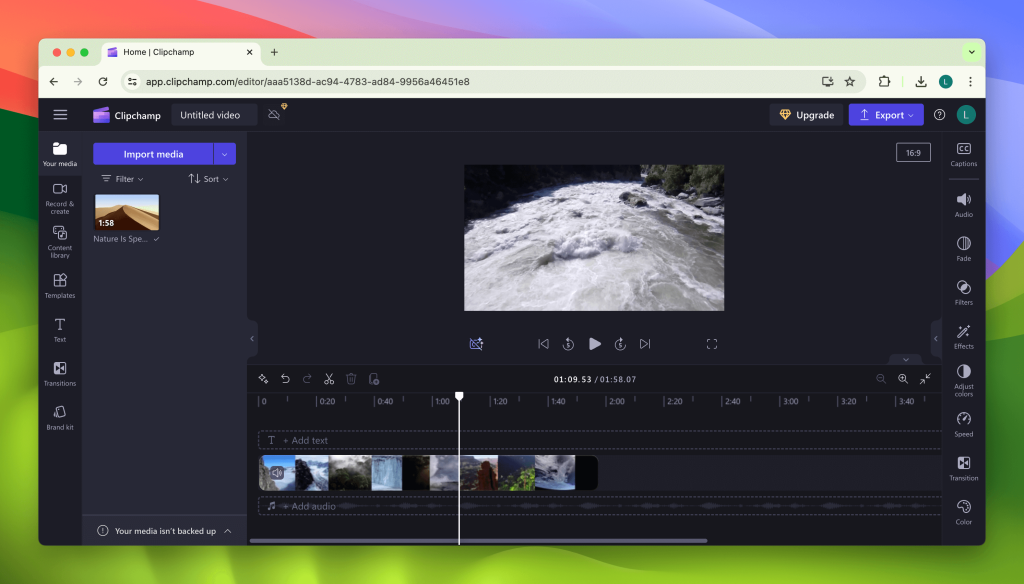
Clipchamp - Free Online Video Converter
Clipchamp is a video compressor for Mac that lets you convert and edit videos by installing a desktop app or using your browser. It provides user-friendly options for lossy compression such as lowering the resolution, trimming, etc. However, users should note that the free version comes with limitations. For example, you cannot export in a resolution higher than 1080p, or if you use premium filters and stock media, your videos will be watermarked.
Here is how Clipchamp’s online version works:
1. Open the website in your browser.
2. Go to “Create new video”.
3. Click “Import media” and upload your video from your computer storage or a cloud storage service.
4. Click “Export” and choose your desired resolution to download the file.
Note that the free version directly saves the file as MP4, while the paid version allows you to optimize for different devices and choose output format and quality.
Playing compressed videos
To play a video in any format on macOS, we recommend Elmedia Player. It supports various files, such as AVI, MP4, WMV, MKV, VOB, FLV, etc. So if you’re experiencing issues playing your video, you don’t need to search for ways to compress or convert it. As a universal player, Elmedia lets you watch all your video files straight away, plus it comes with numerous playback features and modes.

Make the video size smaller by zipping it
If you’d like to compress a video file on Mac to send it via email, you can archive it and create a ZIP file, for example. While it doesn’t significantly reduce the video size, it doesn’t affect the quality of the video either, so it’s a suitable option if you just want to share videos through email.
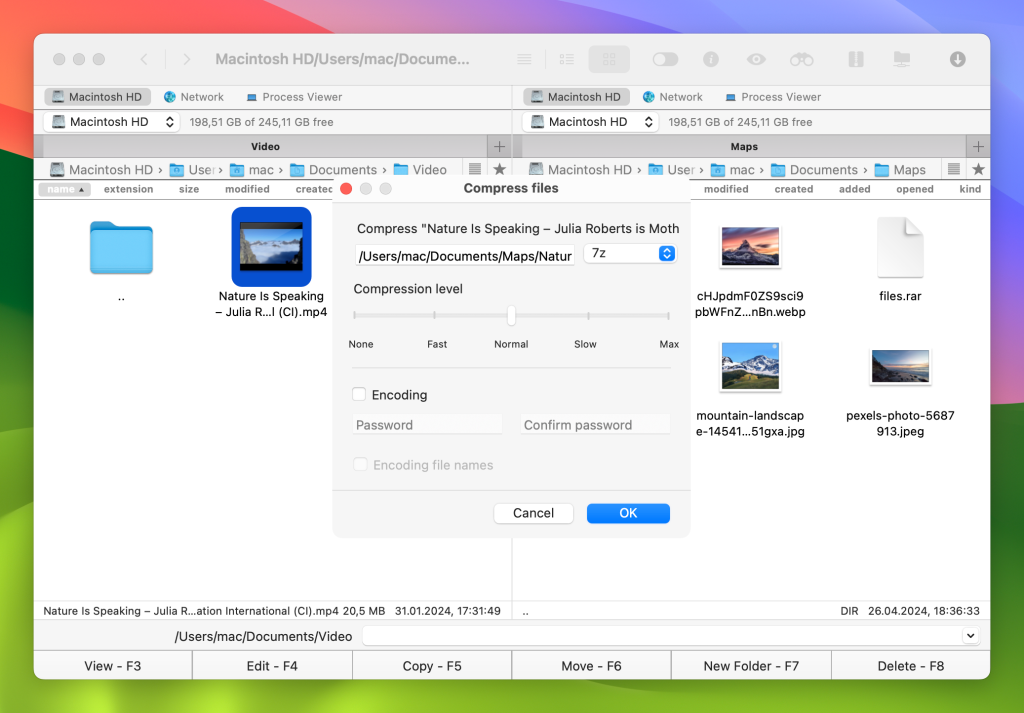
For Mac users, we recommend the Commander One app. It allows you to compress files, providing different output formats. Depending on the mode, you can read and create ZIP, TBZ, 7ZIP, TGZ, tar.bz2 (tbz2, tb2), tar.Z, tar.lzma, and tar.xz archives. This includes copying or moving files from one archive to another, deleting them, or creating new folders within an archive. In addition, Commander One also works as a great file management app, helping you locate files, connect to an FTP server, mount MTP and iOS devices, and more.
Alternative way to share big videos
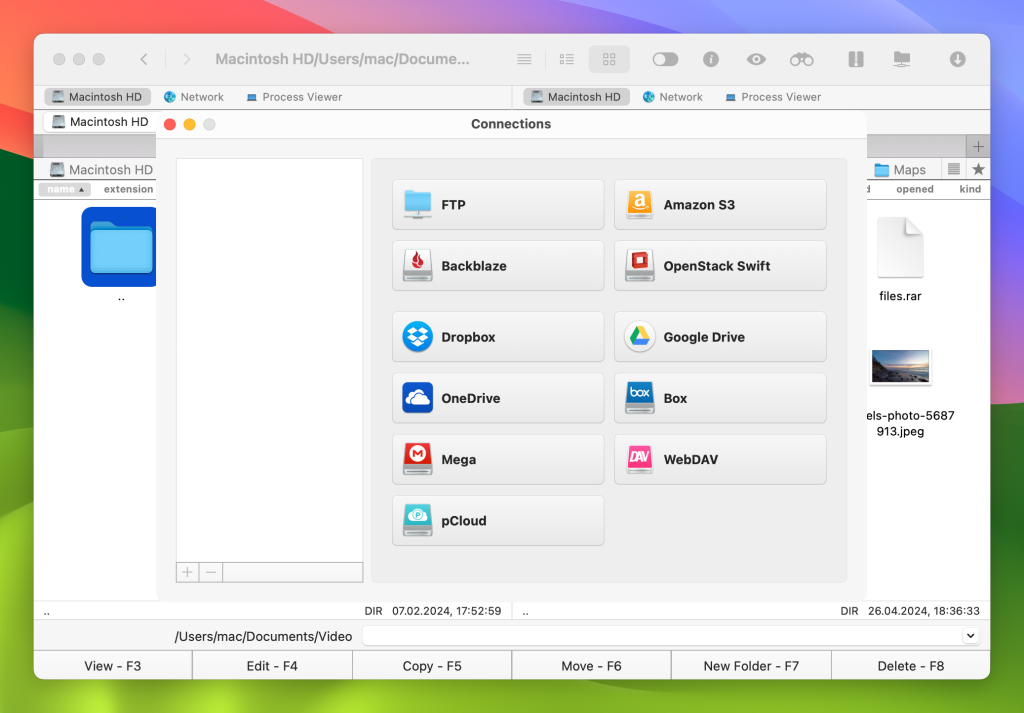
The best way we can recommend for sharing your videos with friends or family is by combining cloud services with Commander One. The Commander One file manager works with all major storage providers such as Dropbox, Google Drive, Amazon S3, etc. With this easy integration, you can share big files from cloud storages without losing quality or going through unnecessary compression.
Conclusion
This article proposed proven ways to compress videos, as well as additional options to help you manage, store, and play video files on your computer. Depending on your preferences, you can choose the best solution to suit your needs. This can be based on your desired file quality, your level of technical expertise, and the available budget. But whether it’s using QuickTime for quick compression or opting for a desktop app like Movavi, there are many available options. Alternative file-sharing methods such as cloud storage services shouldn’t be overlooked either. They work great with Commander One for Mac – an effective file management app that helps you handle all your data, from movies stored on your local hard drive to family video clips on the cloud.
Frequently Asked Questions
When processing your video file in the compressing or editing app, select the H.264 encoding for a significant size reduction while maintaining decent video quality.
There are two tools you can use to convert video files: iMovie and QuickTime. Both are built into macOS. Read the article above to discover the steps you need to follow to perform a conversion.
There are several methods to consider if you’re dealing with a huge video file: uploading it to cloud storage and sharing the link; compressing the file; using ftp/sftp; or relying on a free online transfer service. We’ve recommended some of the best solutions above.

