How to Add Subtitles in VLC Media Player
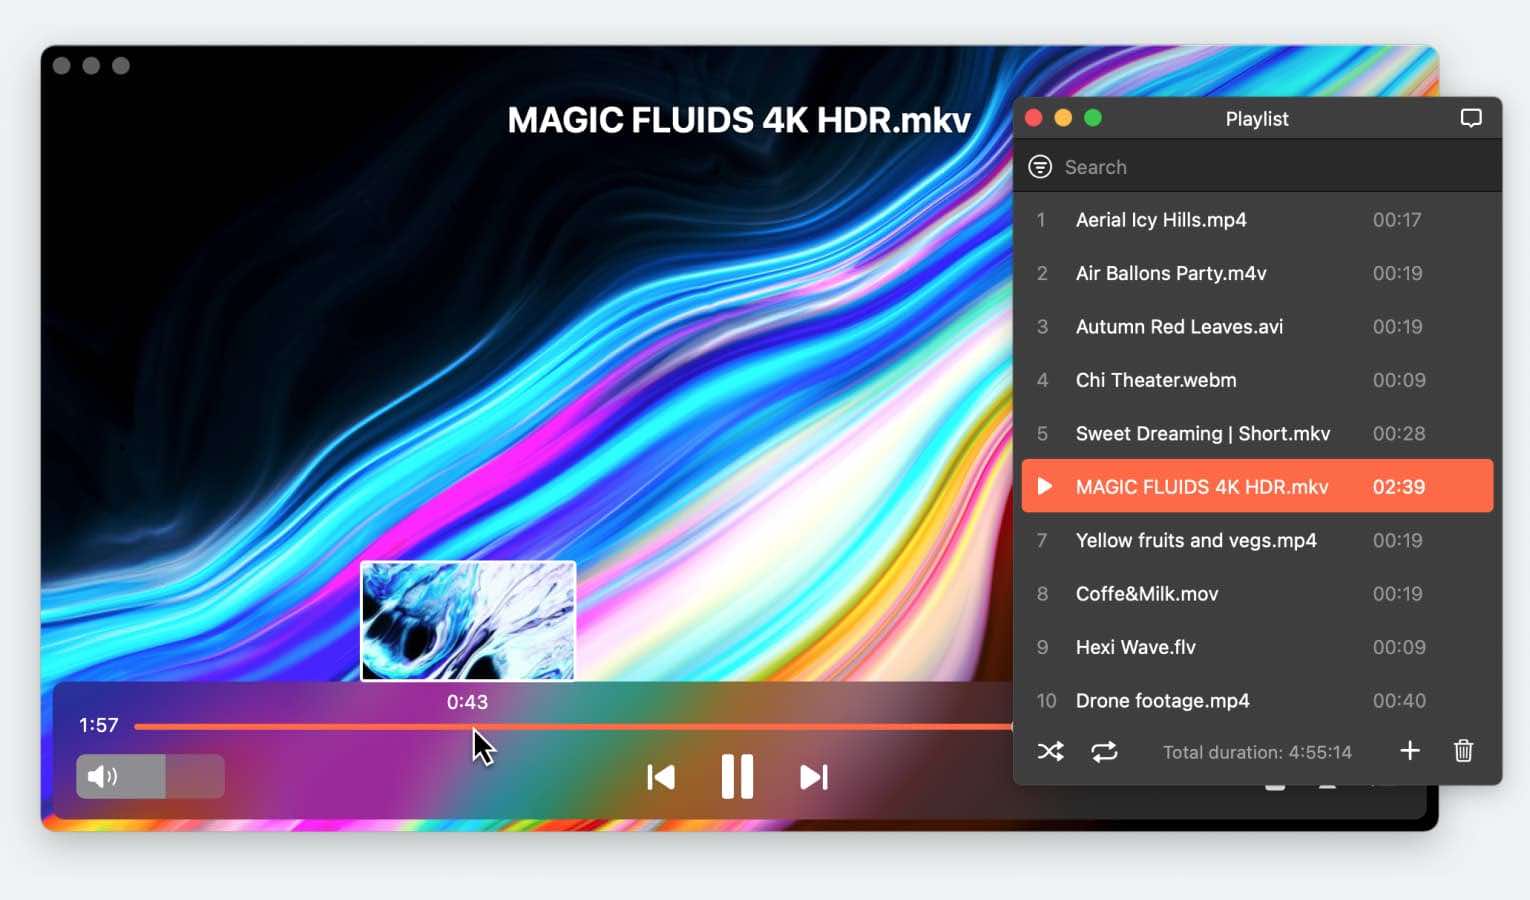
VLC Media Player is a popular choice for watching videos because it’s simple to use and supports almost any media format. One of its standout features is adding subtitles, making it a must-have for those seeking better accessibility or looking to improve their language learning.
In this article, we’ll explore how to add subtitles to video in VLC for Windows. For Mac users, we’ll introduce a modern alternative—Elmedia Player—and show how simple it is to add subtitles to your movies. Whether you want to view a foreign film or improve your language skills, adding subtitles can make all the difference.
How to Add Subtitles to a Video in VLC [Windows]
Adding subtitles in VLC for Windows users is a simple and straightforward process. Here’s how it works:
Using Built-in Subtitle Files
If the subtitles are included with the video file, they should automatically appear when you play the video. If they don’t show up, here’s how to permanently add subtitles to a movie using VLC:
1. Open your video in VLC.
2. Go to the Menu bar and click on “Subtitle.”
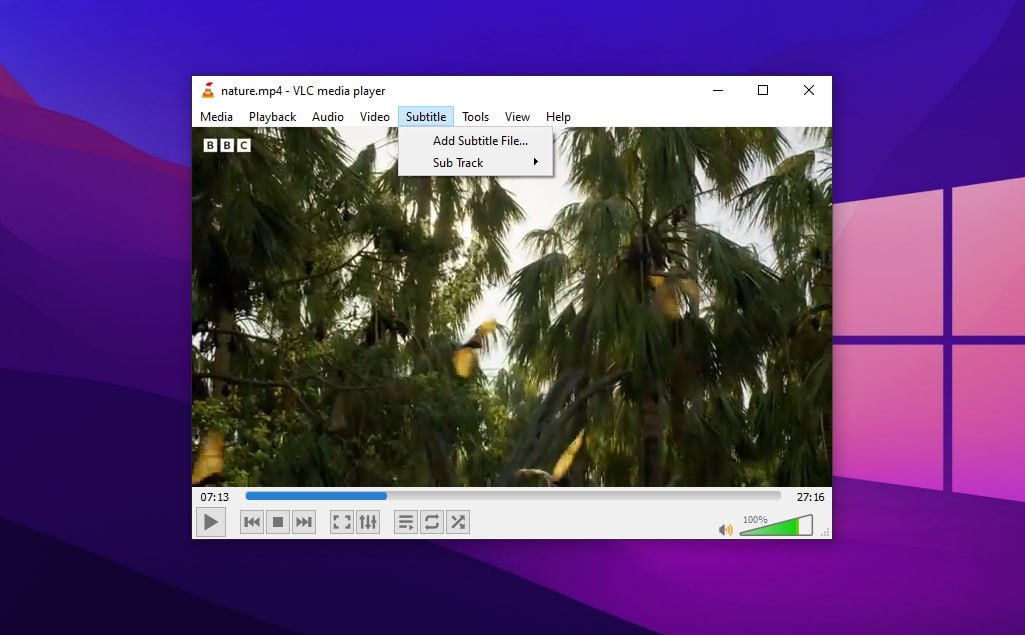
3. Toggle between the available subtitle tracks. Alternatively, you can press “V” to cycle through the tracks while the video is playing.
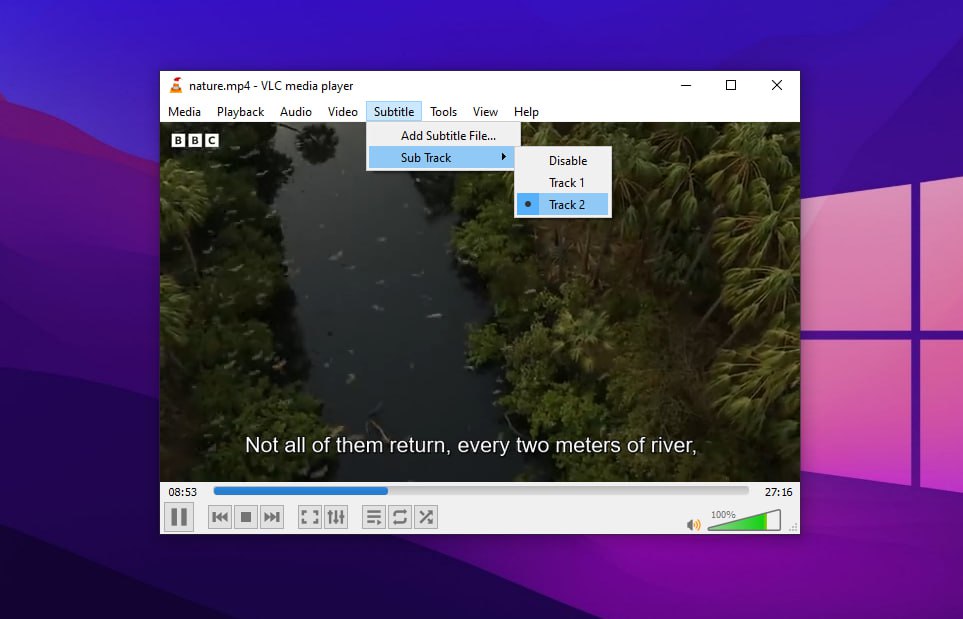
4. Choose your required track to add subtitles for movies in VLC.
Adding External Subtitle Files
If the captions you want aren’t included in the built-in tracks, you’ll need to look for external subtitles. Here’s what you need to do to add subtitles to VLC:
1. Download the subtitle file (usually in SRT format).
2. Launch VLC and open the video content you want to watch.
3. Navigate to “Subtitle” in the menu and select “Add Subtitle File.”
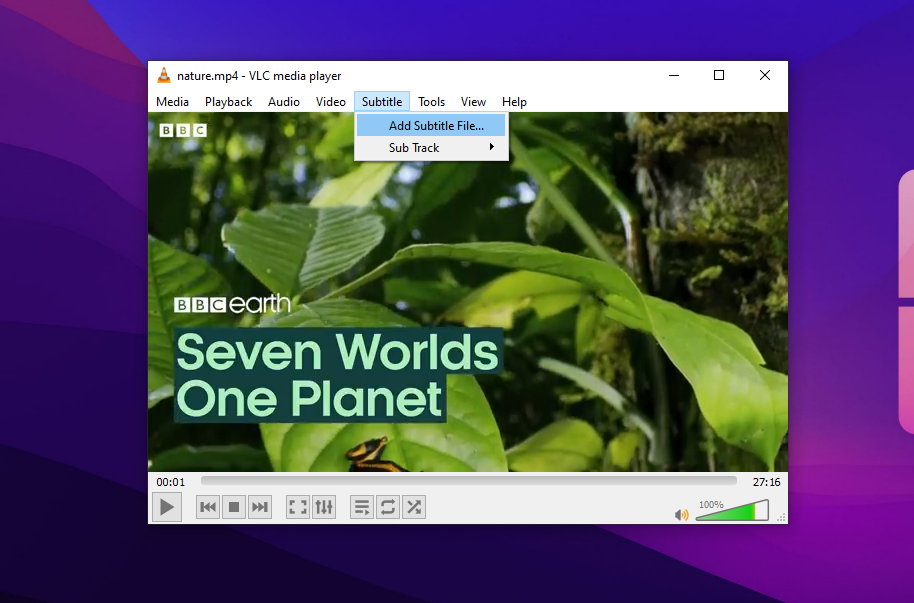
4. Find your downloaded subtitle file and press “Open.” This will enable subtitles in VLC as the video plays.
How to Add Subtitles in VLC on Mac
The process of adding subtitles in VLC on Mac is almost the same as adding them on Windows. It’s straightforward and you can read about it in detail here.
There’s a more user-friendly alternative we recommend checking out – Elmedia Player. It gives you direct access to OpenSubtitles.com’s database, allowing you to find and download subtitles quickly.
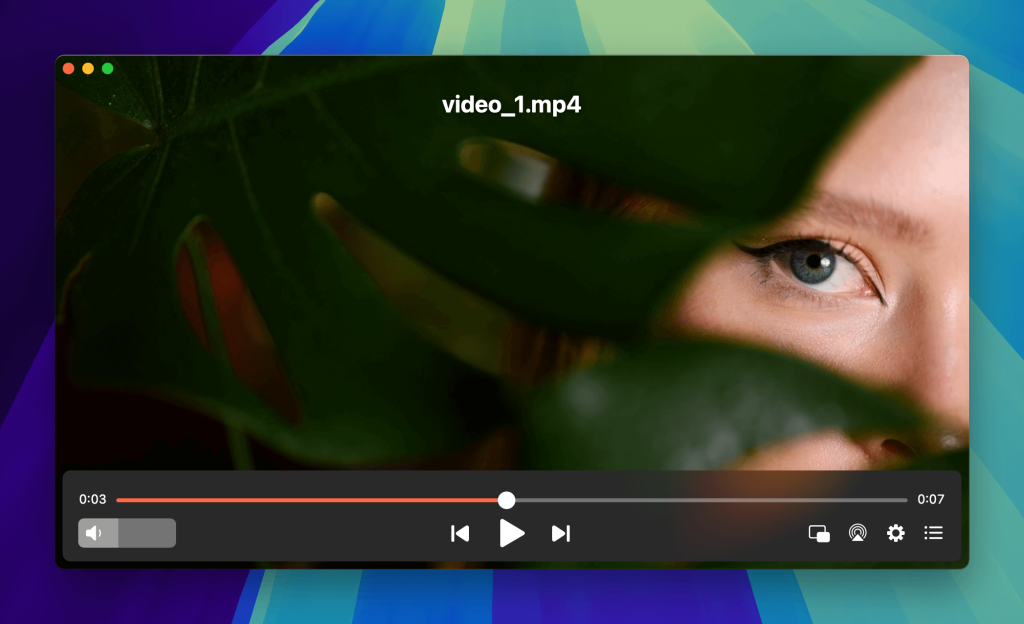
How to Add Subtitles in Elmedia Player
Here’s how you can add subtitles in Elmedia:
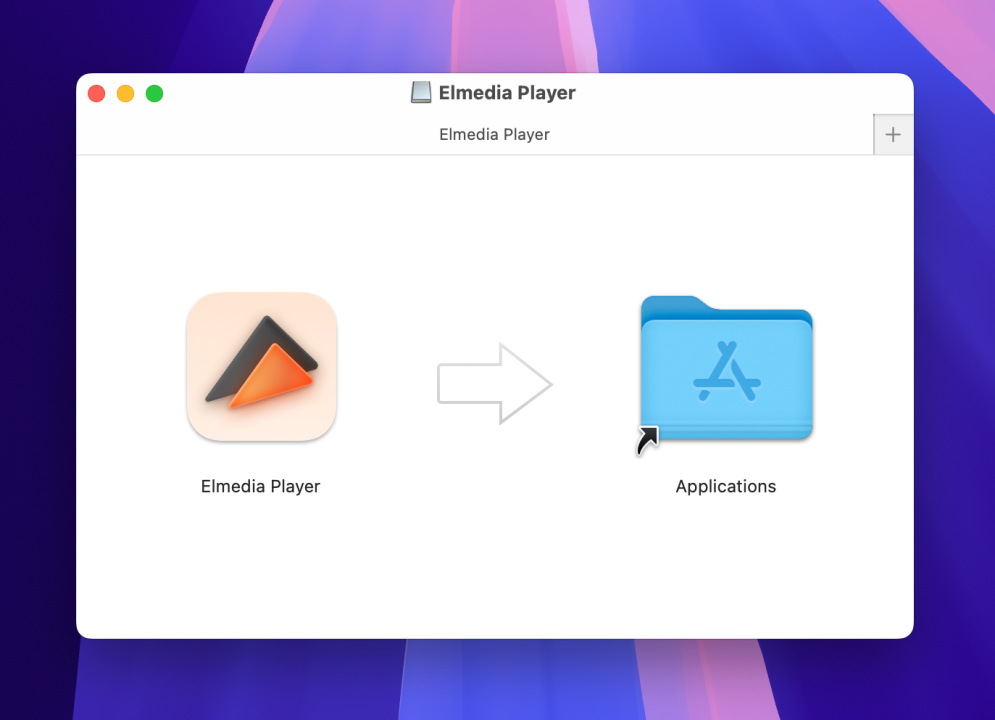
1. Download and install Elmedia Player on your Mac.
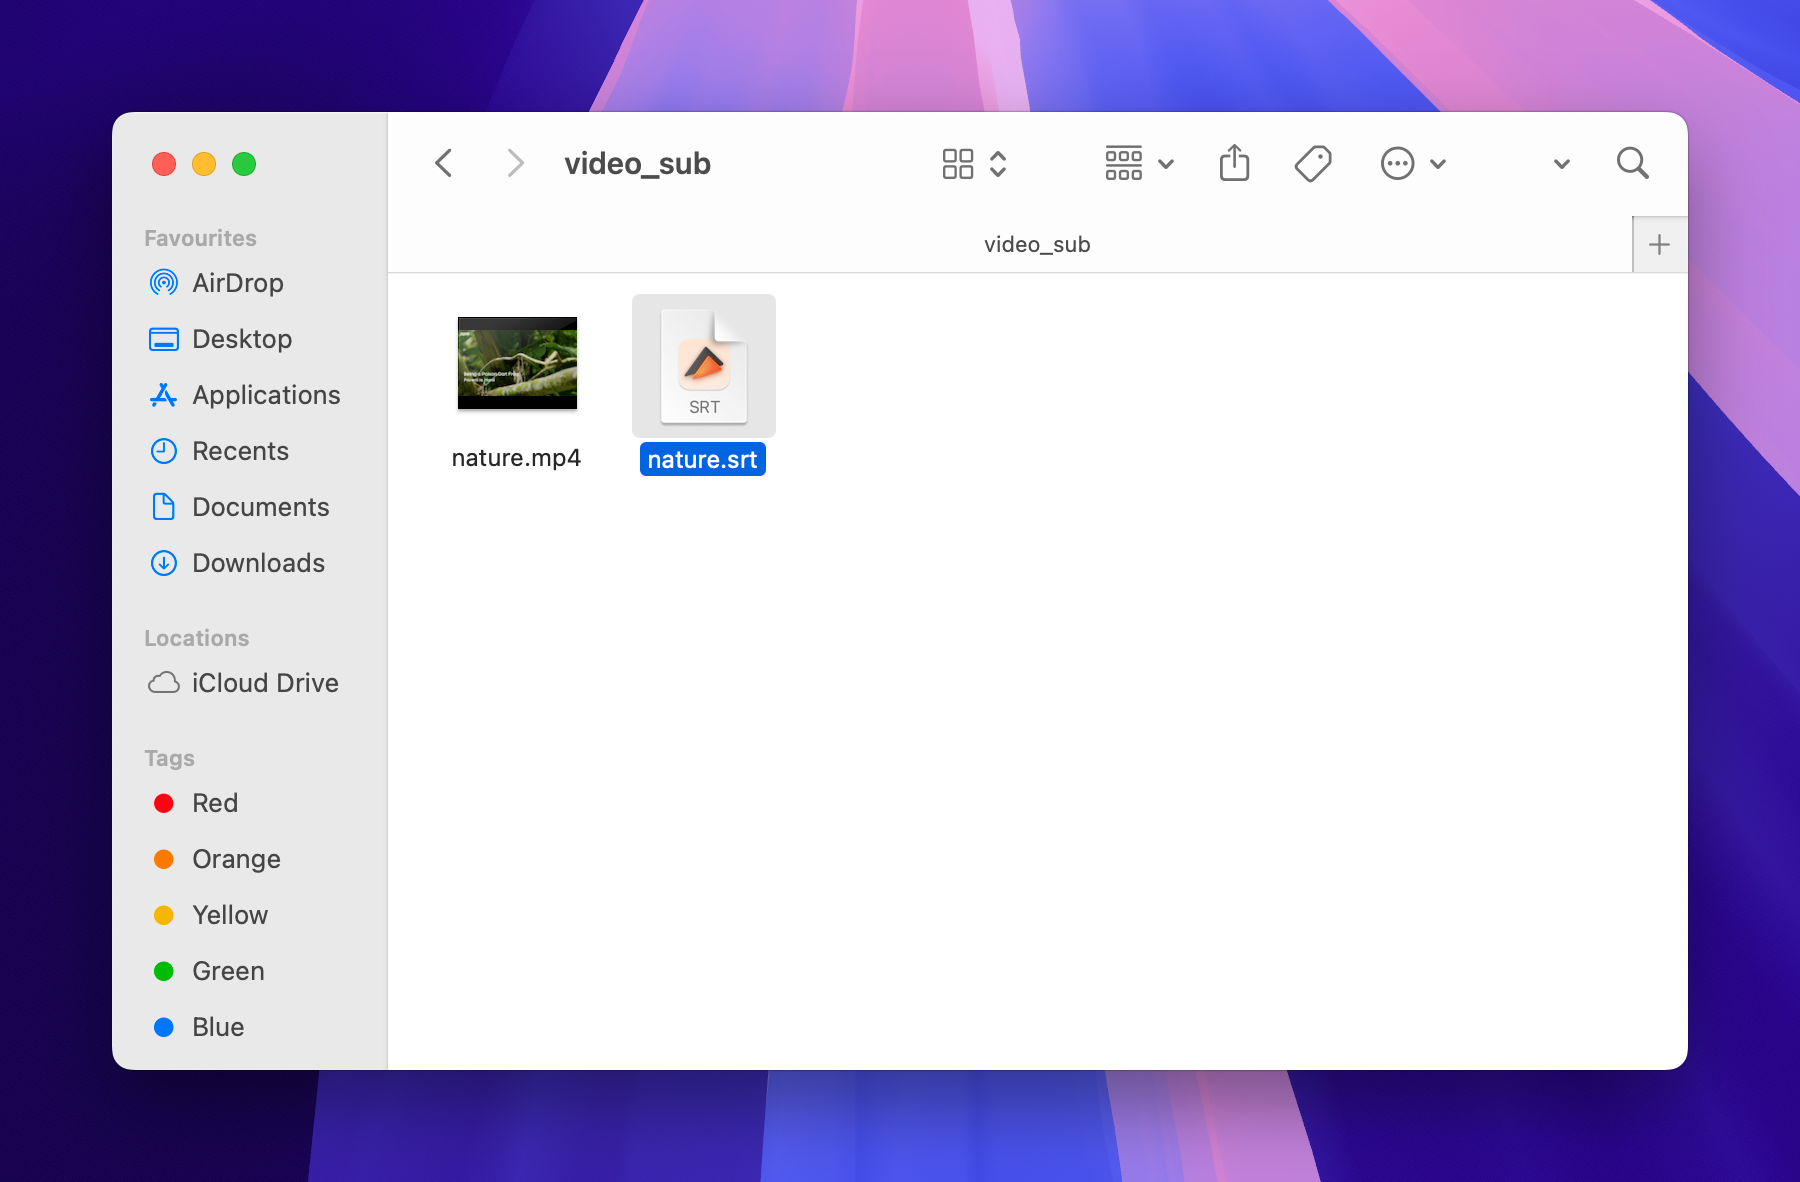
2. Make sure the subtitle file is in the same folder as the video for it to sync properly.
3. Play the video and the subtitles will appear automatically.
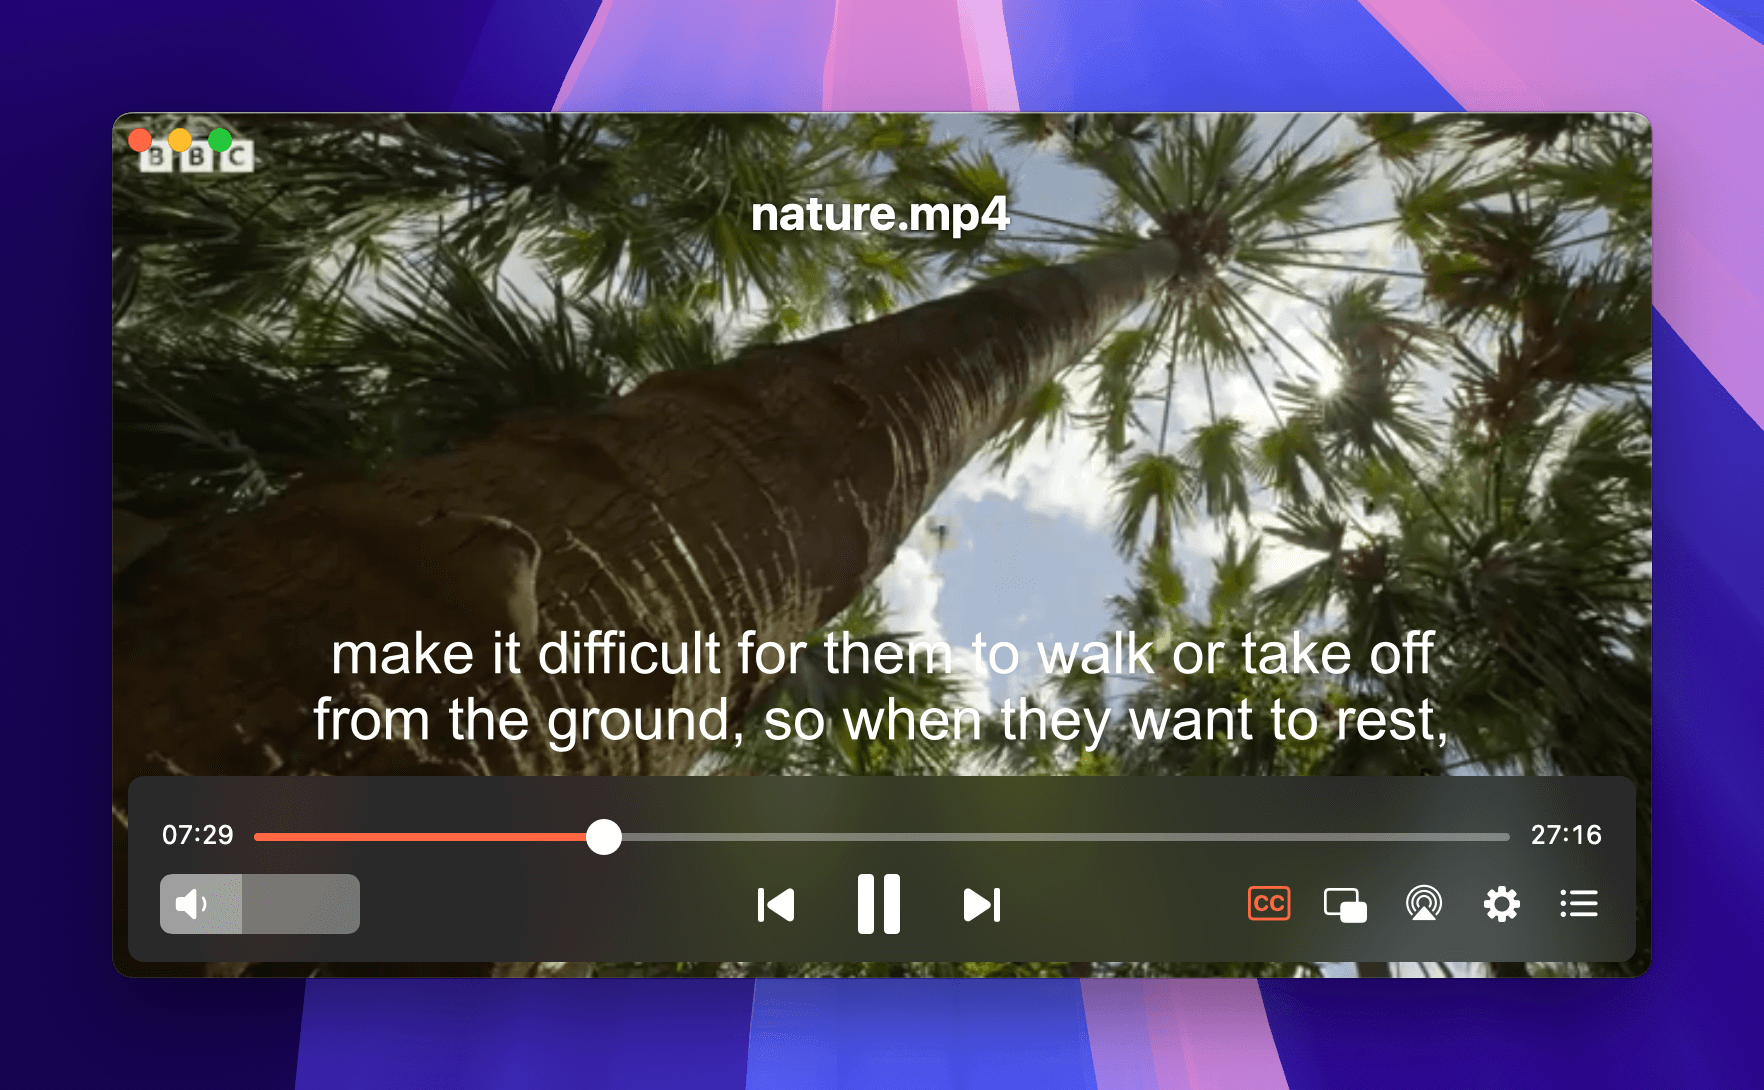
4. If you have multiple subtitle files, you can cycle through them to get the one you need using the “S” button on your keyboard.
Elmedia is a powerful video player for Mac that supports a wide range of formats, including MP4, MKV, TS, and AVI. You can watch movies in high resolution and quickly add subtitles by following the steps above.
To switch tracks, just click on the “Subtitles” button in the playback controls and select the one you want to use. With that, you can start watching videos in a foreign language with Elmedia Player.
Conclusion
Adding subtitles is easy, but VLC Media Player and Elmedia Player each bring unique advantages to the table. VLC is great for its versatility, but Elmedia stands out with its user-friendly interface and advanced features. It not only supports a wide variety of subtitle formats but also provides extensive customization options, like font size, color, and positioning. Using the steps we’ve shared in this article, you can learn how to embed subtitles to video and switch between different language tracks.
