- File manager for Mac
- iOS file transfer
- How to transfer photos from iPhone to Mac in a few clicks
How to transfer photos from iPhone to Mac in a few clicks
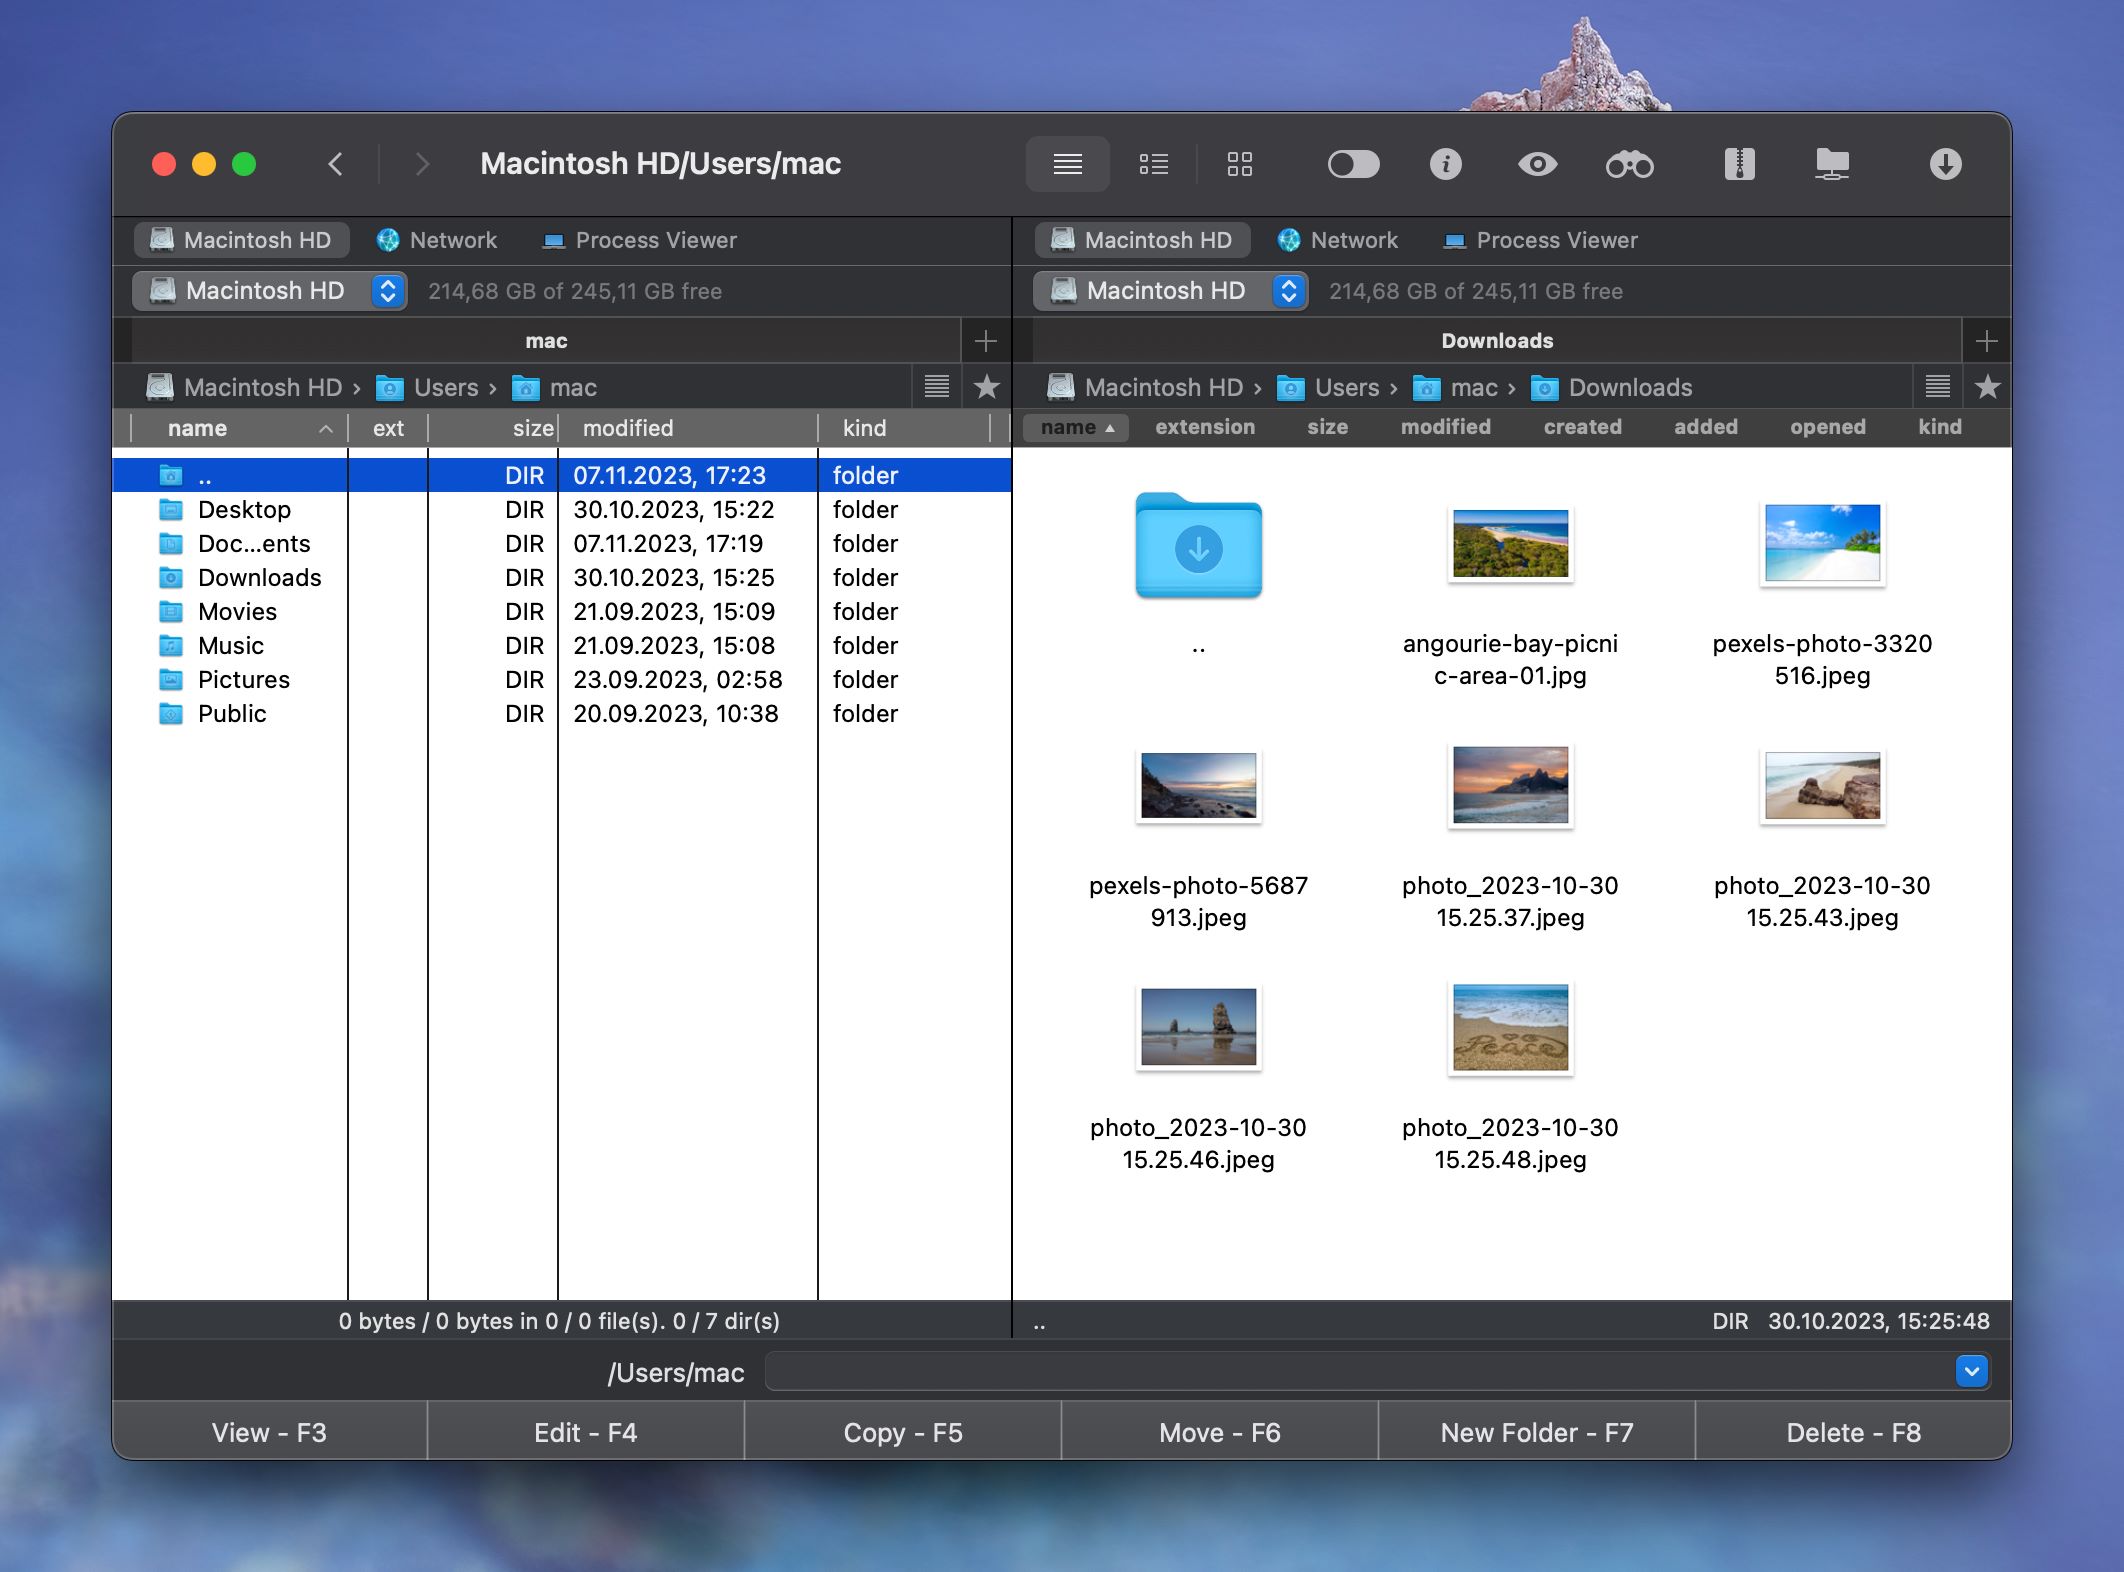
Wondering how to transfer photos from iPhone to Mac? In this article, we have gathered several ways for your consideration. Keep reading to learn how to copy photos wirelessly, using native macOS apps and dedicated stand-alone apps.
When using one gadget from Apple for a while, a lot of users begin to change all their other devices to Apple. And no wonder, it is more convenient as the devices from one brand are perfectly synchronized. There are iOS transfer Mac solutions that will help you with moving photos and entire albums.
User scenario:
I have around 50k (8 years ish) of photos on my iPhone 13. I’d like to remove around 20k of those onto my MacBook or Pc. I haven’t uploaded /removed photos in years and years. What’s the best way to remove the photos safely and in high quality?— from Reddit
How to transfer photos from iPhone to Mac computer: file managers
Since photos are naturally files, the most obvious way to transfer them is to use a file manager. Whether you want to move pictures from iPhone to Mac quickly and safely, you can do so using Finder or by opting for dedicated apps like Commander One.
Finder
Finder is a default macOS file manager and you can use it to sync your photos between your devices. If your Mac is running latest macOS, follow these easy steps:
1. First, connect your iPhone to your Mac using a USB cable.
2. On the Mac, go to Finder.
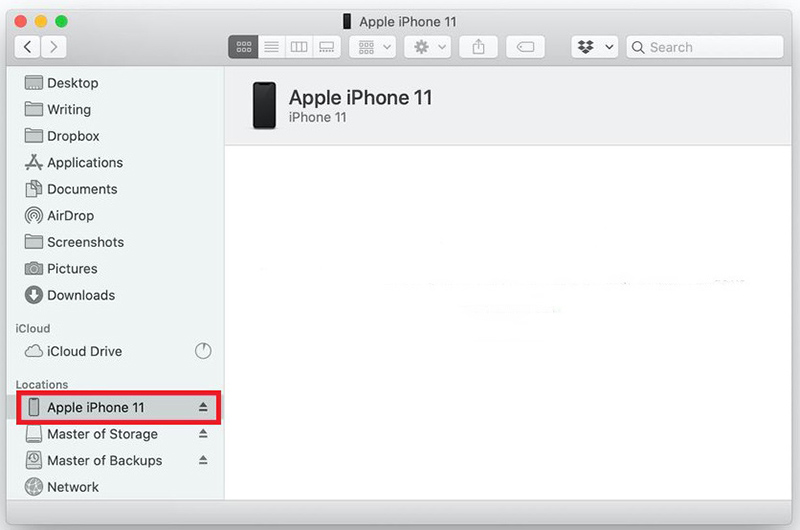
3. In the sidebar, select your iPhone.
4. Next, find and click the “Photos” tab at the top of the window.
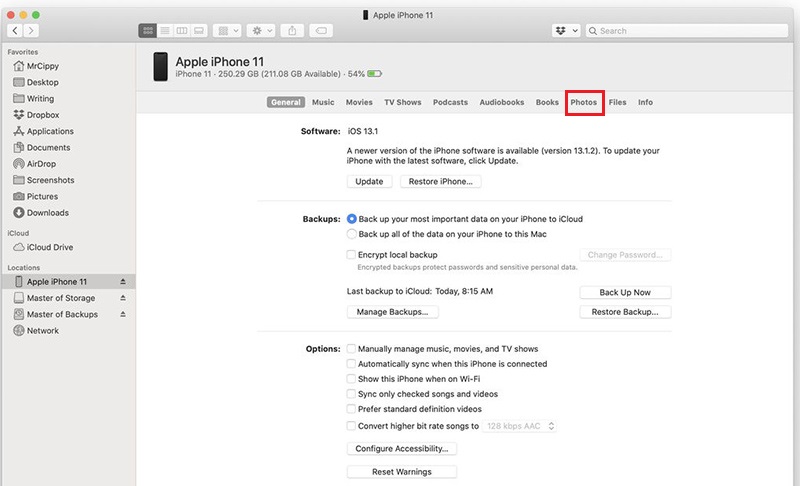
5. Tick the “Sync Photos” box.
6. Select the Photos or folder you want to sync from.
7. Then choose what you want to sync: either all images and albums or selected albums. There is also an option to sync only favorites and to include videos as well.
8. Click “Apply”. The syncing will start automatically.
Commander One
In fact, there are many ways to transfer pictures from iPhone to Mac as well as there are a lot of apps to assist you. Our choice is Commander One – the best app to transfer photos from iPhone to Mac computer as well as a great file manager. All the photos made by your phone can be easily imported to your Mac with just the help of a simple USB cable. You can decide whether to move multiple or single images to the computer.
After connecting your iPhone to your Mac via USB cable on one of the Commander One’s panels you will be able to access the User / Media folder of your device to quickly move or view recently images and videos.
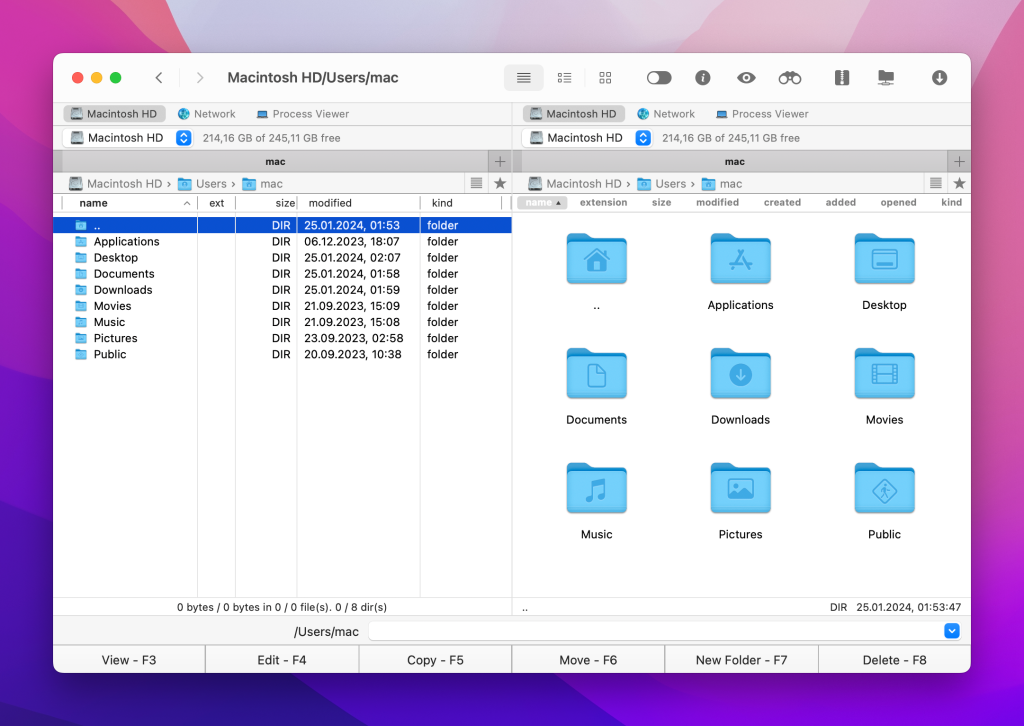
Here is the detailed guide on how to transfer photos from a phone to a computer using Commander One:
1. Download and install Commander One on your Mac.

2. Connect iPhone to Mac using a USB cable.
3. Find your iPhone in the Finder sidebar and select it.
4. Click “Trust on this device” in the Finder window and then tap “Trust” on your iPhone.
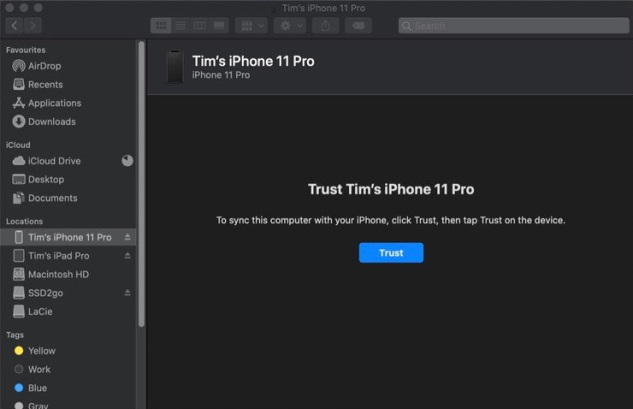
5. Connect your phone again using the USB cable.
6. Open Commander One. Your iPhone will be mounted as a local drive.
How to copy all photos from iPhone to Mac using native macOS apps
There are also native macOS apps capable of transferring pictures from iOS device to macOS. These include Image Capture app and Photos app. The big plus is that you don’t need to install any software on your Mac.
Image Capture
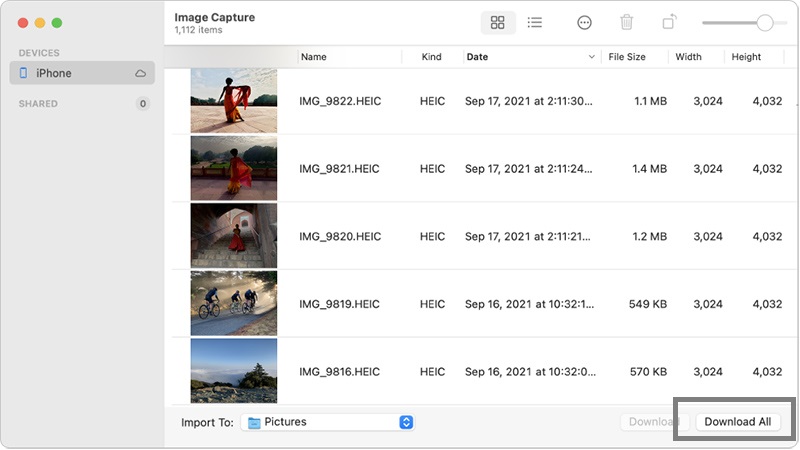
This default app does an easy job of organizing and sharing pictures, and especially for folders. To export photos from iPhone to Mac, follow these simple steps:
- Connect your device to a Mac and run Image Capture.
- Select your iPhone from the Devices list and define the output image folders, then click the “Import” or “Import All” button. Also, like in Photos, you can select “Delete after import” to free up storage on the iPhone.
Photos
Alternatively, you can use Photos and easily transfer all your files. In latest macOS, Apple introduced the Photos application as a replacement for iPhoto to systematically manage, edit, and share images between iOS and Mac devices. By default, Photos is set to automatically copy photos from iPhone to Mac when connected via USB cable. If not, follow these steps:
- Connect your iOS device to your Mac and wait for the Photo app to automatically open. If not, click the Photos icon.
- Select “Import” in the top menu bar. If you no longer need these photos after the transfer, check the box “Delete items after import.”

How to transfer photos from iPhone to Mac computer: wireless solutions
If you don’t have a USB cable handy or prefer to transfer files wirelessly, don’t worry. There are ways to send photos that don’t require connecting your devices via USB cable. Simply use one of the methods below.
AirDrop
You can use Airdrop to import iPhone photos to Mac computers. However, keep in mind that this iPhone to Mac Wi-Fi transfer method of photos will require latest macOS. Also, do not forget to enable a Wi-Fi connection. Besides that, you should turn on Bluetooth and make sure your device is discoverable with AirDrop.

- To get started, turn on Airdrop on your iPhone and select “All.”
- Then open Finder on your Mac and launch Airdrop.
- When connected, tap the Photos app and select the images to move to your computer using the share icon.
Please note that, if the Wi-Fi connection is not stable, the entire transfer process will take a long time. And besides that, do not forget to turn off Airdrop after synchronization.
Whether you just need to transfer a few photos to your MacBook or iMac, a good choice for such kind of operations is either email or iMessage. To download photos from iPhone to Mac with the help of email, you need to:
- Open the Photos application on your iPhone and select the photos you want to import to your Mac computer.
- Click the share icon in the lower left corner and select “Mail” from the provided menu.
- Enter the email address and send the desired photos. All that is left is to download them to your Mac and freely view iPhone photos on Mac.
iCloud
iCloud Photo also allows you to seamlessly import photos from iPhone to Mac using Wi-Fi. To do this, you need to configure iCloud on iPhone and Mac and make sure that you log in to iCloud with the same Apple ID on both devices.
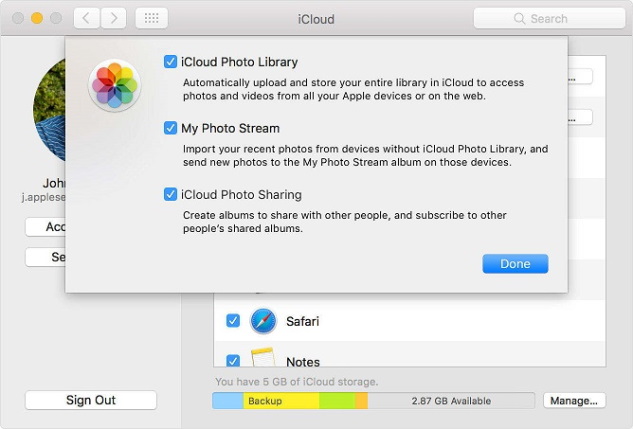
- Open the iPhone Settings menu. If on your iOS device version 10.3 and above – tap your name, then iCloud, otherwise, immediately select the iCloud section.
- Go to the section “Photos” – activate the slider “Media Library iCloud”.
- File uploading will start immediately. It will take longer, the more your media library. Please note that not only photos but also videos will be transferred to the cloud.
- Open iCloud on a MacBook, using the same Apple ID as on the iPhone, and you will see the photo in the appropriate section.
This variant also works great if you want to know how to transfer photos from Mac to iPhone. Just perform the same operations.
iCloud Photo Stream
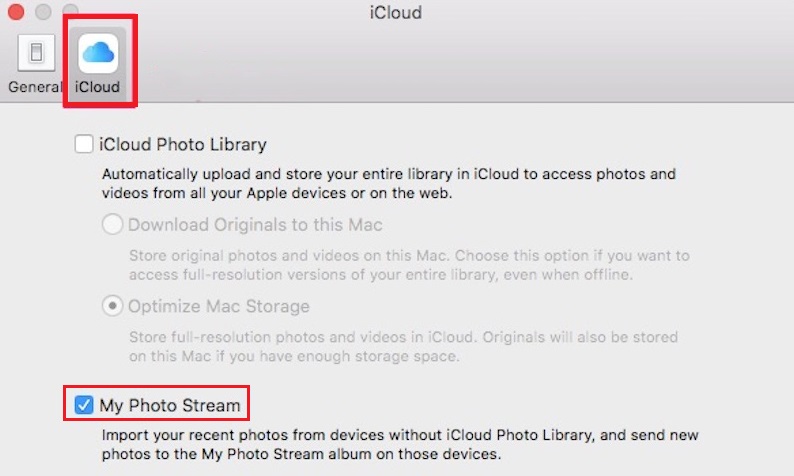
In case you want to migrate the most recent photos, you can turn on iCloud Photo Stream. When enabled, My Photo Stream sends a copy of all new photos and videos taken in the previous 30 days to each device that uses the same Apple ID and has My Photo Stream enabled.
- On your iPhone, open the Settings app and select your name.
- Navigate iCloud > Photos.
- Enable My Photo Stream.
- Then open Photos on your Mac.
- Go to Photos > Preferences > iCloud.
- Tick the “My Photo Stream” box.
Conclusion
There are many reasons when you need to transfer photos from iPhone to Mac. Maybe just to save them from one Apple device to another to free up memory, or edit the photos using Mac-based software after importing, etc.
Now that you know many ways to do that, you can choose the one according to your needs and let the problem like “I can’t import photos from iPhone to Mac” disappear from your life.
There are multiple fast and convenient ways, however, some require the Internet connection. Another fast way to send photos from iPhone to Mac is Commander One. This method requires only a simple USB cable and a couple of clicks.
FAQ
The easiest way to transfer pictures from iPhone to Mac is Commander One. You need a simple USB cable to connect iPhone to Mac. Once done, you will be able to use iPhone as flash drive and reach the content of your phone right from your Mac.
It’s possible that the software on your Mac or the operating system of your devices are too old to support the photo transfer and make you can’t transfer file between iPhone and Mac.
When it comes to how to connect iPhone to Mac wirelessly, there are various ways. You can use either Airdrop, email, iMessage.
Transferring files from Mac to iPad and iPhone, and vice versa, may be impossible if your USB ports or cable are not working properly or your OS is not updated to the latest. If your AirDrop isn’t working on iPhone, iPad, or Mac, first check that Bluetooth is turned on. To fix an AirDrop connection, also make sure that both devices are discoverable.Also keep in mind that you need to have a stable Wi-Fi connection.
