How to Migrate from Box to Dropbox

thumbnail

Looking for an app that you can use to transfer files from Box to Dropbox? There are plenty of options that let you manage both connection types simultaneously in Finder or File Explorer. Once set up, the only work you have to do is copy and paste your files.

One app that makes this even easier is CloudMounter, a simple cloud storage manager that allows you to transfer files between multiple platforms in a few easy steps.

Manual moving from Box to Dropbox with a download and upload

To manually transfer Box to Dropbox, you have to first download them to your computer and then upload them to Dropbox. Here’s how it works:

1. Open the Box site and sign into your account.

2. Select the files you want to transfer.

3. Click on the “Download” button in the top-right corner to download the files to your computer.

Download files from Box

4. Now head to the Dropbox site and log into your account.

5. Click on “Upload or drop” and select the files you downloaded to your computer earlier.

Upload files or folders to Dropbox
Note: As you can tell, manually transferring files can be very inconvenient as it takes a lot of time. Plus, you have to make sure that there’s enough space for the files on your computer.

The best way to file transfer between Dropbox and Box

As mentioned above, you can use an app to make the whole process of moving files between Dropbox and Box more efficient and faster. 
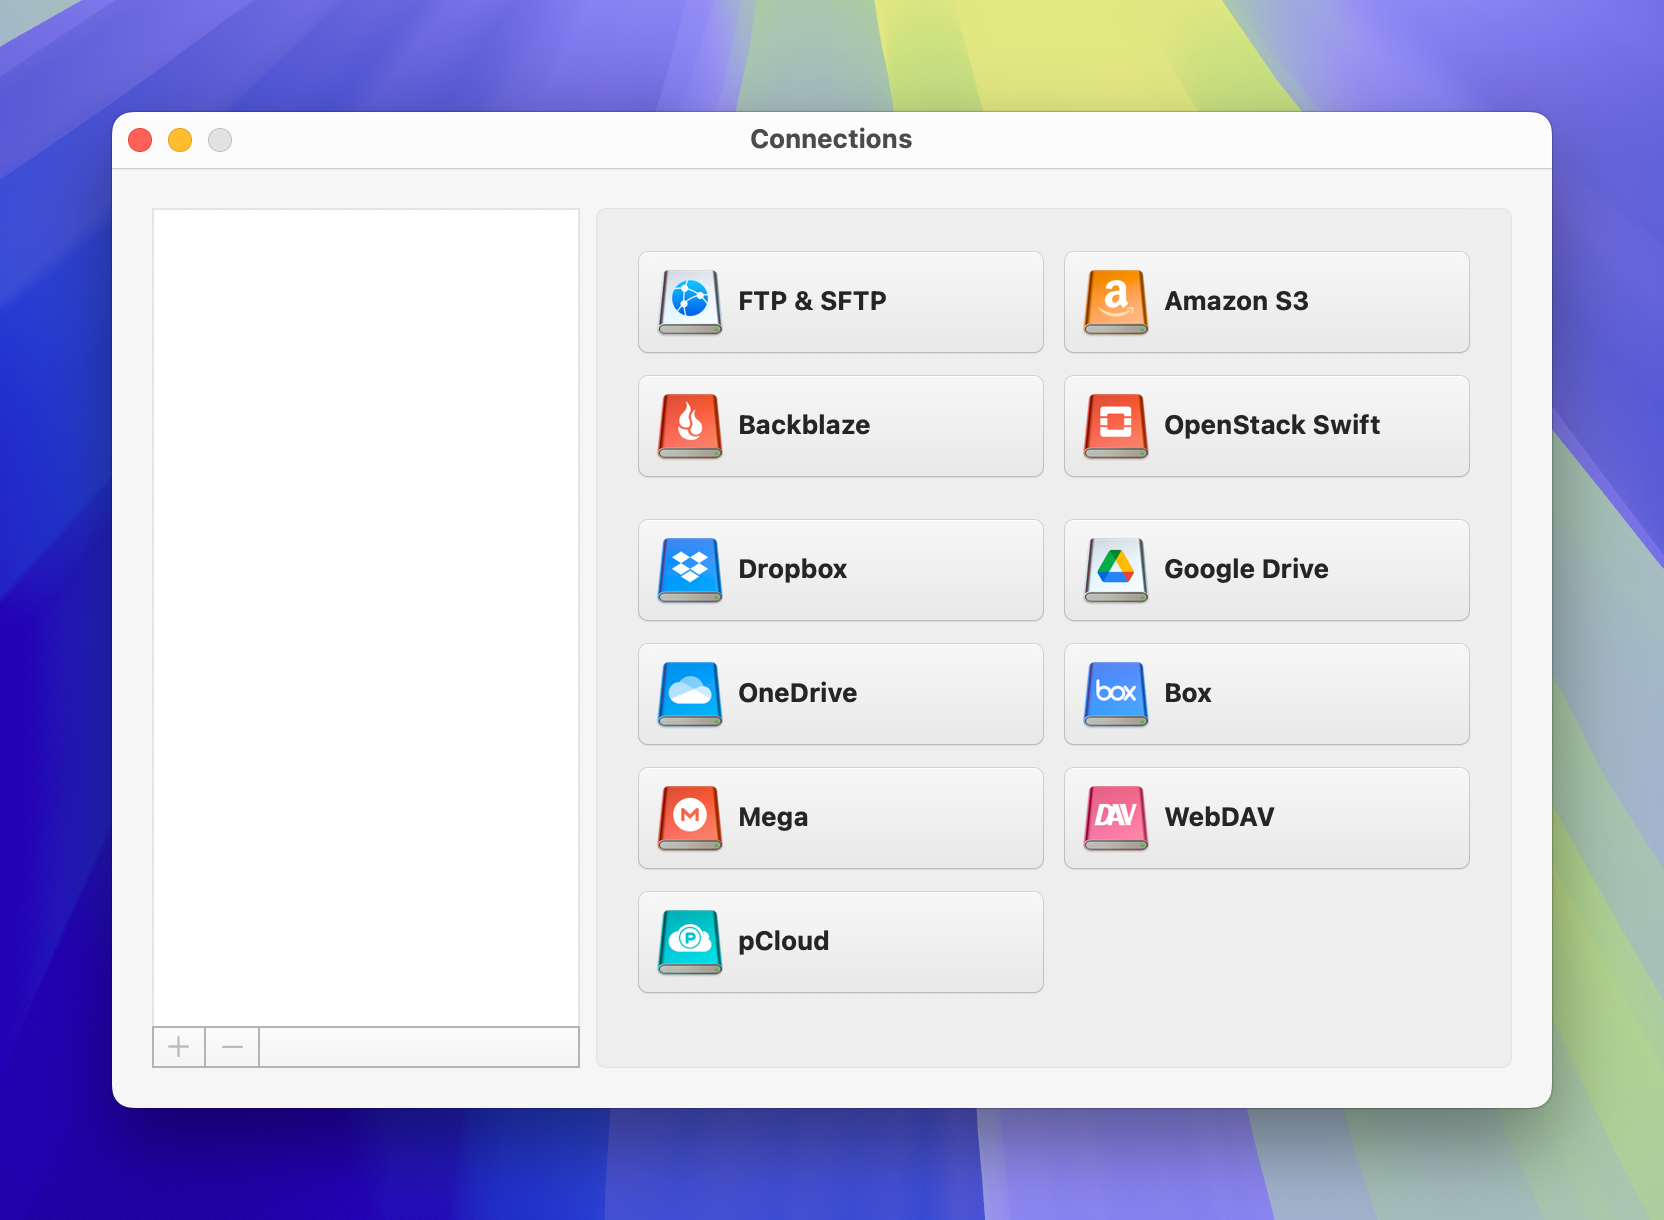
With CloudMounter, you can map Dropbox and Box as drives, which essentially means that you can manage both of them directly in Finder or File Explorer. 

Here’s how Box to Dropbox migration works with this app:

1. Download CloudMounter on your Mac or Windows computer.

2. Launch the application and select the connection type.

The connections window in CloudMounter on Mac
The connections dialog of CloudMounter on Windows

3. Enter all the required details and your credentials to connect the cloud storage.

Access to Box via CloudMounter on Mac
Mapped Box and Dropbox in CloudMounter on Windows

4. Once connected, click on “Mount” and the program will mount the connection as a drive.
5. You’ll now be able to interact with the connections in Finder or File Explorer and you can easily move files between them.

Note: Remember to verify that your hard drive has enough free space to temporarily copy files from your cloud storage or remote server.
Box in Finder on Mac
Dropbox as a drive in File Explorer

Extra CloudMounter perks

With the help of our app, you can use multiple connections and platforms at the same time, making it easy for you to manage all your files. But that’s not all it has to offer. Here are some perks you get:

  • Manage all your data in one place
  • Add as many accounts as you want
  • All files in the app are encrypted
  • Available on both macOS and Windows
  • Can work with files on macOS even if there is no internet connection


Here are a few other bonus features:

  • The app offers multiple cloud storage and web service options
  • Lets you manage files for remote servers such as FTP and SFTP

Conclusion

While it’s possible to move files from Box to Dropbox manually by downloading them from one platform and then uploading to the other one, this process takes a lot of time. An easier way to do this is to use a third-party application, such as CloudMounter.

With this desktop app, you can manage all your connection types and platforms in one place because it mounts them as local drives. There are tons of other features you get with this software as well, such as the ability to manage remote servers like FTP and SFTP.