Access Between WebDAV and Dropbox

thumbnail

Unfortunately, you can’t directly connect WebDAV to Dropbox. As a result, you need to pick between manually downloading files from each service or using third-party bridge software.

The latter is much more effective. CloudMounter is one of the best options for seamless migration. Keep reading to learn how to efficiently transfer files from Dropbox to WebDAV (and vice versa).

Move WebDAV files to Dropbox or vice versa by downloading

Although you can download your files and move them between these two platforms, we don’t recommend it due to the lengthy process. Nonetheless, you can follow these instructions if you wish to still use this method. 

Start by signing into your Dropbox account. Once you’ve logged in, go to the “Upload or drop” button. Here, you can pick the files and folders you want to upload. You can highlight your files and folders or drag and drop them; choose whichever is easiest for you.

Upload files to Dropbox

If you need to download files and/or folders from Dropbox, you can simply select “Download”. Your computer will then save the content in your Downloads folder, and from here, you can move your files and folders wherever you want.

Download files from Dropbox

To transfer your files, you’ll then need to connect to the WebDAV server. How you do this will depend on whether you use Windows or macOS. Below are the instructions you must follow for both.

  • Windows: Run File Explorer and select This PC > Add a network location. Enter your WebDAV server’s URL. Log in and wait for your computer to fully connect. 
  • macOS: Open the Finder app. Go to the top menu toolbar and select Go > Connect to Server. Enter the WebDAV address. You might also need to confirm your identity by submitting your computer’s login credentials.
Note: If you use WebDAV all the time, you often have to manually mount the drive in Finder. Moreover, you have to allow access every single time by clicking on the confirmation if you have a self-generated HTTPS certificate. Another disadvantage is that you must manually change browser tabs, which leads to further frustration and delay.

Some WebDAV clients can automatically mount the server to help you move files more efficiently. For example, third-party services like CloudMounter let you work with files from a remote server. You won’t have to worry about giving manual permissions each time; instead, you can focus on transferring your files and folders. 

After connecting, you can use the file manager for uploads, downloads, and file editing. It’s possible to share your file by uploading it into the WebDAV folder. To ensure that the right people can access your content, change your editing/access permissions from your device.

Note: To download files from your storage, your local disk must have enough space. If you’re low on storage, go to System Settings > General > Storage to identify apps, files, and folders you can remove.

The simplest file migration between Dropbox and WebDAV

Since you can exacerbate your transfers between Dropbox and WebDAV, there isn’t really a good reason to perform a manual migration. CloudMounter is a much better choice. 

This all-in-one cloud storage manager lets you mount WebDAV as a network drive. Once you’ve done this, you can easily organize your data and complete your file transfers more effectively. It’s hassle-free, as you’ll find out when you start using it.

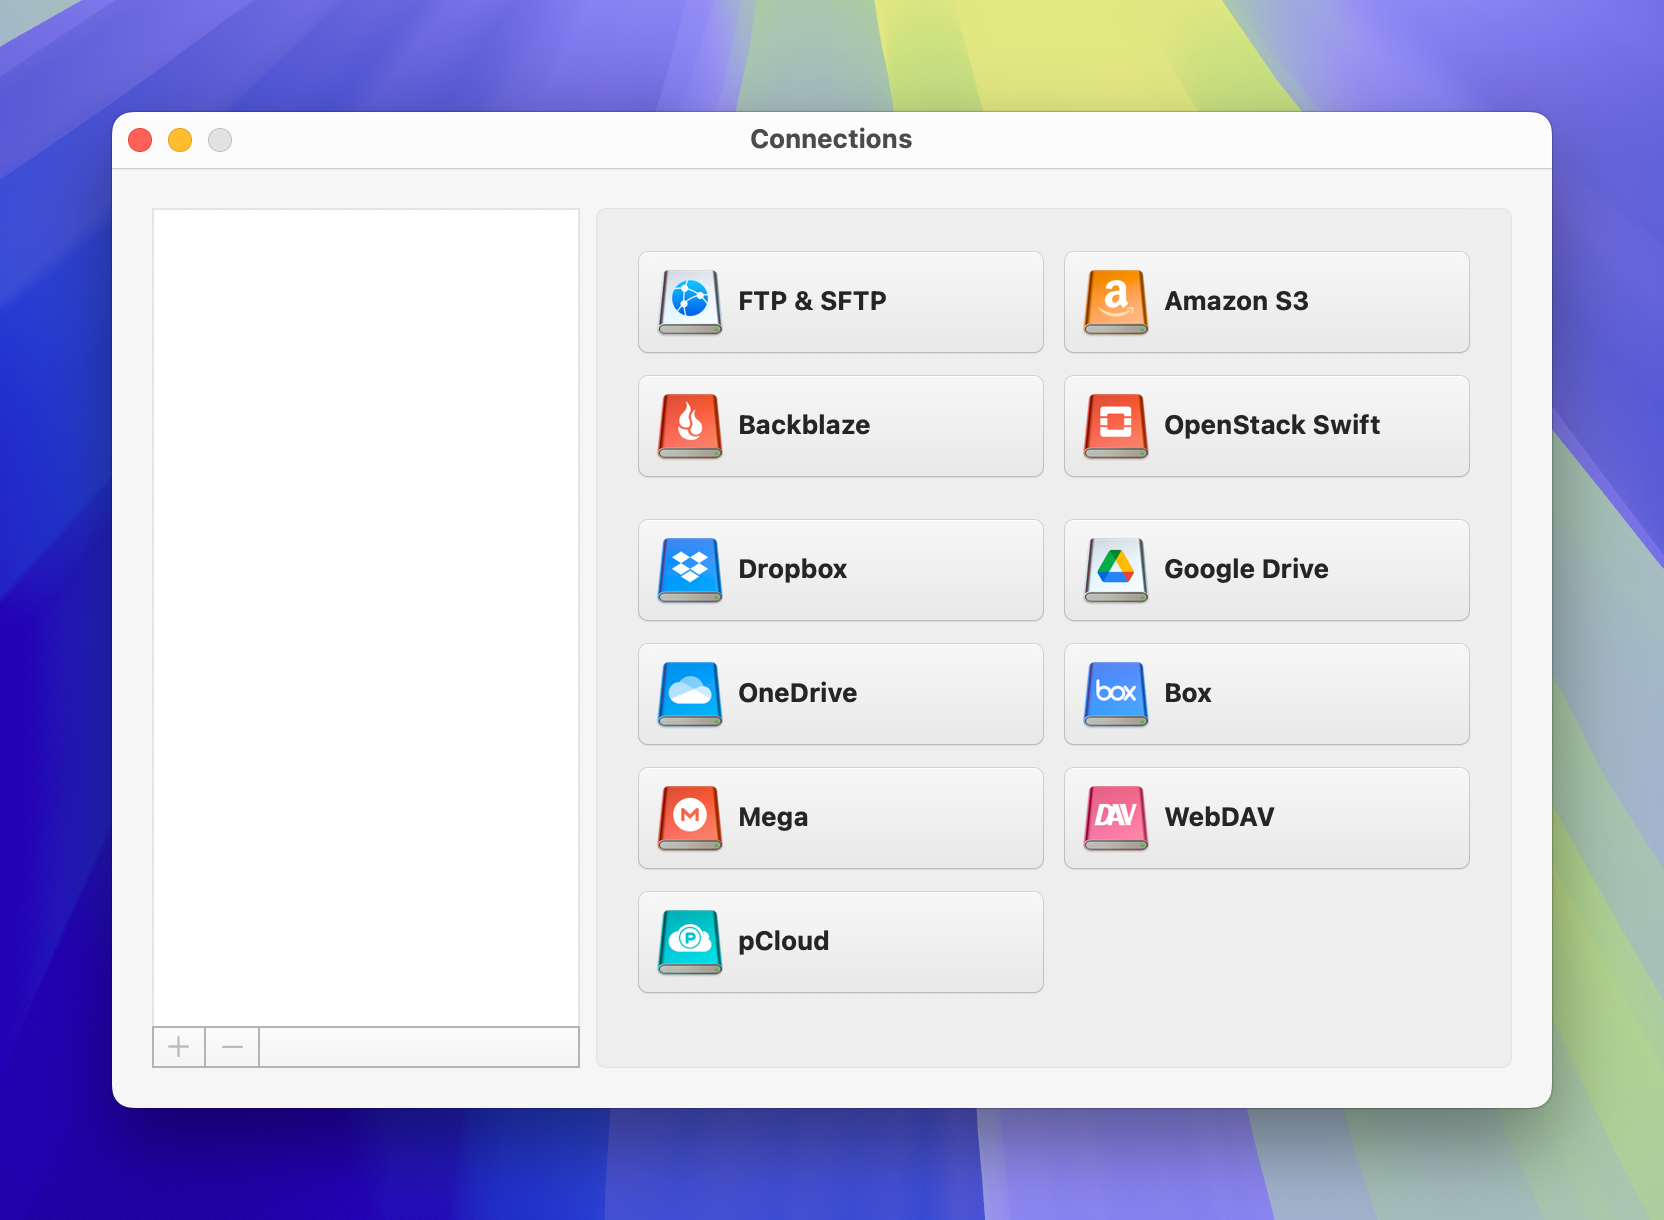
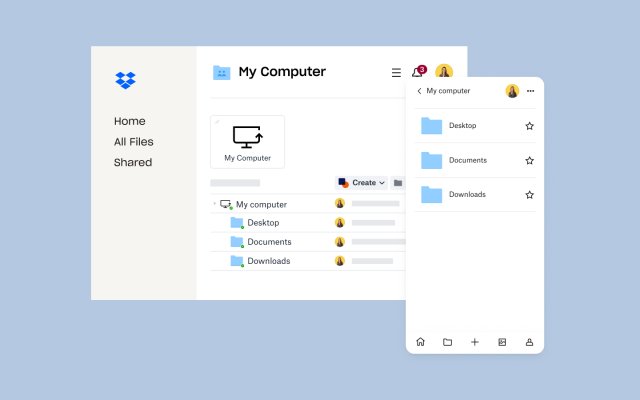
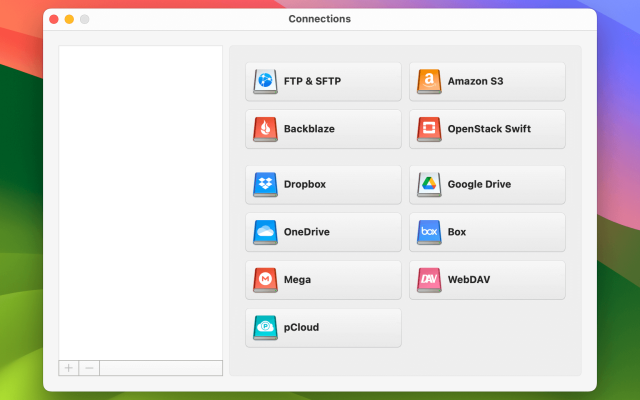
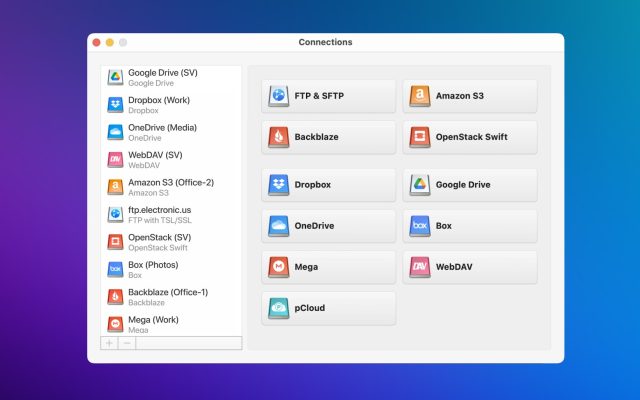
How to transfer from Dropbox to WebDAV with CloudMounter

Migrating between WebDAV and CloudMounter, and vice versa, is incredibly straightforward. All you have to do is follow the steps outlined below.

1. Start by downloading the CloudMounter app for macOS or Windows, depending on your operating system.

2. Set up the program. 

3. In the new connection dialog, choose the WebDAV and Dropbox icons (one by one).

Link between Dropbox and WebDAV as local drives due to CloudMounter on Mac
Connecting between Dropbox and WebDAV as drives via CloudMounter on Windows

4. Choose your connection data settings in each necessary field.

5. When you’re ready to connect, click on “Mount”. The tool will then map your storage as network drives.

6. Once you’ve mapped your apps, you’ll see these as a drive within your file manager. You can then access them and migrate files and folders whenever you want.

Dropbox mapped as a drive to Finder
WebDAV mapped as a drive to File Explorer

Additional CloudMounter features

In addition to transferring files between WebDAV and Dropbox, you can enjoy many other benefits when you use CloudMounter for your file management. It’s an ideal tool for simplifying file usage across multiple accounts and through different storage and remote servers, without needing to connect to each one at different times. 

Here are the other key advantages of using this software.

  • Support for multiple accounts, regardless of whether you have Dropbox personal or business accounts. 
  • View all of your remote files within a single interface and save time on opening multiple browsers/windows. 
  • Strong encryption for safer online file safeguarding. 
  • Direct Dropbox links from the context menu for easy file-sharing; there’s no need to reopen the Dropbox website or app. 
  • Available for macOS and Windows; continue using CloudMounter even if you change your software. 
  • Work offline on macOS. Even if your internet connection isn’t working, you can still remain productive.


Besides the above-mentioned benefits, you can also enjoy these advantages when you sign up and use the tool.

  • Support for various cloud storage and web services. CloudMounter is compatible with cloud platforms beyond just Dropbox, such as Google Drive, OneDrive, Amazon S3, and more. As a result, you don’t need to enter multiple login credentials. 
  • File management for numerous remote servers, such as FTP or SFTP, is possible and straightforward.
Note: Remember to verify that your hard drive has enough free space to temporarily copy files from your cloud storage or remote server.

Conclusion

While manually transferring files between WebDAV and Dropbox is time-consuming, you can always find more effective alternatives. Above all else, it’s very much worth using CloudMounter; by doing so, you’ll always have access to your files. Moreover, you don’t need to manually connect to your servers each time.  

Besides getting support for WebDAV and Dropbox, you can connect to Google Drive, OneDrive, and many other file management tools. Everything is available within a single interface, allowing for simple and effective transfers.