This article explains how to set up OneDrive on your Mac. It describes the native way to do so, as well as an alternative solution from CloudMounter, which allows you to add OneDrive to Mac Finder, gaining direct access to your files as if they were local ones, without the use of an additional interface.
The native method with the OneDrive desktop app
Here is how to add OneDrive to Finder using the native Apple method: Download and install the OneDrive app from the App Store. Sign in with your Microsoft credentials. Then, follow the on-screen instructions to set up a location where your OneDrive files are synced locally. You should see the OneDrive folder in Finder under “Locations”. If the folder is not automatically visible there, follow these steps:
- Check Finder Preferences: Go to Finder > Settings > Sidebar and make sure there is a tick next to “Cloud Storage”.
- Restart your Mac: This may solve your issues with the OneDrive integration with Finder.
- Check for Updates: Ensure you have the latest version of OneDrive installed.
Add OneDrive to the Finder sidebar via CloudMounter
What makes CloudMounter the best solution for working with OneDrive data on your Mac is its ease of use and versatility. The application allows direct integration with Finder. You can add an unlimited number of accounts, file transferring between them as if they were regular folders. Here are the steps you need to follow:
1. Download CloudMounter on your computer.
2. Open the installation file “cloudmounter.dmg”
3. Copy the app into the Applications folder to install it.

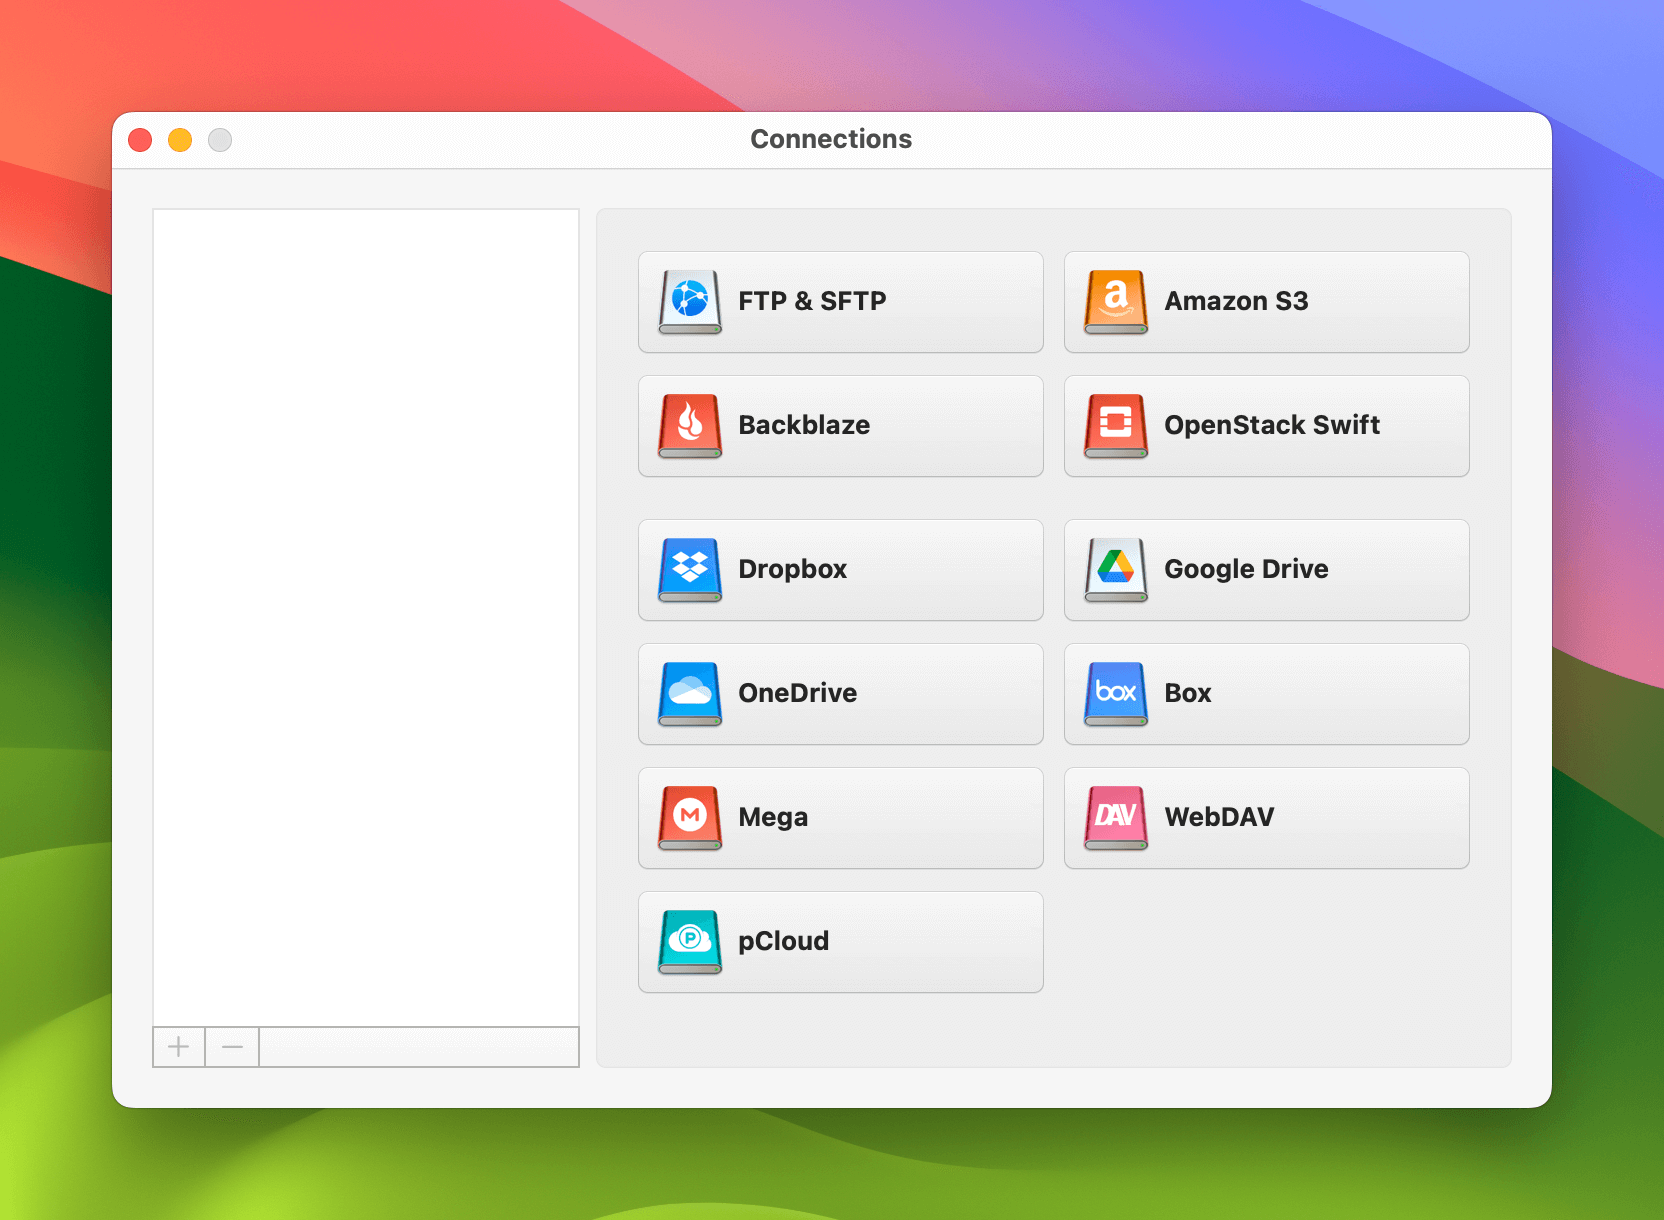
4. Open CloudMounter and select “OneDrive” under “Connections”.

5. Follow the set-up instructions and click “Mount”.

6. The tool will add your OneDrive to Finder on macOS.

From here on, you can manage files as if they were stored locally on your computer. Open, copy, delete, or edit all your OneDrive data directly from Finder.
What else makes CloudMounter better
CloudMounter is of great help to anyone who uses several cloud services or works with remote servers. By giving you access to everything all at once, this storage file manager simplifies and quickens all processes. In addition, it comes with many additional useful features, such as:
- Manage all your storage files seamlessly, all in one place
- Add as many accounts as you need
- Supports a wide array of cloud storage and remote servers
- Offline work with cloud files
- Client-side encryption for extra protection of your online data
- Compatible with both macOS and Windows
- Easily share files and folders by copying their OneDrive link from the context menu.

Conclusion
Now that you’ve discovered how to add OneDrive to Finder, you will have easier access to your cloud storage data. You can use the OneDrive app or take things one step further by exploring CloudMounter, a simple yet convenient solution that supports multiple connections simultaneously, encryption, and offline work. Without the need to save your files locally, you can easily access and manage them from Finder.