Add Dropbox to Finder on Mac

thumbnail

Dropbox is one of the most popular file storage apps, and while you can access the app online via mobile and desktop, it’s easier if you can add it to your computer. Doing so will ensure round the clock access, even without an internet connection.

Today, we’ll show you how to add Dropbox to Finder on Mac. You’ll also discover a third-party solution that lets you use online files as local ones, rather than in an additional interface.

The native way by the Dropbox desktop app

When adding Dropbox to Finder, one way to do this is via the desktop app. After installing Dropbox, you can use the tool within Finder like any other local folder. By doing this, you’ll eliminate the need to switch between your web browser and the system file manager. 

Another advantage is that you’ll stop wasting time searching for your online files. If you don’t see the Dropbox folder in the Finder right away after installing the Dropbox desktop app on your Mac, just follow our recommendations below:

  1. Check Finder Preferences: Go to Finder > Preferences > Sidebar and make sure “Cloud Storage” is checked.
  2. Restart your Mac: Sometimes a restart can resolve issues with Dropbox syncing with Finder.
  3. Check for Updates: Make sure you have the latest version of Dropbox installed.
  4. Ensure installation and logging in the app: You may need to restart the app or reinstall it.
Troubleshooting: If you’re encountering issues with files appearing in Finder, you might need to check your Dropbox preferences to ensure the desired folders are set to sync to your computer. You can do this via your in-app settings.

Add Dropbox to Finder via CloudMounter

While you can use the Dropbox app to add Dropbox to Finder, doing so means you can only connect Dropbox. If you have accounts with other cloud storage solutions, such as OneDrive and Google Drive, you will still need to use multiple interfaces. 

This defeats the whole point of adding Dropbox to Finder, and as a result, you may want to use a third-party tool like CloudMounter. 

Besides being the best way to integrate Dropbox and Finder, you can add an unlimited number of accounts and transfer files between them. You can do this as if they were regular folders. The instructions you need to follow are listed below.

1. Download CloudMounter on your computer.

2. Open the installation file “cloudmounter.dmg”.

3. Install the application by copying it into the Applications folder.

Download and install CloudMounter on macOS

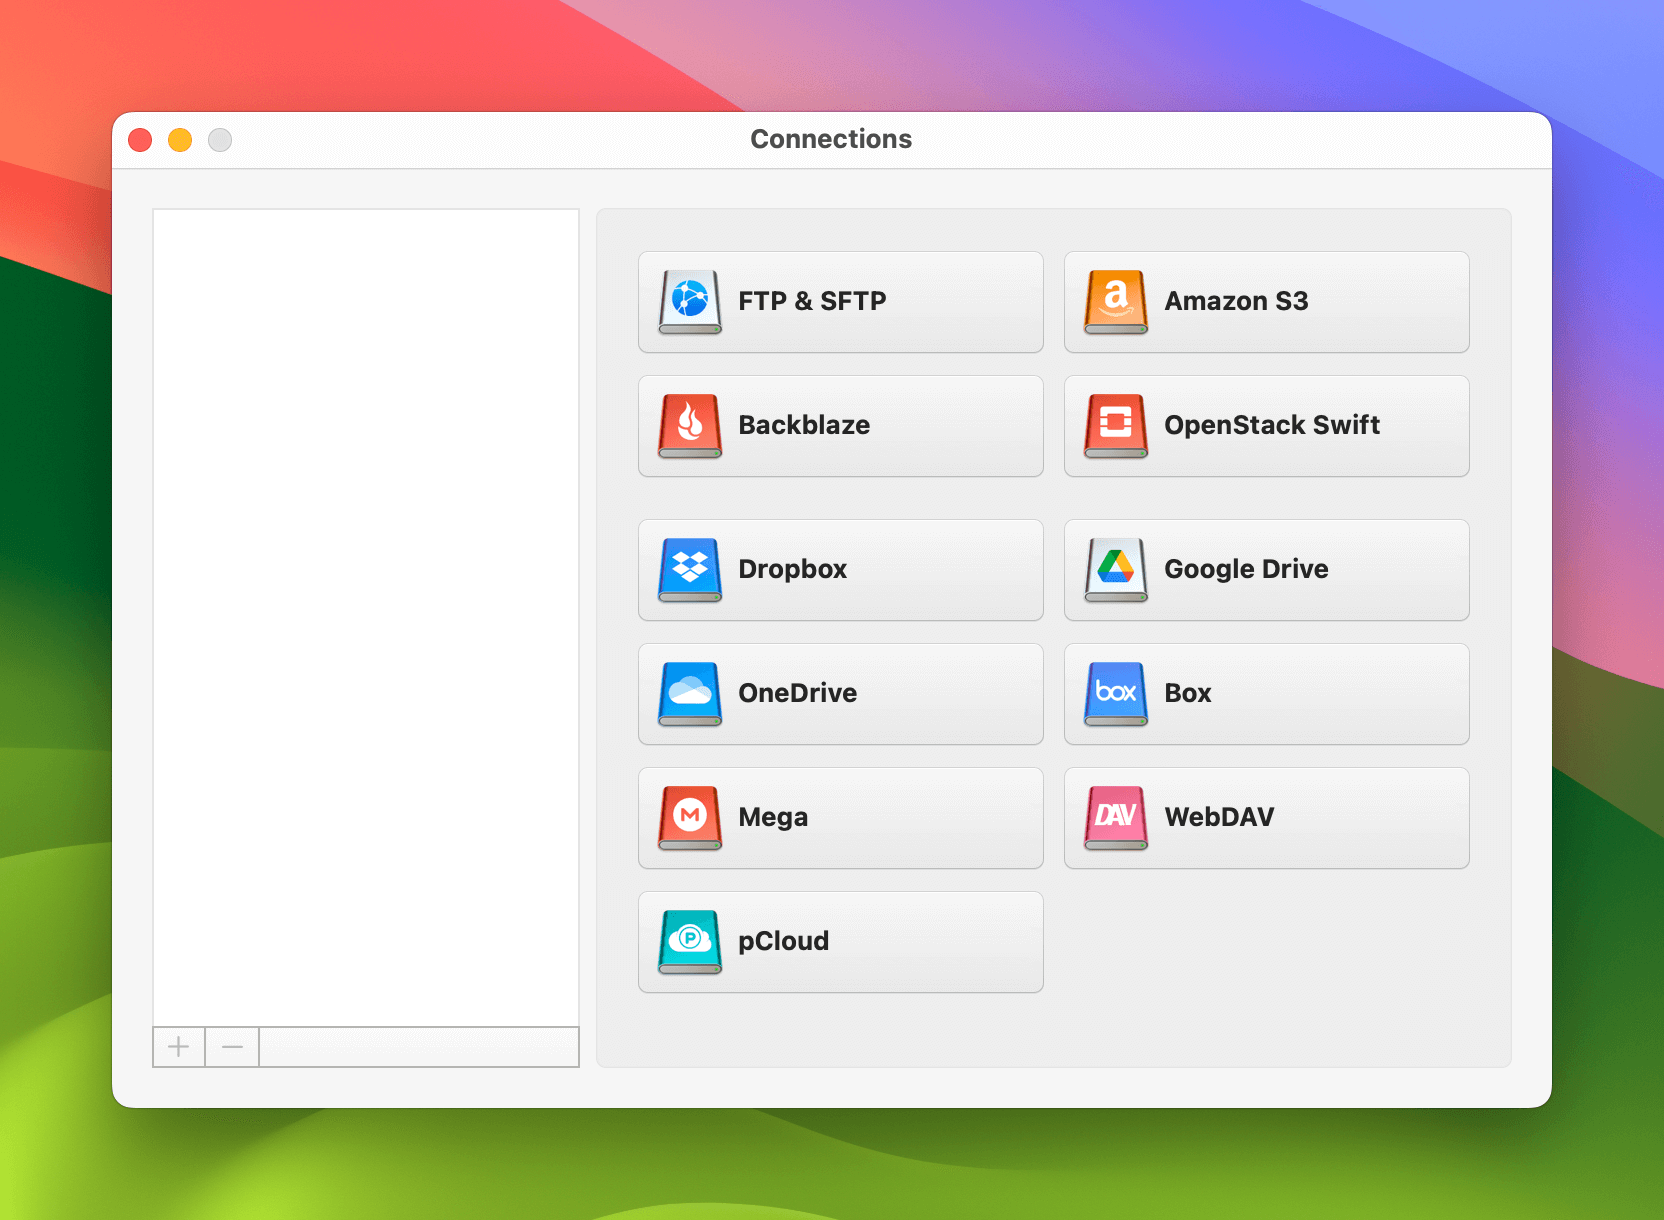
4. Open CloudMounter and choose the “Dropbox ” type of storage.

The connection box in CloudMounter on Mac

5. Follow the instructions in the wizard and click “Mount”.

Set up Dropbox in CloudMounter on Mac

6. Next, the utility will add your Dropbox to Finder.

Dropbox in the Finder's Locations sidebar on Mac

Now, you can easily open and transfer your cloud files. In addition to doing this, you can copy, delete, or edit these files, just as though they were stored locally on your Mac. Thanks to the storage tool, you’ll save significant time.

What else makes CloudMounter better

Connecting Dropbox and Finder is just one part of our application’s capabilities. If you own several cloud storage accounts or work regularly with remote servers, CloudMounter instantly solves your problems with using several apps. 

You will no longer need to context-switch and fragment your productivity. Instead, everything will be available within Finder. Keep each of these helpful advantages of our desktop app in mind when downloading and using the tool:

  • Manage files of all your storage seamlessly in a single place.
  • As many accounts as you need, regardless of which app you use them for. 
  • Support of a manifold array of cloud storage and remote servers.
  • Offline work with cloud files, allowing for on-the-go productivity. 
  • Client-side encryption provides extra protection for your online data.
  • Suitable for both macOS and Windows; no need to worry about losing your data if you switch operating systems.

Conclusion

Learning how to add Dropbox to Finder will make your online experience much better, and thankfully, the process is not too complicated. You can easily add your files to Finder and access them via both the Dropbox app and third-party tools.

Using CloudMounter is much more effective, especially if you have multiple accounts. You can integrate everything within a single interface, meaning you don’t have to switch browsers. Moreover, you have the choice to add your Google Drive, OneDrive, and many other accounts.